![]()
Straighten during assembly: here
Pre-Straighten a part: blog
Sunshine and Grass
Damp Towel and Spacers - blog
Straighten with an Iron - slideshow
![]()
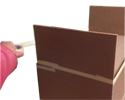
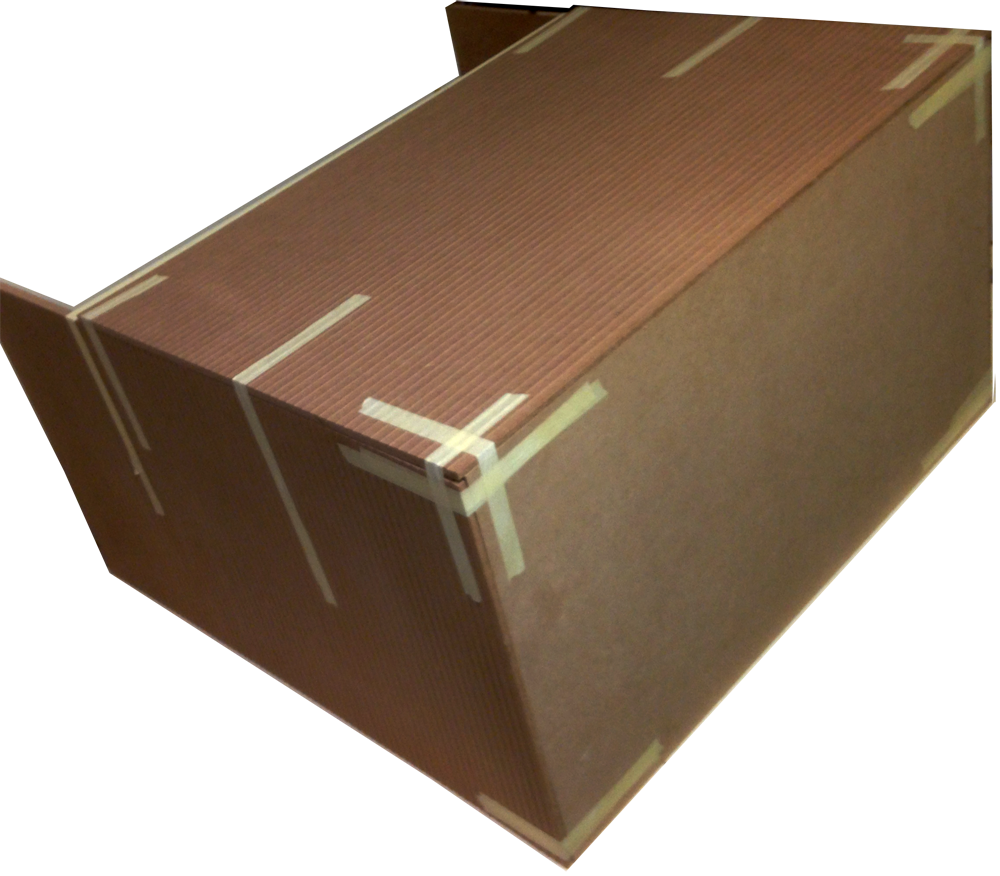
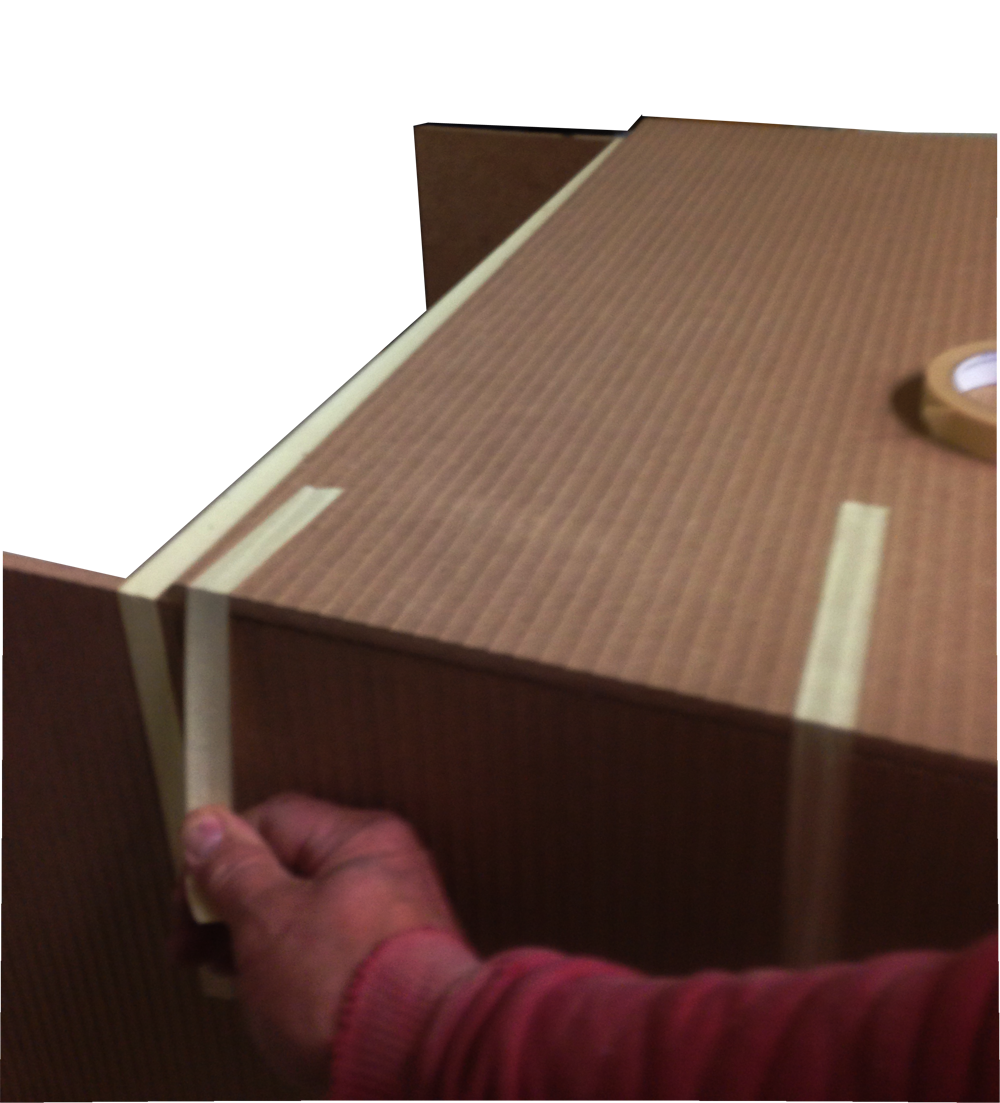
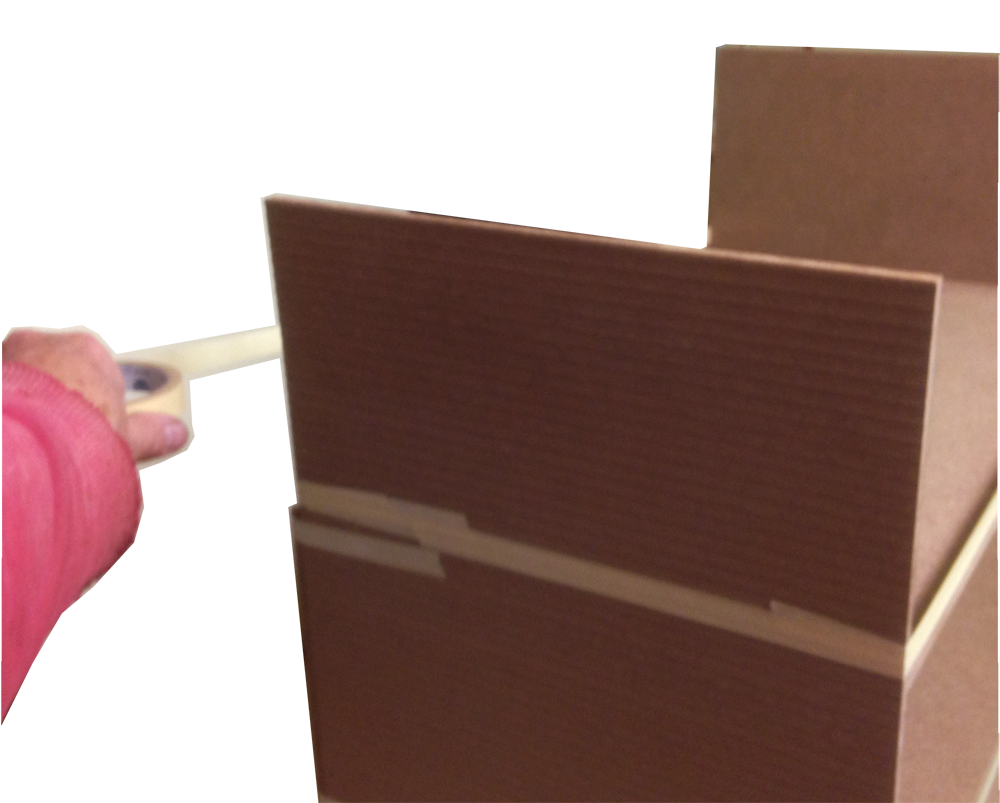
This slideshow shows how to pull with tape. Yellow Masking Tape is my go-to clamp for most dollhouse building, but plastic packing tape stretched several times all the way around a dollhouse can give tremendous pressure on a troublesome joint.
high-tack masking tape

Packing tape
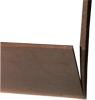
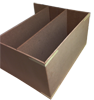
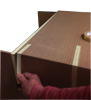
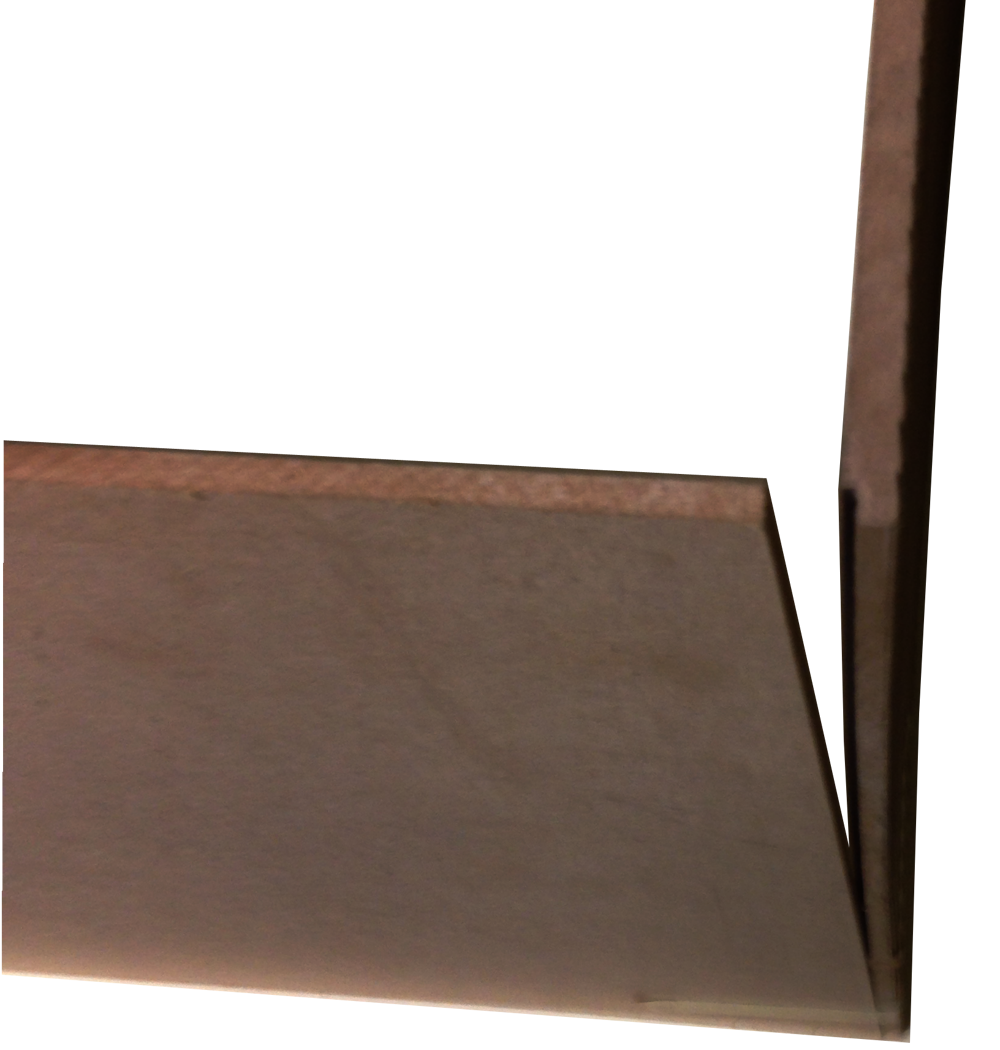
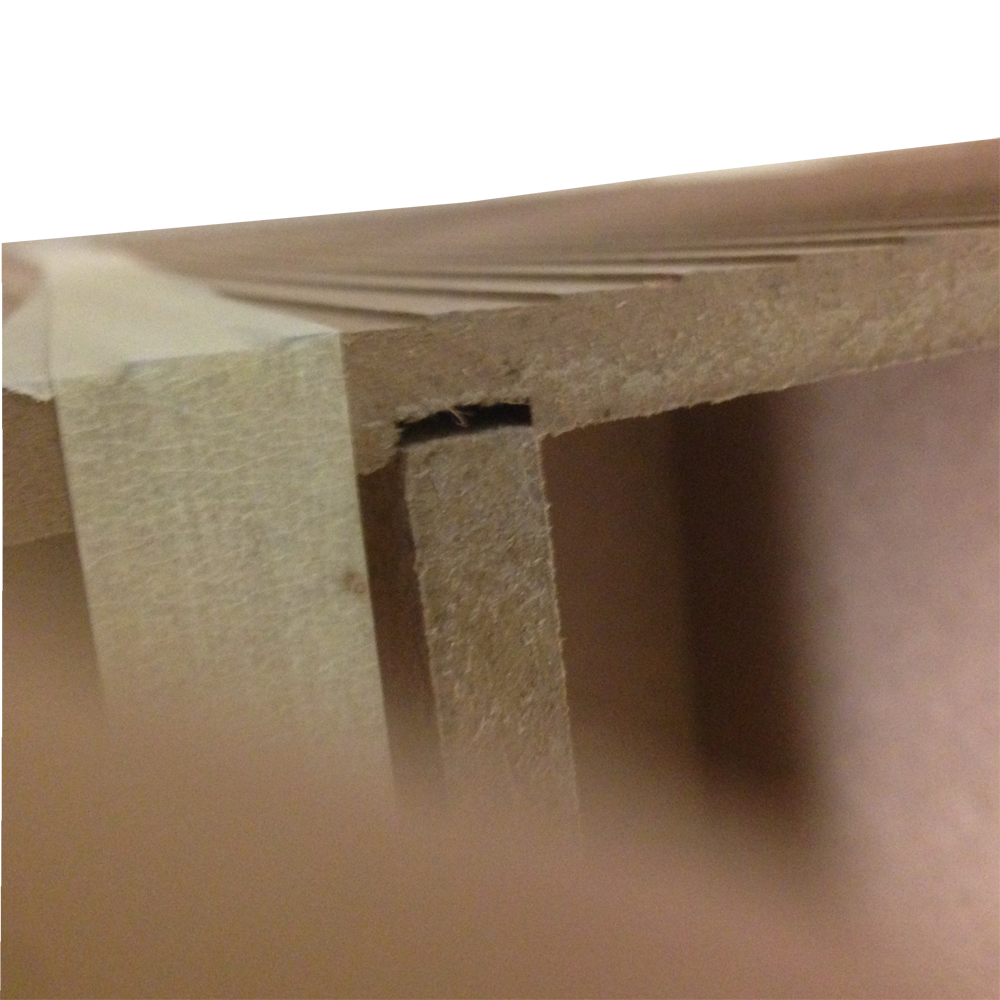
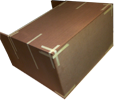
 11... but in this demo,. the Sides didn't pull in with the first taping
PullTight12M.png
11... but in this demo,. the Sides didn't pull in with the first taping
PullTight12M.png
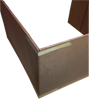
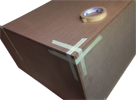
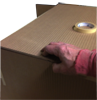
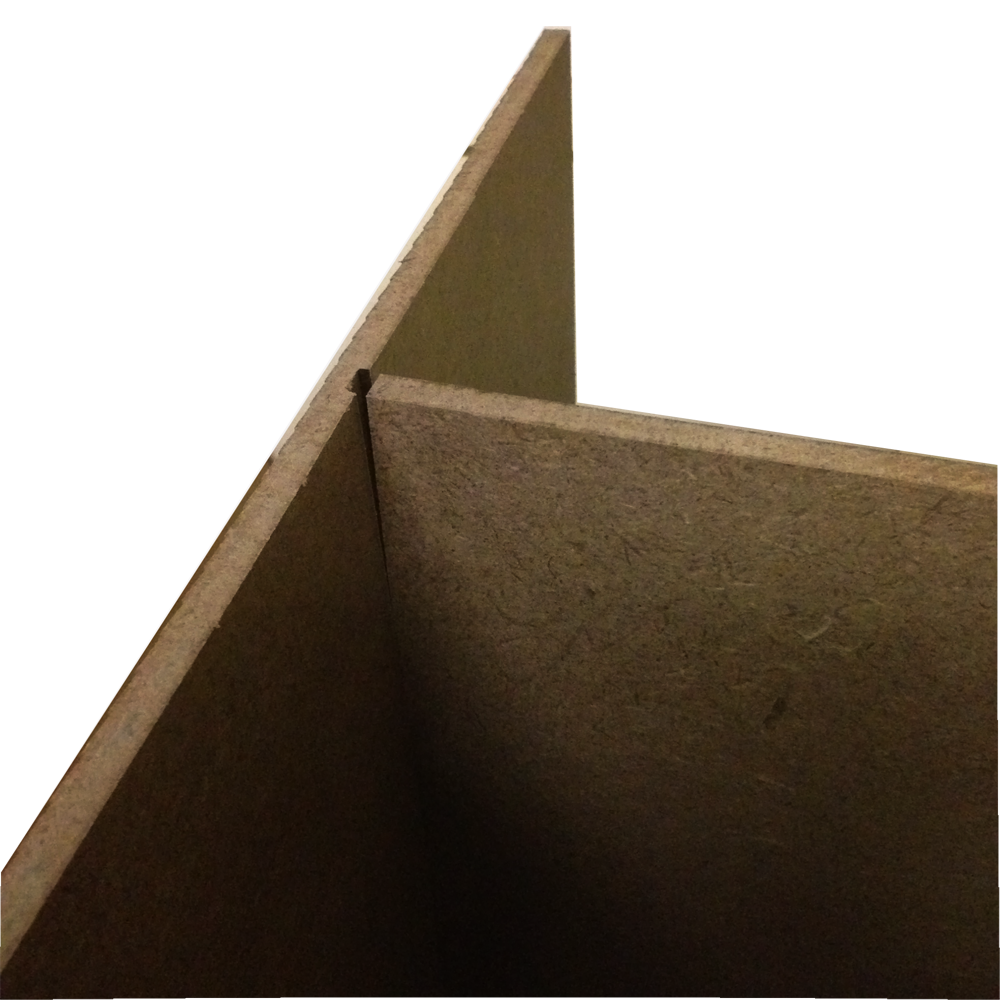
 12. So instead of attaching the Front I pulled harder on the Sides
PullTight13M.png
12. So instead of attaching the Front I pulled harder on the Sides
PullTight13M.png

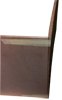
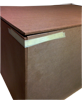
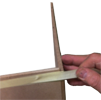
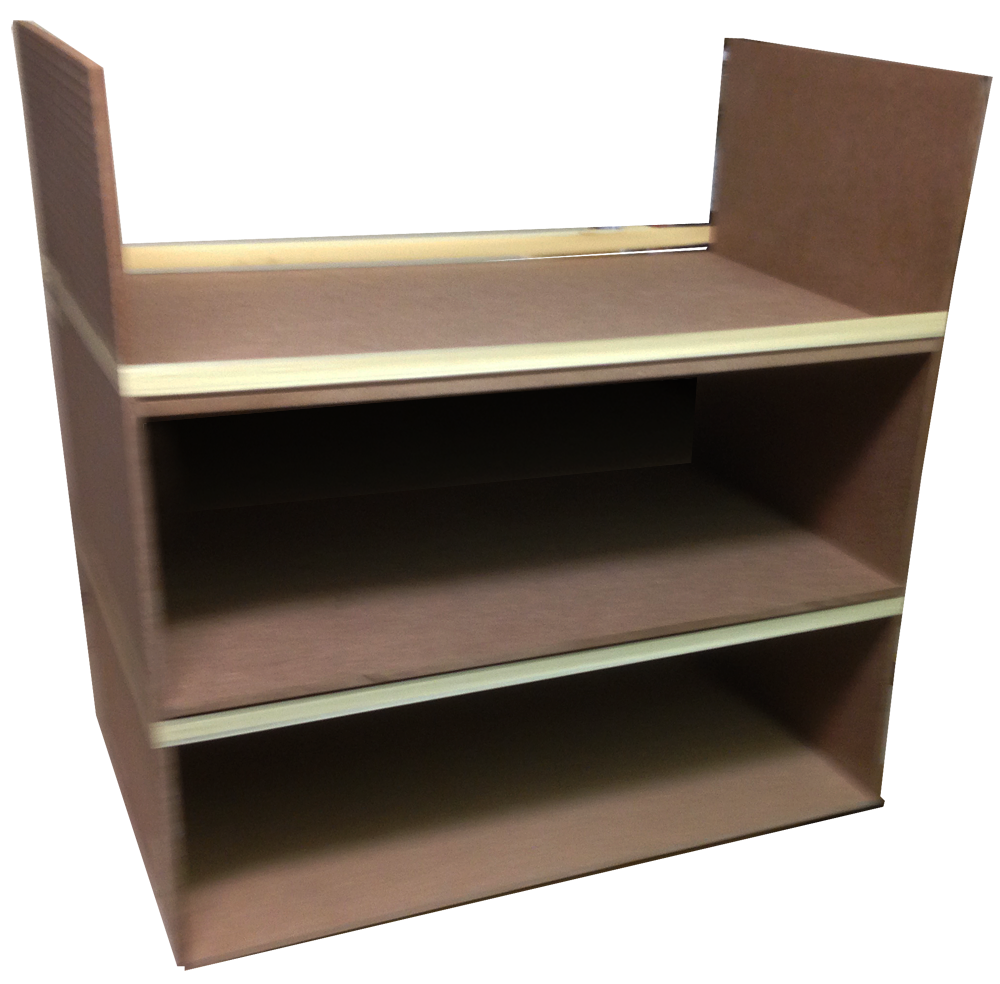
 17. Straighten the assembly until it lines up with the Front (tape if necessary), let the glue dry
PullTight10M.png
17. Straighten the assembly until it lines up with the Front (tape if necessary), let the glue dry
PullTight10M.png
Q: If I'm having trouble getting the Sides straight on the Floors, should I attach the Base first?
A: The order of assembly with the upper floors first is still the right way to go. The following sequence is the same as the instructions, but with extra emphasis on taping, and with an extra drying step because band-taping interferes with attaching the front. You may wish to do a test run-thru of these steps without glue to confirm that the band-taping process gives you confident pressure on the joints. Make sure you use enough glue to require cleaning up at every joint if some doesnt squeeze out there may not be enough in the groove to start with.
-Clean everything up so the Floors and the Sides are nice, and the grooves dont have paint or lumps that will interfere with the Floors fitting all the way in.
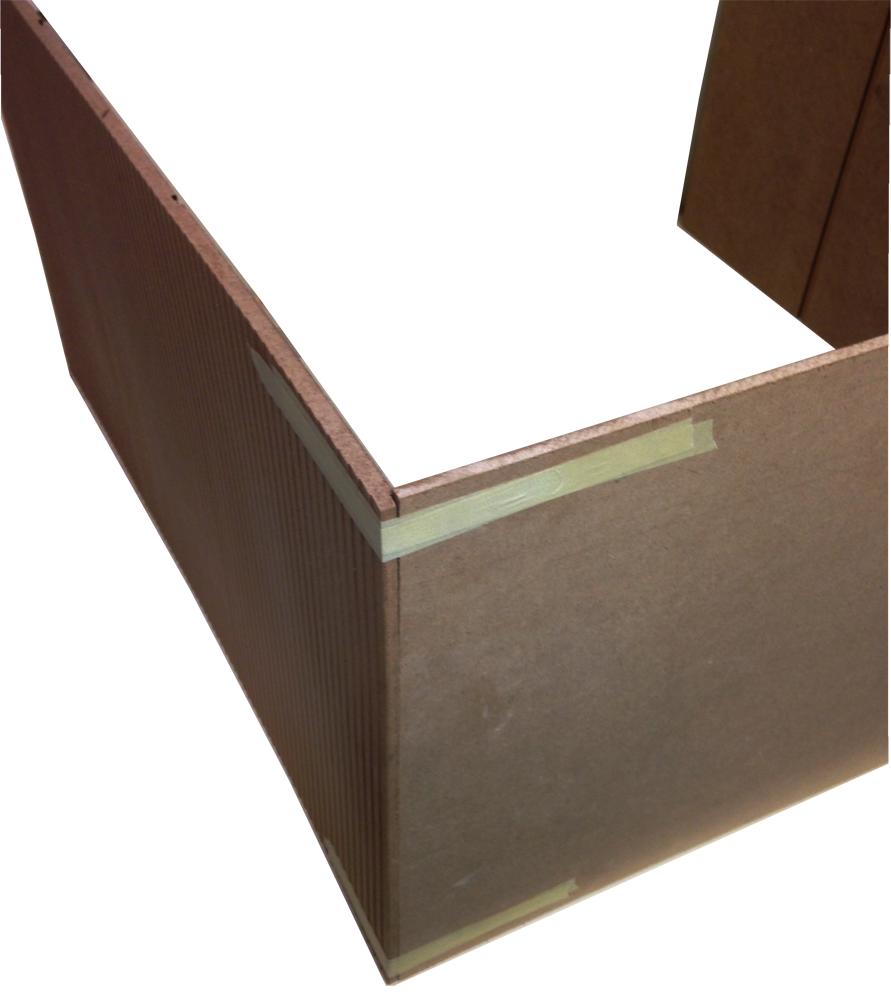
-Glue and tape the Sides onto the upper floors. Tape from one side to the other above the Mid Floor. Make sure the sides and floors are flush in back and the Floors stick out 1/8 in front. Slide the assembly to the edge of the table so you can do a preliminary taping across the back so the assembly is stable enough to handle. Carefully turn the assembly over.
-Stretch tape from one side to the other just above the Mid Floor. Start the tape far enough back on the Side to be overlapping the tape on the other face (the front, which is down now). Stretch the tape across the back (up) and down the other side to the tape there.
-Do the same above the Top Floor.
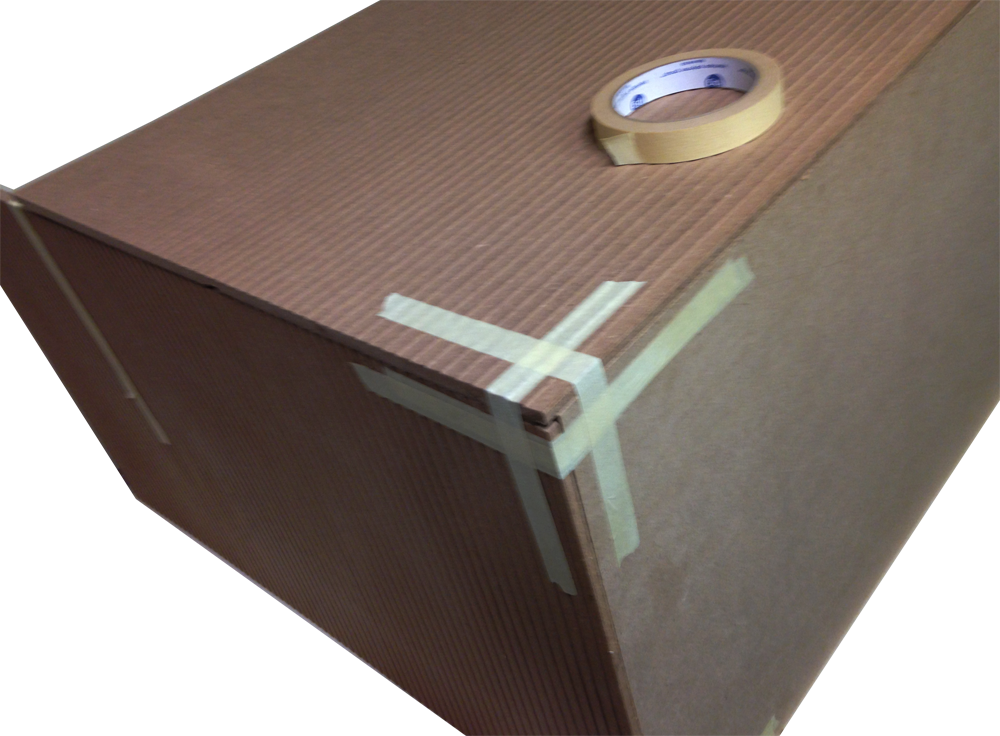
-Stand the housebody upright
-Stretch tape all the way around the house over the top of the previous tapings, stretching the tape at each corner before sticking it down. Go all the way around the house at least two times stretching the tape as you go, then inspect the joints. If they need more force, keep going until they are tight on both the front and back. Stretch a band of tape for the mid floor and another band of tape for the top floor. Keep the tape bands parallel with the floors to not induce diagonal pressure on the housebody (the Front will straighten the housebody, but right now theres nothing to keep it from folding into a parallelogram if the tape isnt parallel with the floors)
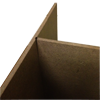
-Inspect all around
---The floors are bottomed-out in the grooves front and back
---The floors and sides are flush at the back
---The floors stick out 1/8 in front
-Lay the house on its back and, without glue, set the front on the housebody with the floors in the grooves. Line up the sides with the edges of the Front and temporarily tape them there to hold the housebody straight while the glue dries
let the glue dry.
-When the glue is dry remove the Front. Glue and tape the Base to the housebody. Make sure the Base is tight to the top of the groove, lined up in back, and sticks out 1/8 in front. Repeat the bands-of-tape process if necessary to get the Base bottomed out in the Sides grooves.
-inspect:
---The Base is tight in the groove front and back
---The Base is tight to the groove top
---The Base is flush with the Sides in back
---The Base sticks out 1/8 in front
-Let the glue dry
-remove all the tape and attach the front.