![]()
![]()
E239 Installation on ExtraBrite LEDs

DHTMLGoodies.com
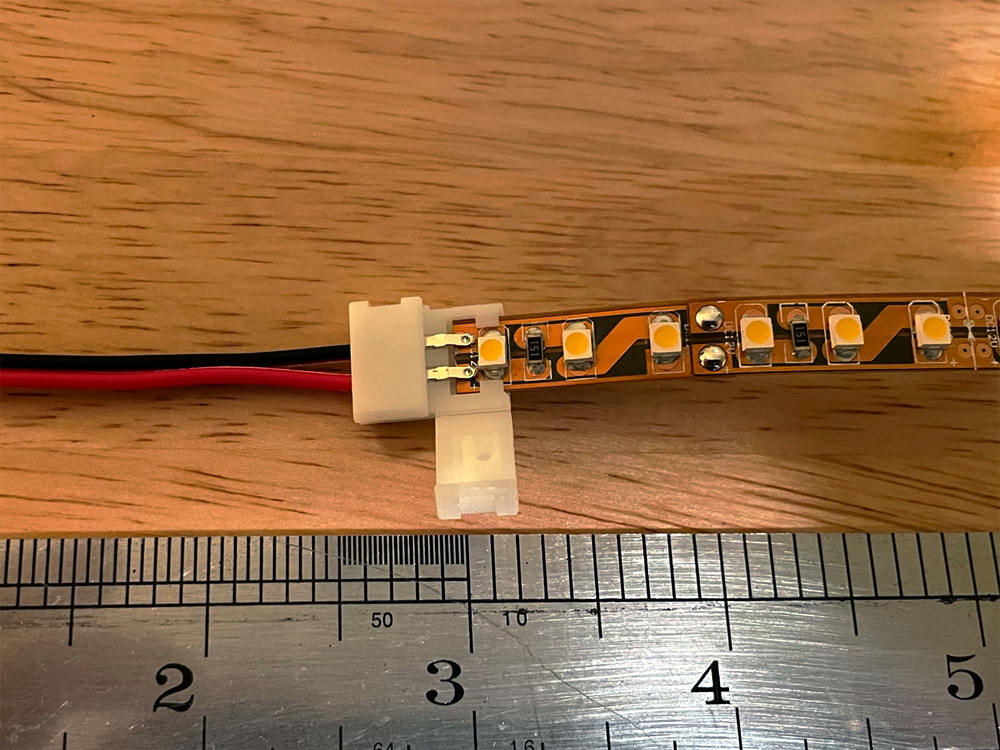
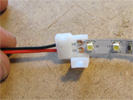
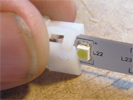
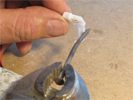
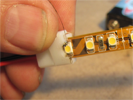
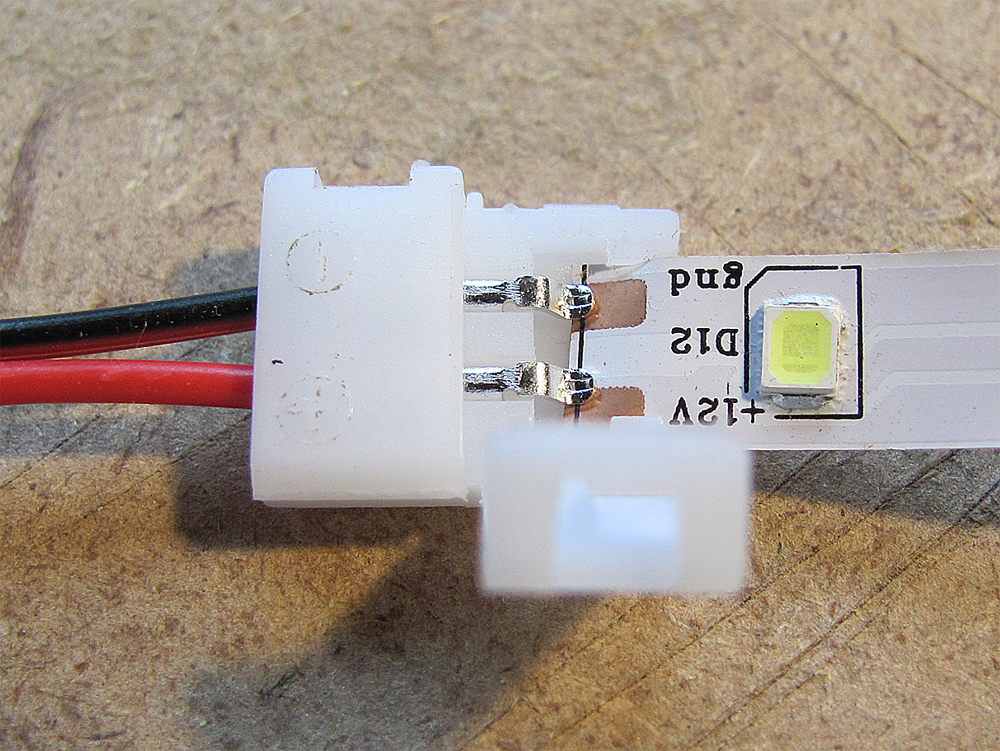
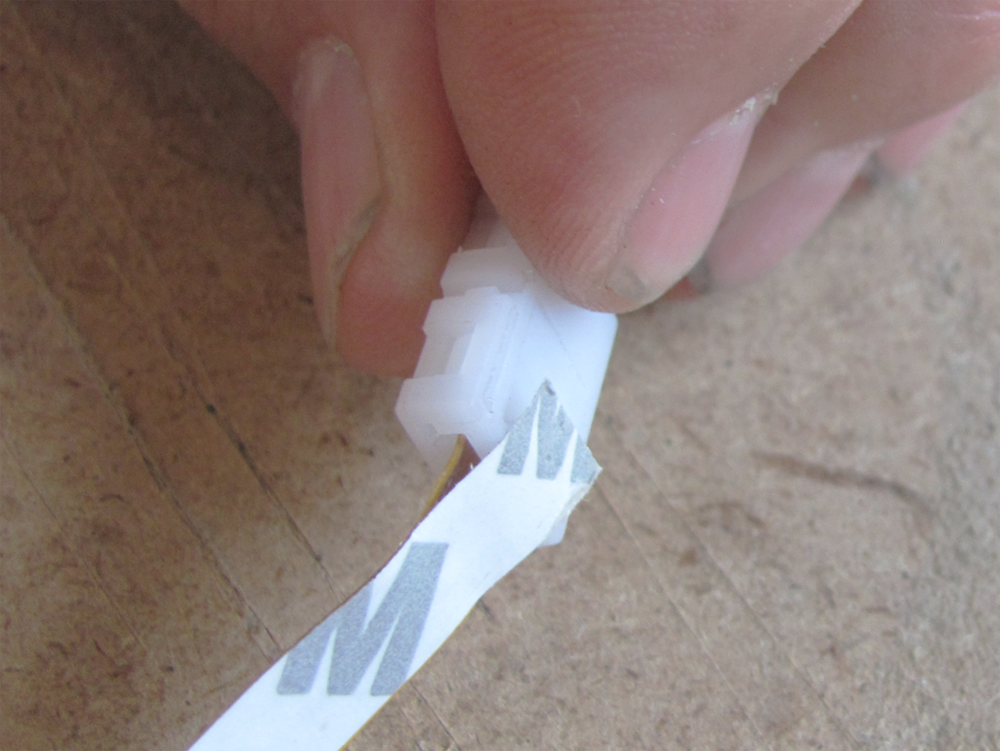
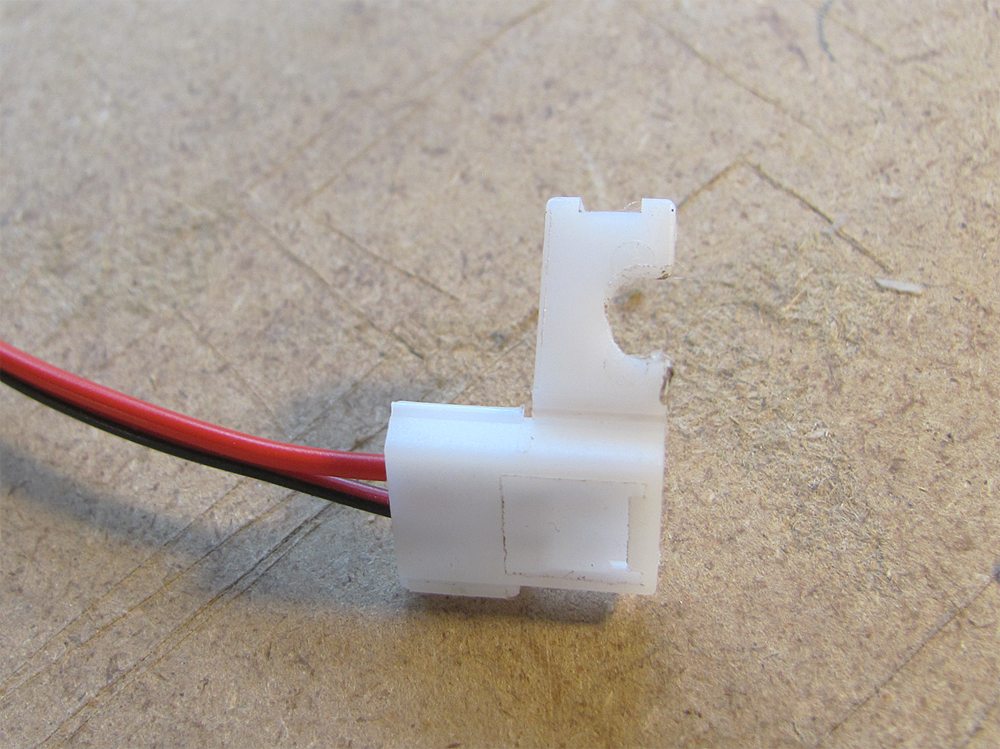
 02. This Striplight has a 50mm cut length - it is the easiest fit with a E239 connector
02D.png
02. This Striplight has a 50mm cut length - it is the easiest fit with a E239 connector
02D.png
02. This Striplight has a 50mm cut length - it is the easiest fit with a E239 connector
02D.png
DHTMLGoodies.com
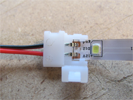
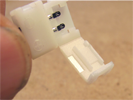
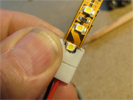
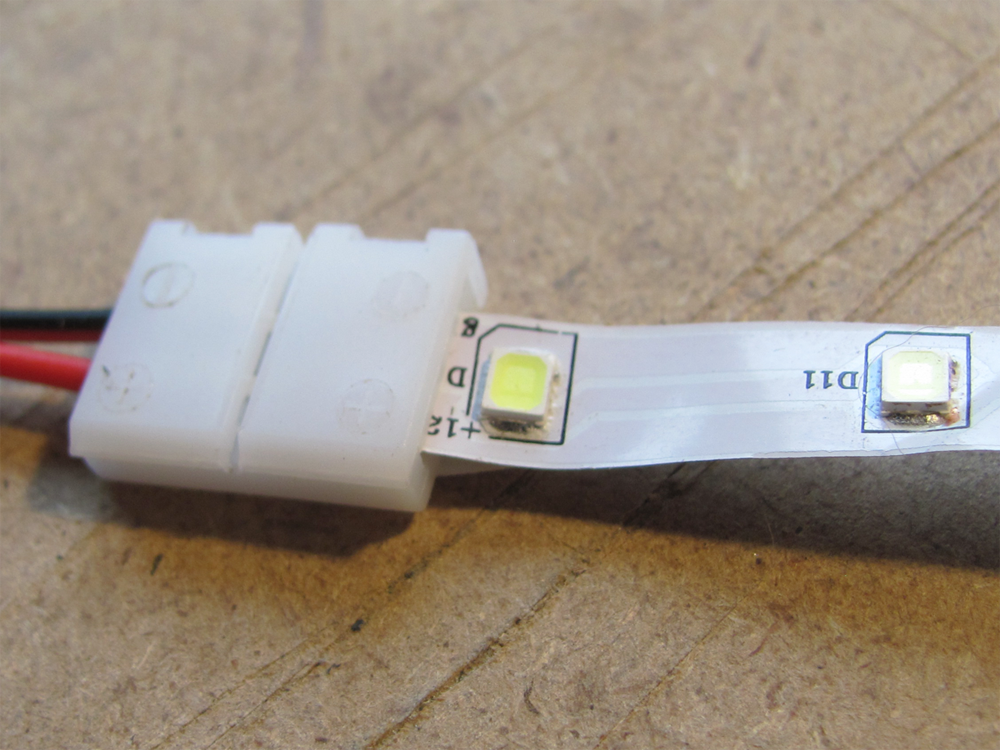
 04. The Striplight fits under the contacts to make connection with the "targets"
04D.png
04. The Striplight fits under the contacts to make connection with the "targets"
04D.png
04. The Striplight fits under the contacts to make connection with the "targets"
04D.png


DHTMLGoodies.com
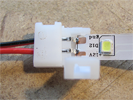
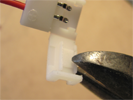
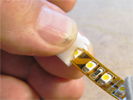
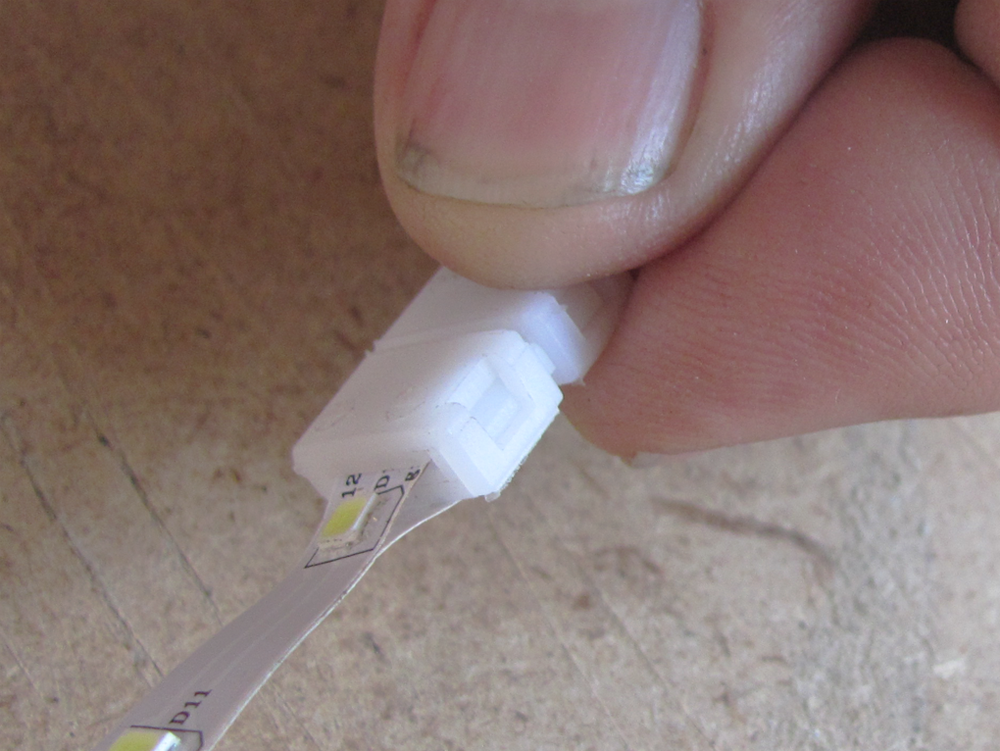
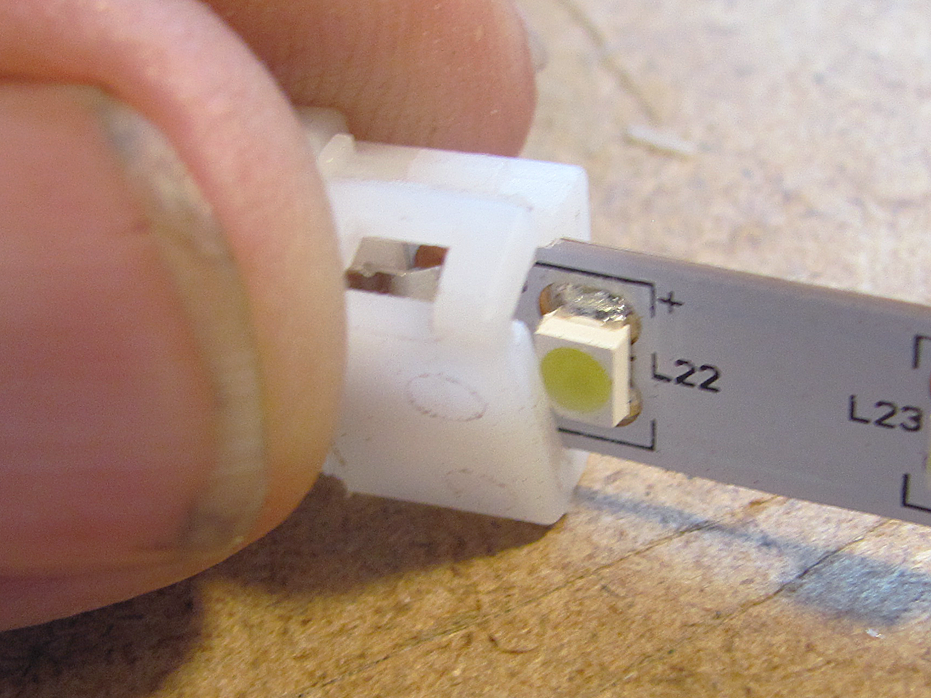
 11. On the striplight with 50mm segments, there's plenty of clearance for the first emitter
11D.png
11. On the striplight with 50mm segments, there's plenty of clearance for the first emitter
11D.png
11. On the striplight with 50mm segments, there's plenty of clearance for the first emitter
11D.png


DHTMLGoodies.com
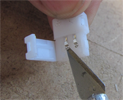
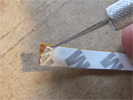
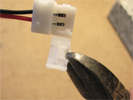
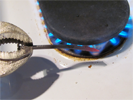
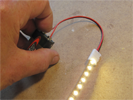
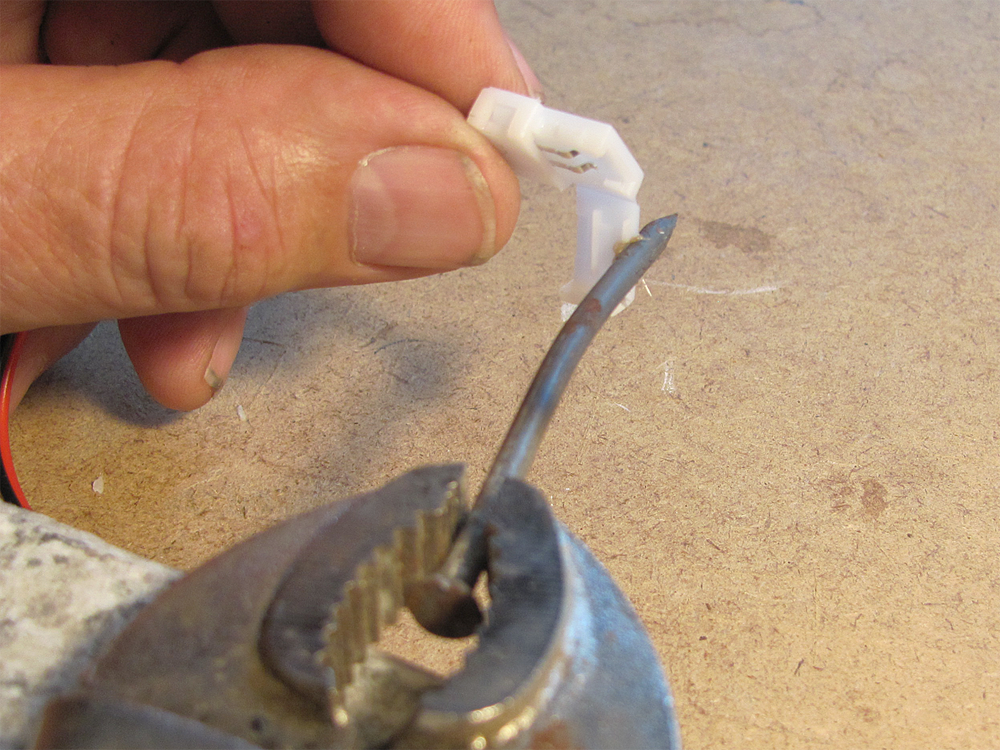
 22. Here I am using a soldering iron - it's pretty thick
a thinner wire lets you shape more accurately 22D.png
22. Here I am using a soldering iron - it's pretty thick a thinner wire lets you shape more accurately 22D.png


DHTMLGoodies.com
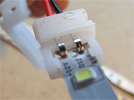
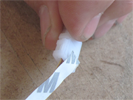
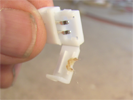
 28. ... and there's no way to make this 8mm connector fit a 10mm striplight
28D.png
28. ... and there's no way to make this 8mm connector fit a 10mm striplight
28D.png
 28. ... and there's no way to make this 8mm connector fit a 10mm striplight
28D.png
28. ... and there's no way to make this 8mm connector fit a 10mm striplight
28D.png