Click on the slideshow picture (right) for a printable copy
Here's where we're starting

Here's where we're going

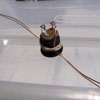
E248 Jack and Plug

EL66 tool


 cutting grooves with a dremel burr so the wires can come to the outside
CustomJack01D.jpg
cutting grooves with a dremel burr so the wires can come to the outside
CustomJack01D.jpg

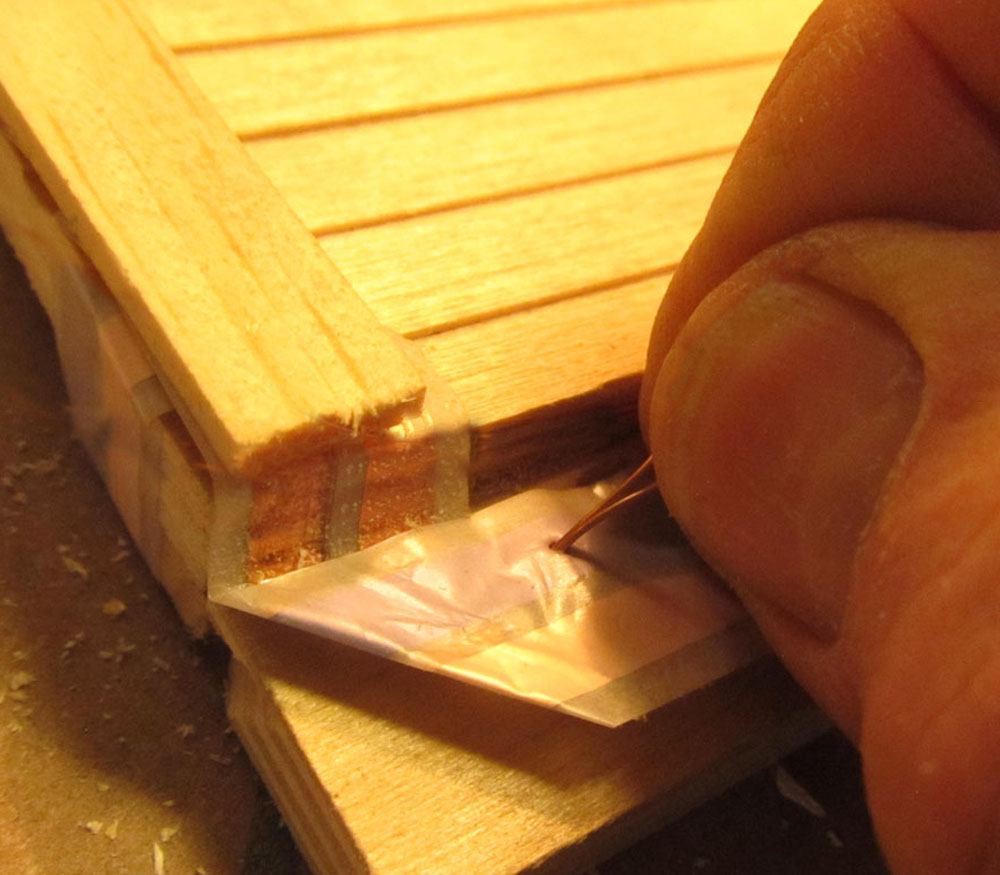
 This is where the tapewire is most often routed for a Surface Junction connection
IMG_5563D.jpg
This is where the tapewire is most often routed for a Surface Junction connection
IMG_5563D.jpg


 heat softens glue but don't let the paint get so hot you can't lay your hand on it
IMG_5573D.jpg
heat softens glue but don't let the paint get so hot you can't lay your hand on it
IMG_5573D.jpg


 drill just past the tapewire and a 5/8" on center below the bottom of the wall
IMG_5586D.jpg
drill just past the tapewire and a 5/8" on center below the bottom of the wall
IMG_5586D.jpg
 Glue in the Jack - use lots of glue spread all the way around to grab the threads
IMG_5587D.jpg
Glue in the Jack - use lots of glue spread all the way around to grab the threads
IMG_5587D.jpg


This slideshow uses a 248 Jack mounted with all the wiring on the outside to replace a Surface Junction with minimum disruption of a finished house. This isn't the preferred use of a Jack and Plug, but it is an option when there's no access to the underside or to avoid working inside the house.
for under-the-house wiring