![]()
![]()
![]()
![]()
![]()
![]() What is " Net " Wiring?
What is " Net " Wiring?
Recommended
#7999 Wiring Set
Customizing Blog #2 parts
Getting Started:
E-Slot the Base Floor
E-Slot the Foundation (here)
*after construction: Drill
Wiring Diagrams (during construction):
1. Main Loop
2. Ceiling Loops (before Dividers)
3. Base Loops
4. Bridge Loops
5. Ceiling and Sconces
Wiring the Jack Wired Turntable
Connections (small hollow eyelets)
Testing, troubleshooting
Finishing
Coach Light
Wall Liner Paper
Paint
Wallpaper
Moldings
Fixtures & outlets
LEDs
Pleated Re-direct
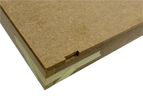
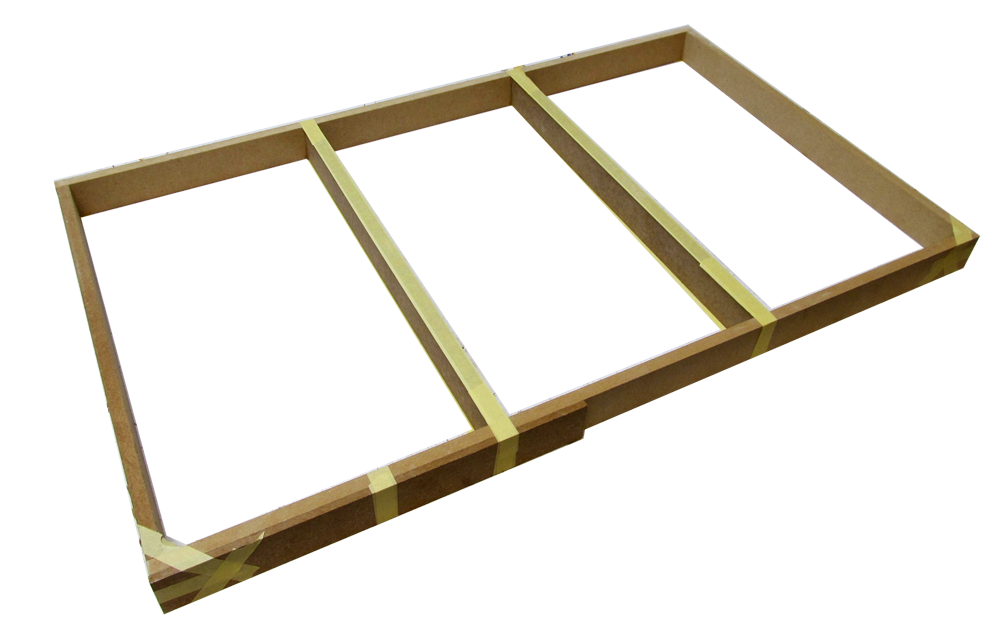
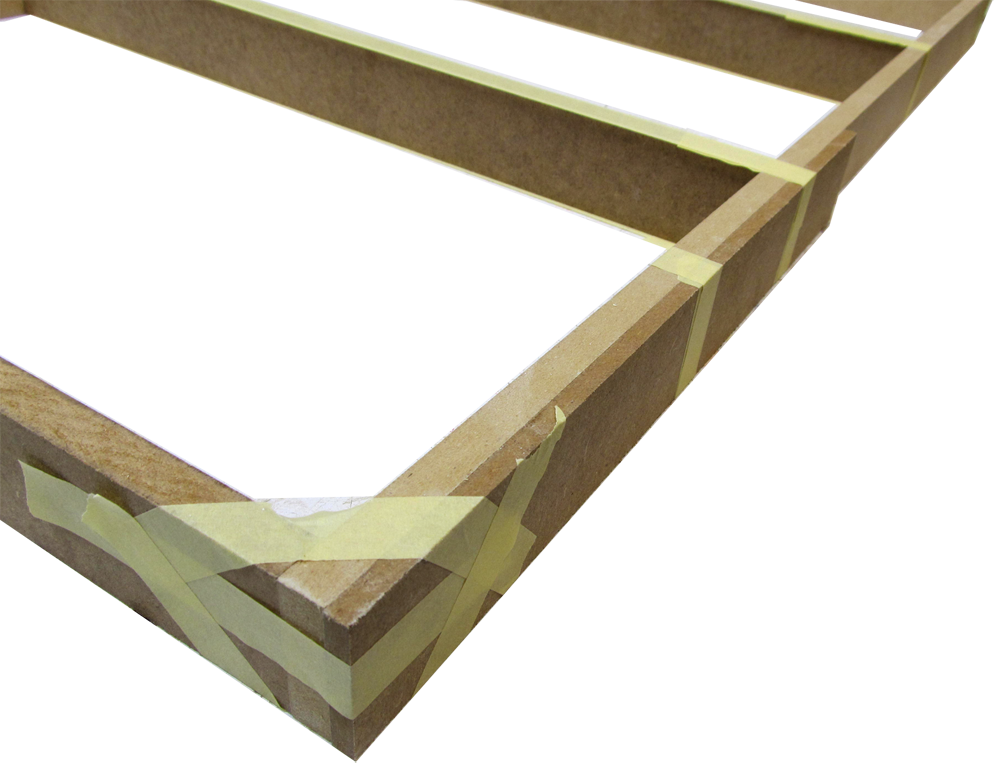
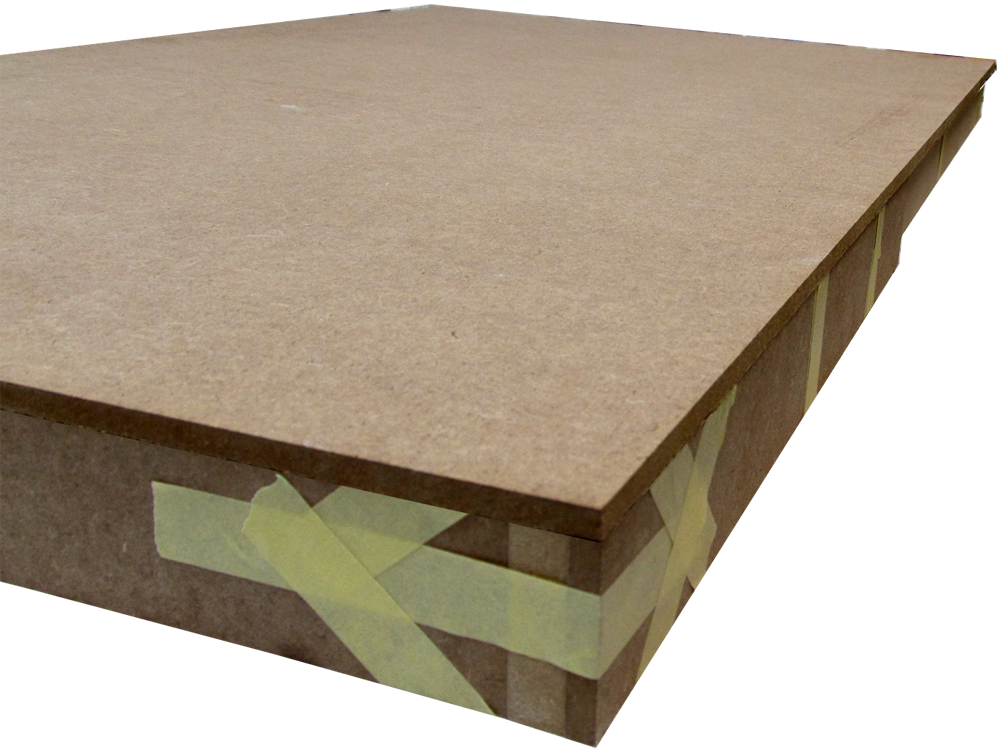
This is a taped-together test set of parts... in your build, you will take off the Foundation's tape before attaching the Base Floor
A FLAT work table is important!

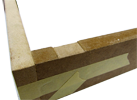
 2. The Foundation is square; the glue is dry (in your build you will take off the tape now)
Foundation/02D.png
2. The Foundation is square; the glue is dry (in your build you will take off the tape now)
Foundation/02D.png

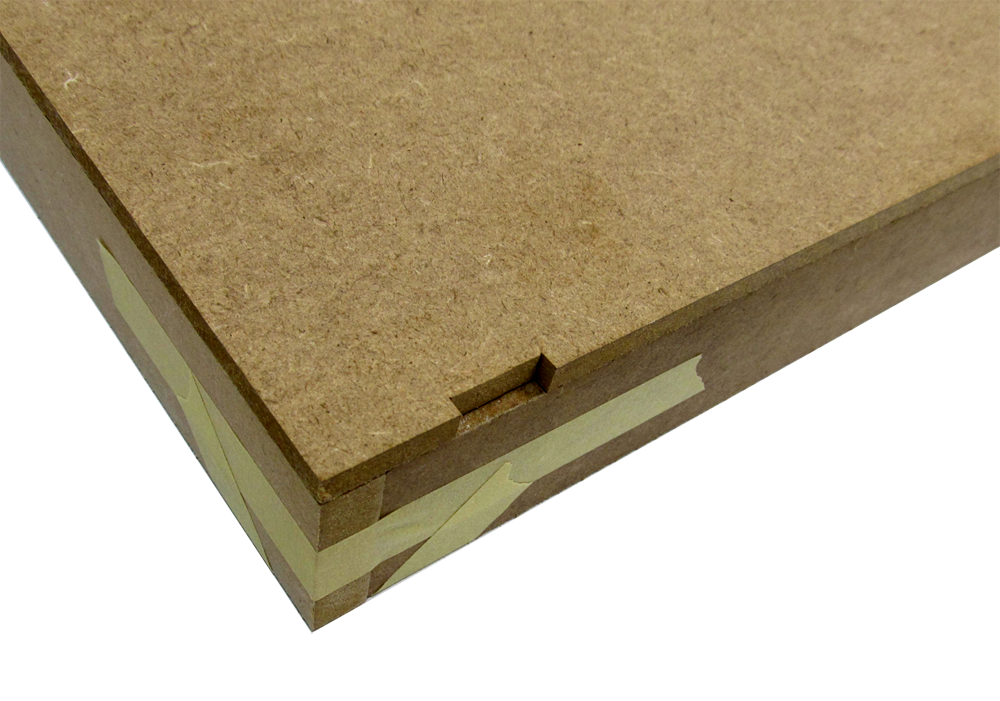
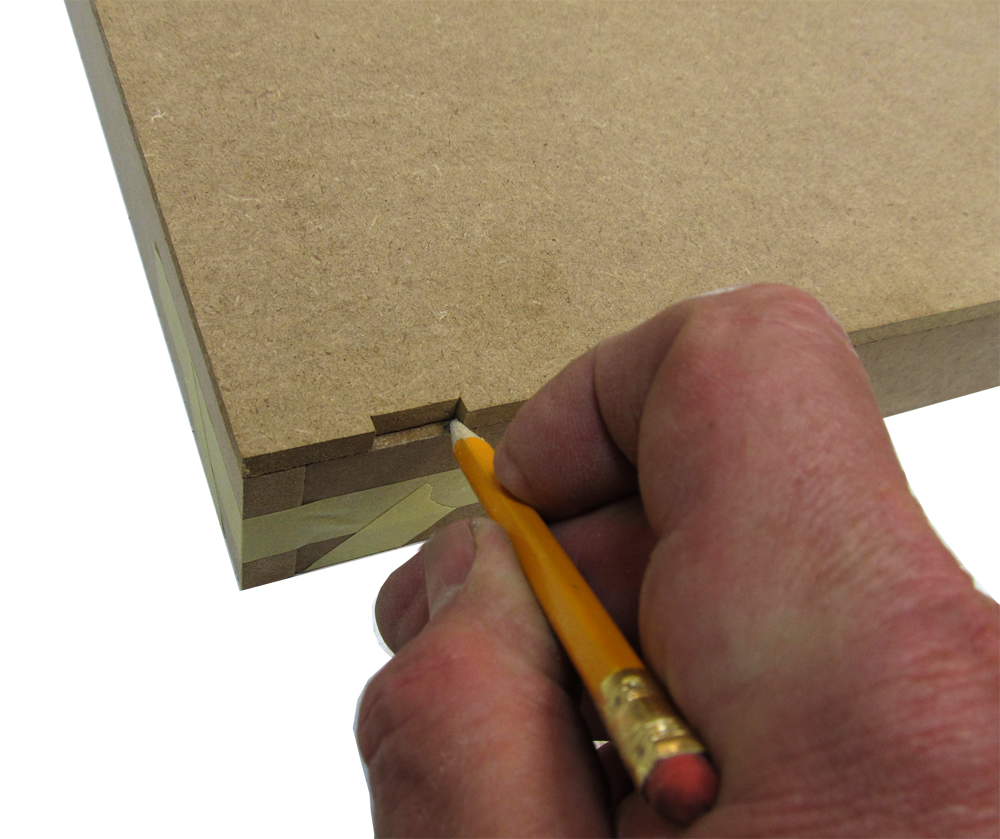
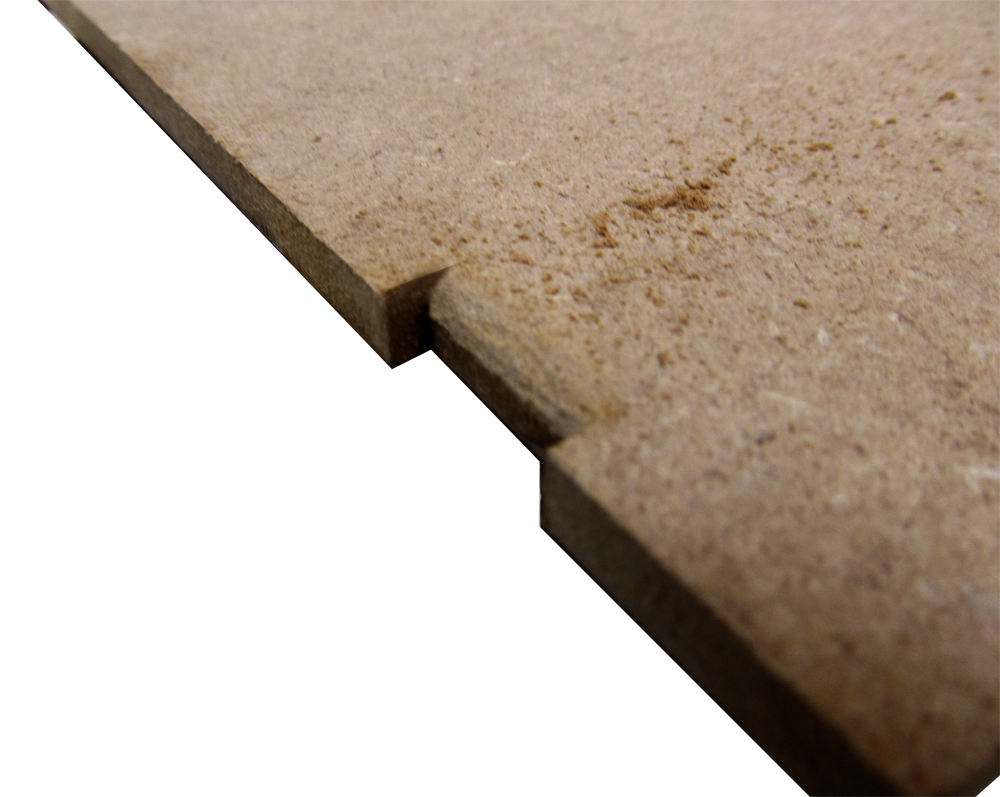
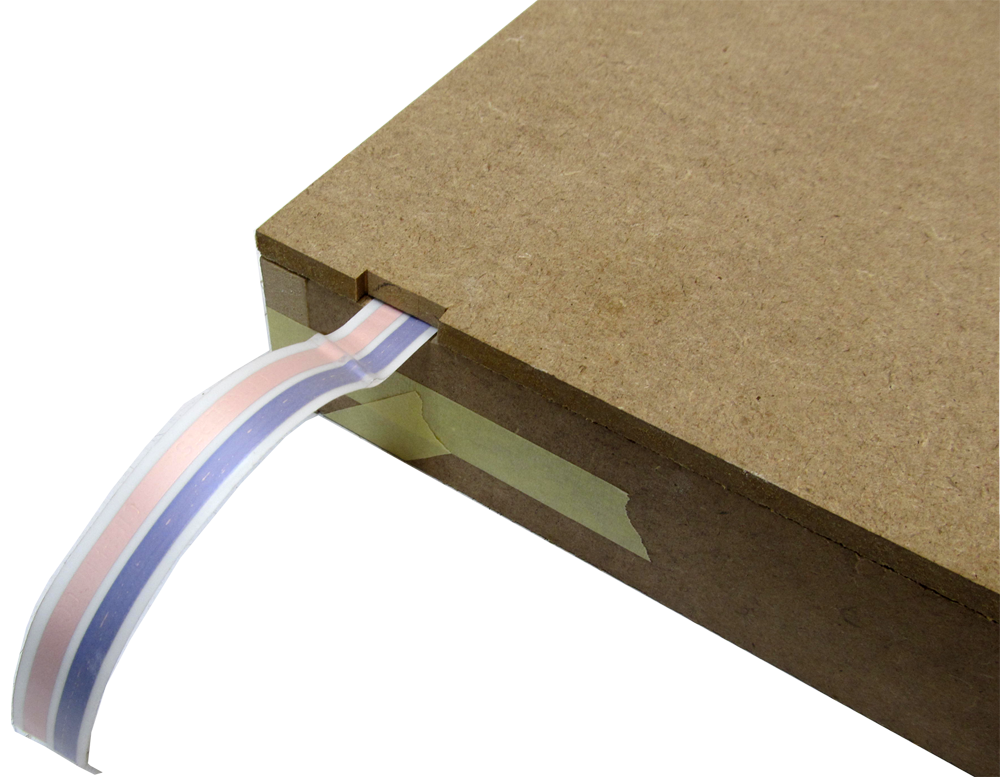
 4. If your Base Floor doesn't have this E-Slot, follow "E-Slot the Base Floor" (link at left)
Foundation/04D.png
4. If your Base Floor doesn't have this E-Slot, follow "E-Slot the Base Floor" (link at left)
Foundation/04D.png
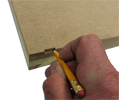
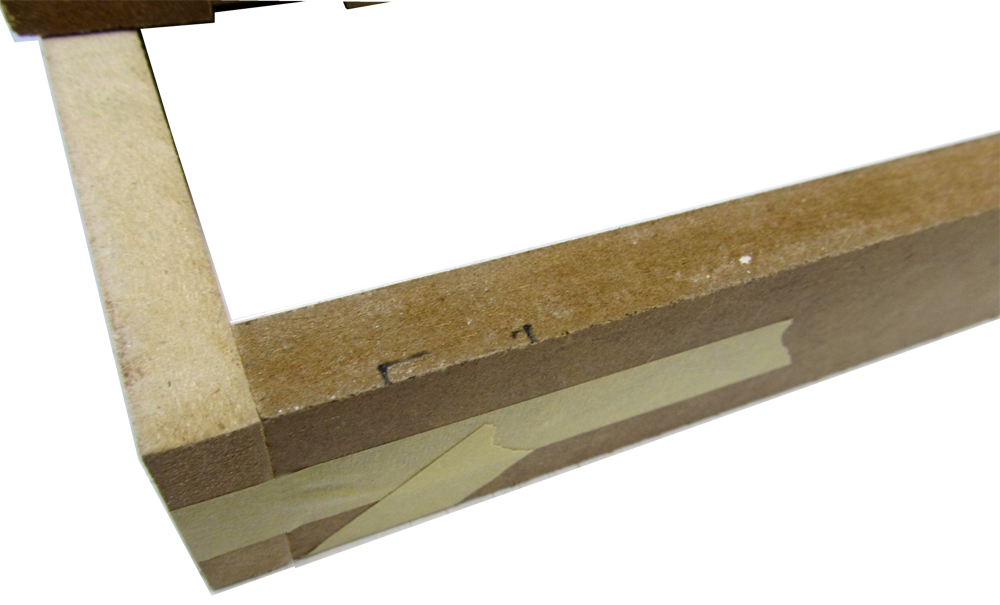
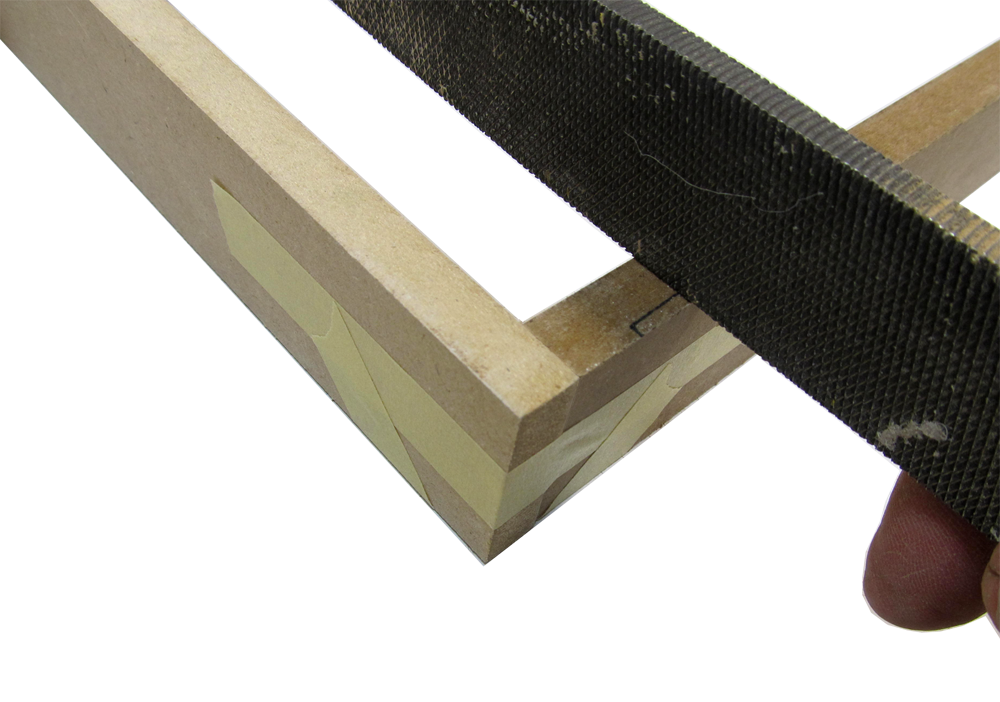
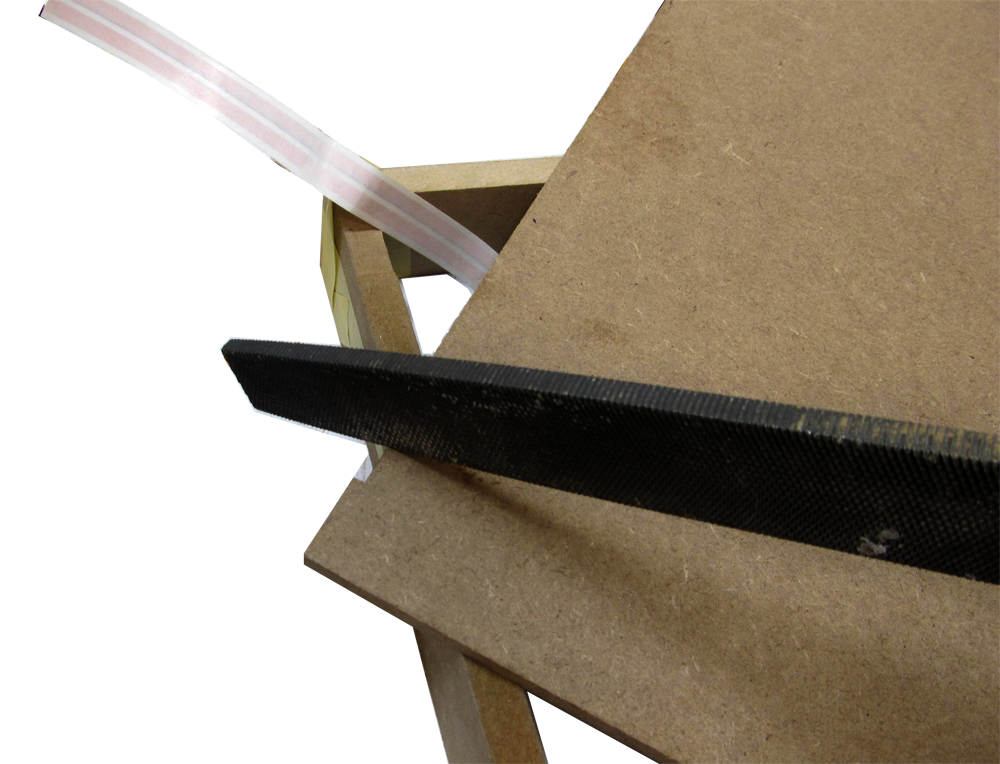
 7. Use a coarse double-cut file... or coarse sandpaper wrapped around a stick
Foundation/07D.png
7. Use a coarse double-cut file... or coarse sandpaper wrapped around a stick
Foundation/07D.png
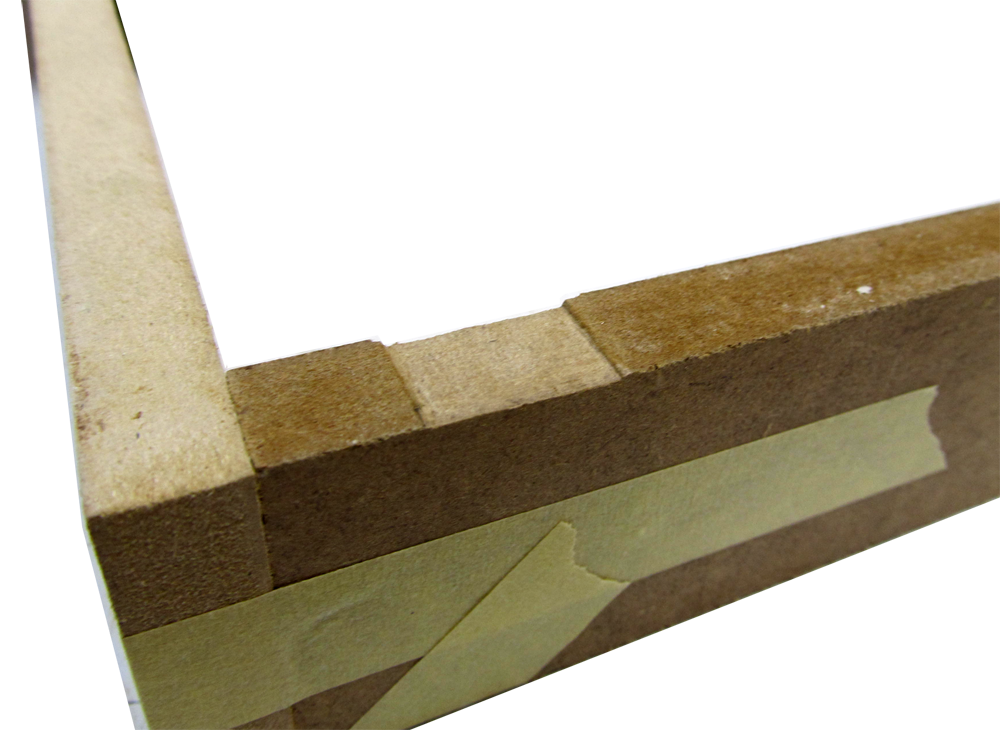
 Consider also doing this to the Gable Right Side used on the 1st floor (see #5 at left)
Foundation/08D.png
Consider also doing this to the Gable Right Side used on the 1st floor (see #5 at left)
Foundation/08D.png


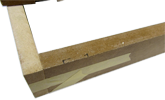
 12. Glue the Base Floor to the Foundation - don't glue where the tapewire is.
Foundation/12D.png
12. Glue the Base Floor to the Foundation - don't glue where the tapewire is.
Foundation/12D.png


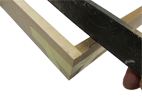
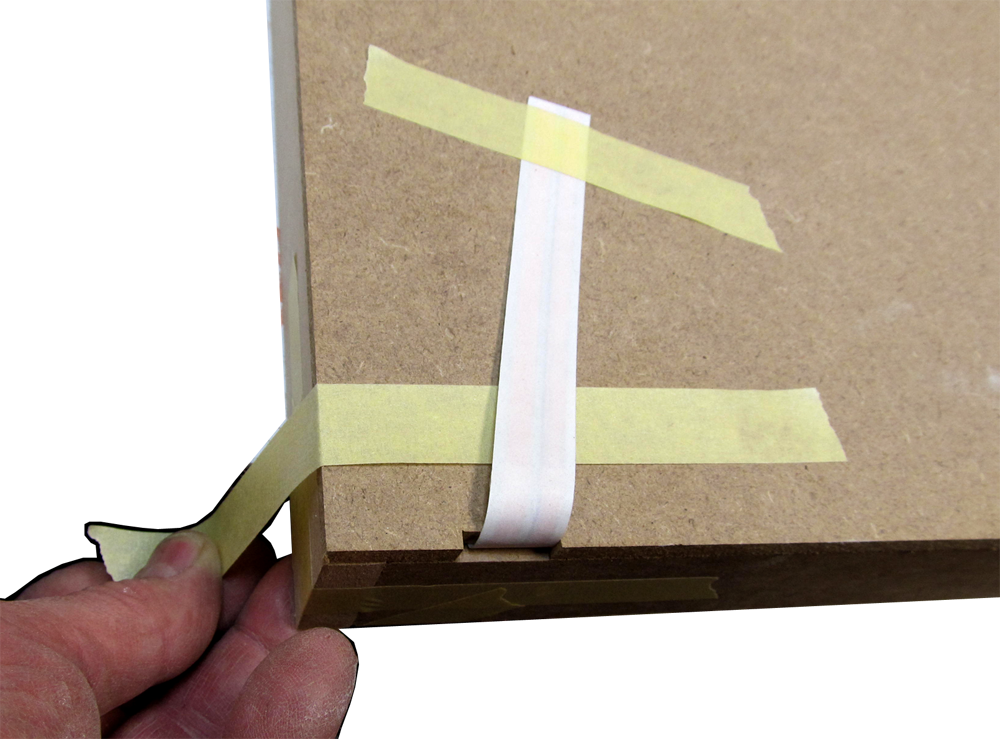
 17. Tape and weight as necessary for a tight and flat Base (you need more weight than this!).
Foundation/16D.png
17. Tape and weight as necessary for a tight and flat Base (you need more weight than this!).
Foundation/16D.png
Q: The instructions mention creating a "loop" with the first base run. Does this mean that there are two connections - the first coming from the jack and a second back to the jack after I have created the base loop? If so, I assume I connect the end of the loop to the jack just as I did at the start of the loop.
A: When I wire a Victoria's Farmhouse, I run the Main up thru the e-slots, across the attic (I put a ceiling for a flat place in the attic for lights... running the tapewwire across the front roof has to be pretty low (2+" below the peak) in order to reach it with an eyelet tool after the rear roof is on, but a ceiling lets the tapewire be flat and then it is accessible in a normal orientation), and with folded re-directs, across the attic endwall.
Then I put in the ceiling loops (yes, they will be connected on both ends once the Base Loops are installed).
Then the Dividers and the Base Loops, connecting to the Ceiling Loops on both ends and to the Main, but they are interrupted by the opening for the AccessBay.
Then bridge loops to tie it all together, and then, sconce, ceiling, and thru-wired outlets on the porch. If you are going to put in a coachlight, now's the time for that either hard wired as in this slideshow, or this one, or by setting an eyelet outlet on the outside for eventual use and thru-wiring the eyelets in the same way that the hardwired coachlight is thru-wired in the slideshows.
These links are also accessible from the JM1065 'Wiring' page:
https://www.dollhouseworkshop.net/RGT/1065/Wiring/Wiring01.html
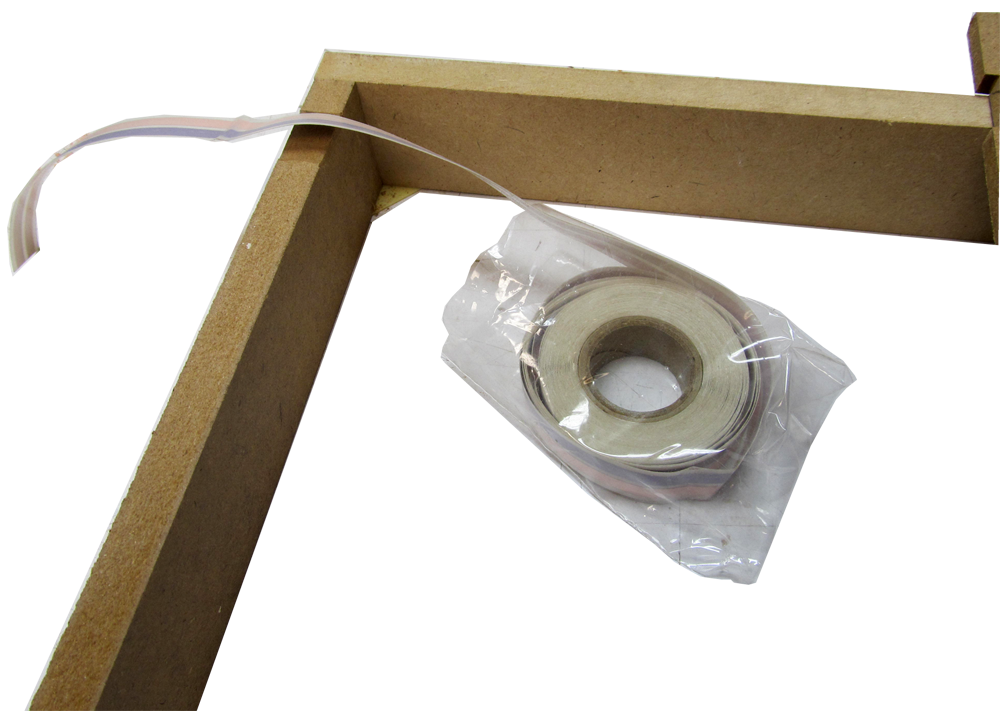
This wiring plan uses two 30' rolls of tapewire.