![]()
![]()
![]()
![]()
Click on the picture for a printable copy
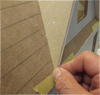
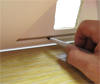
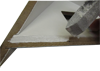
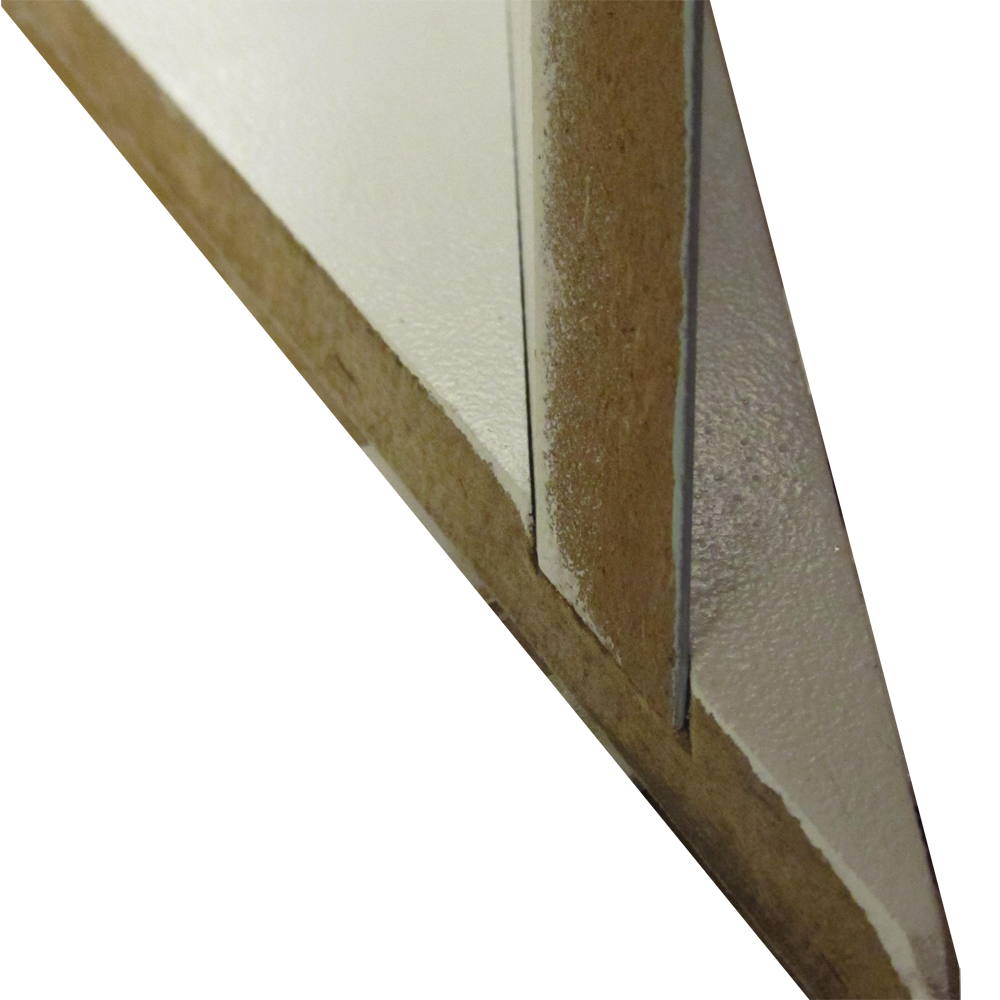
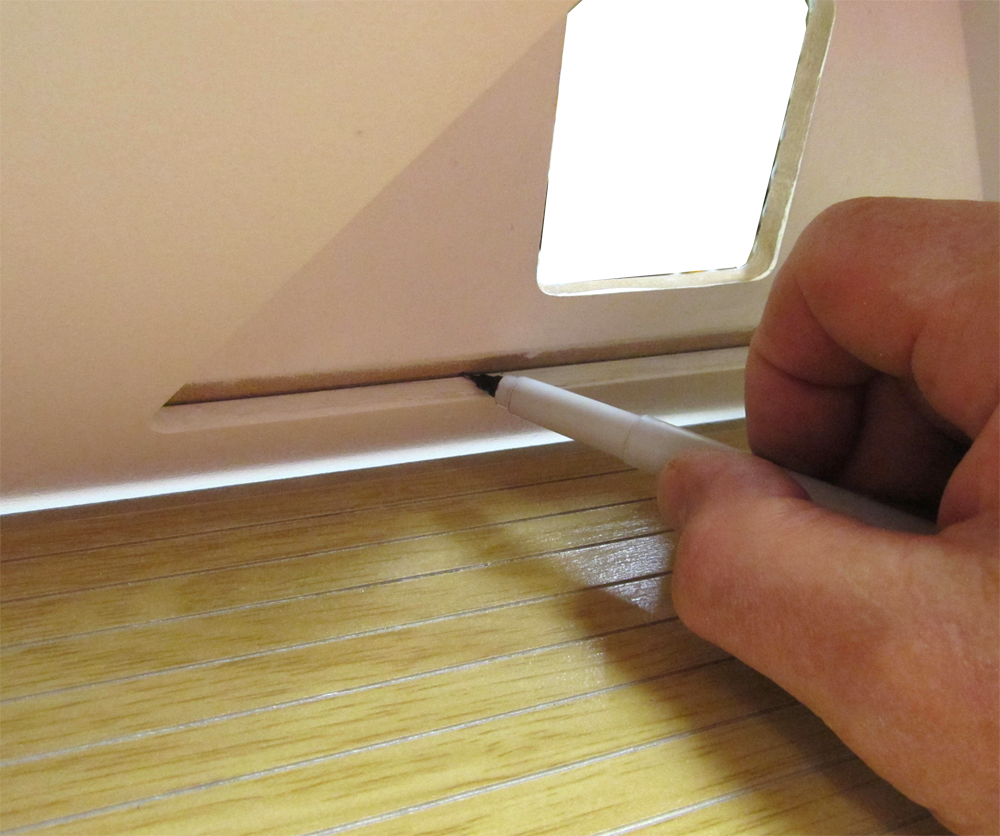
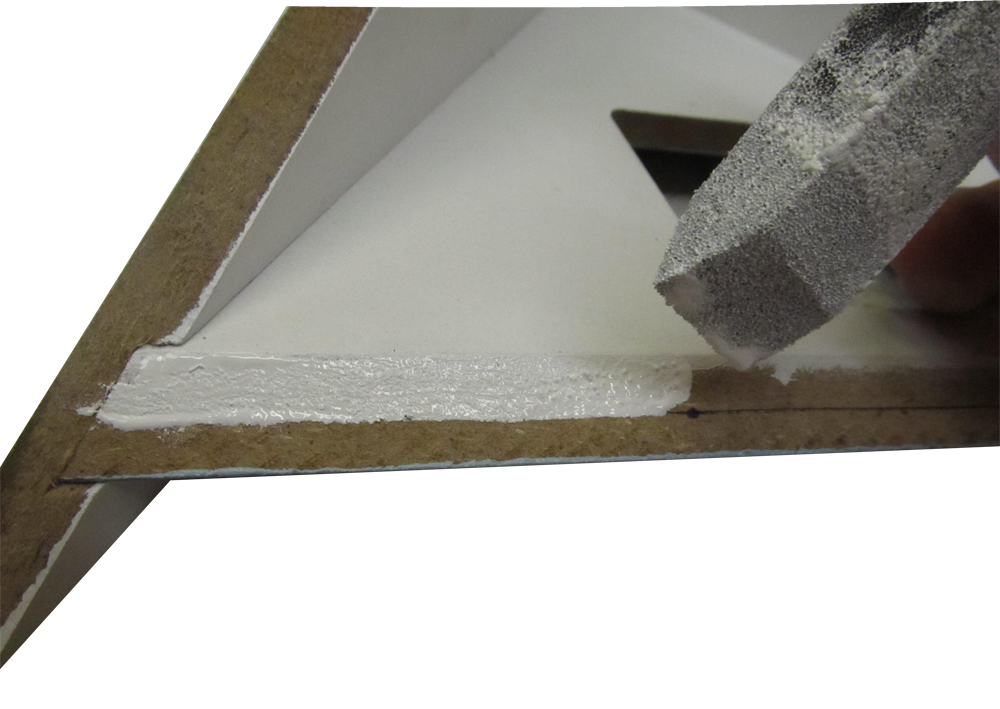
If your floors are tight in the grooves, scrape them


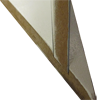
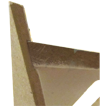
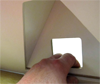
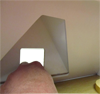
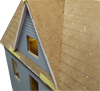
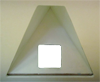
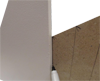
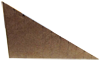
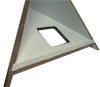
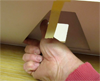
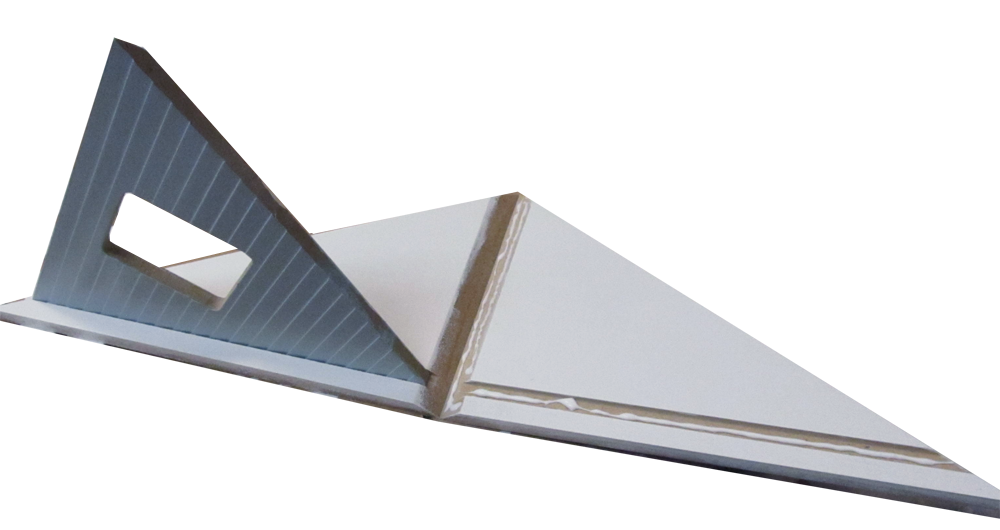
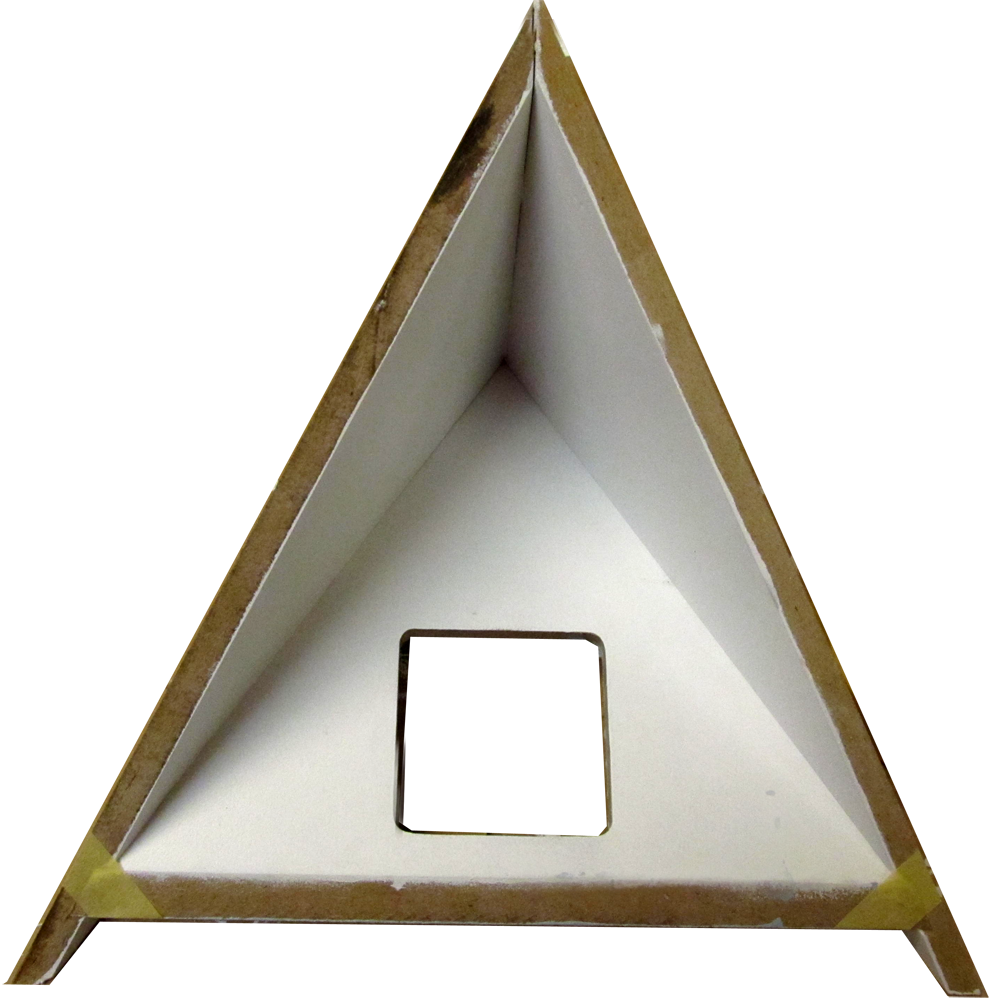
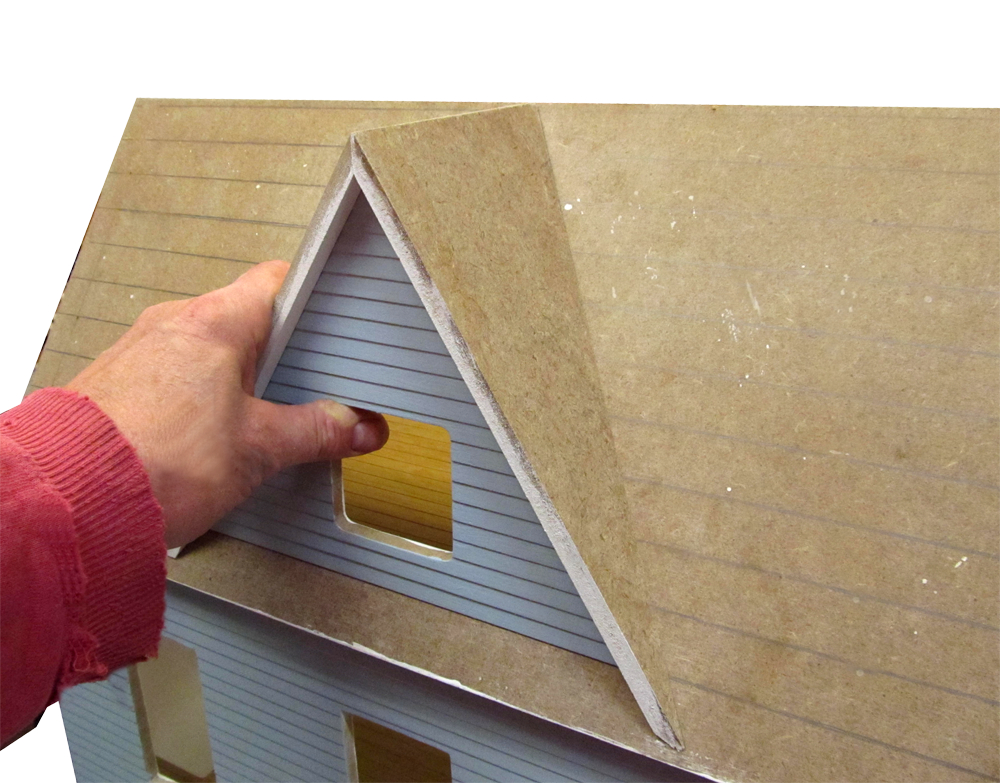
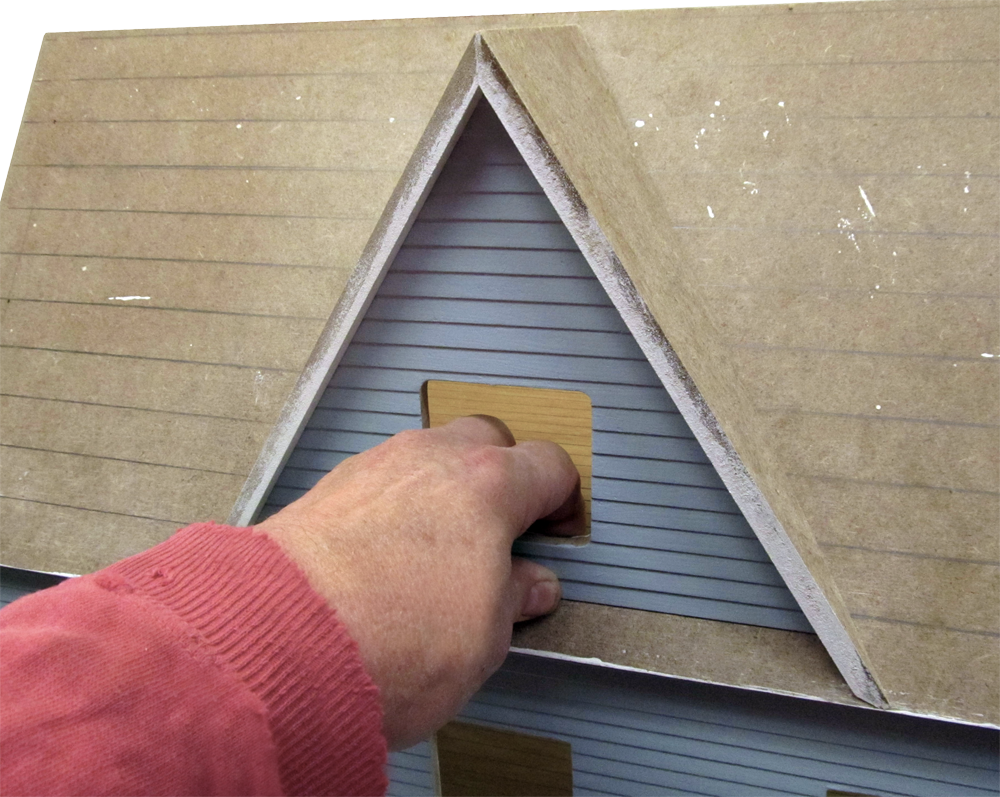
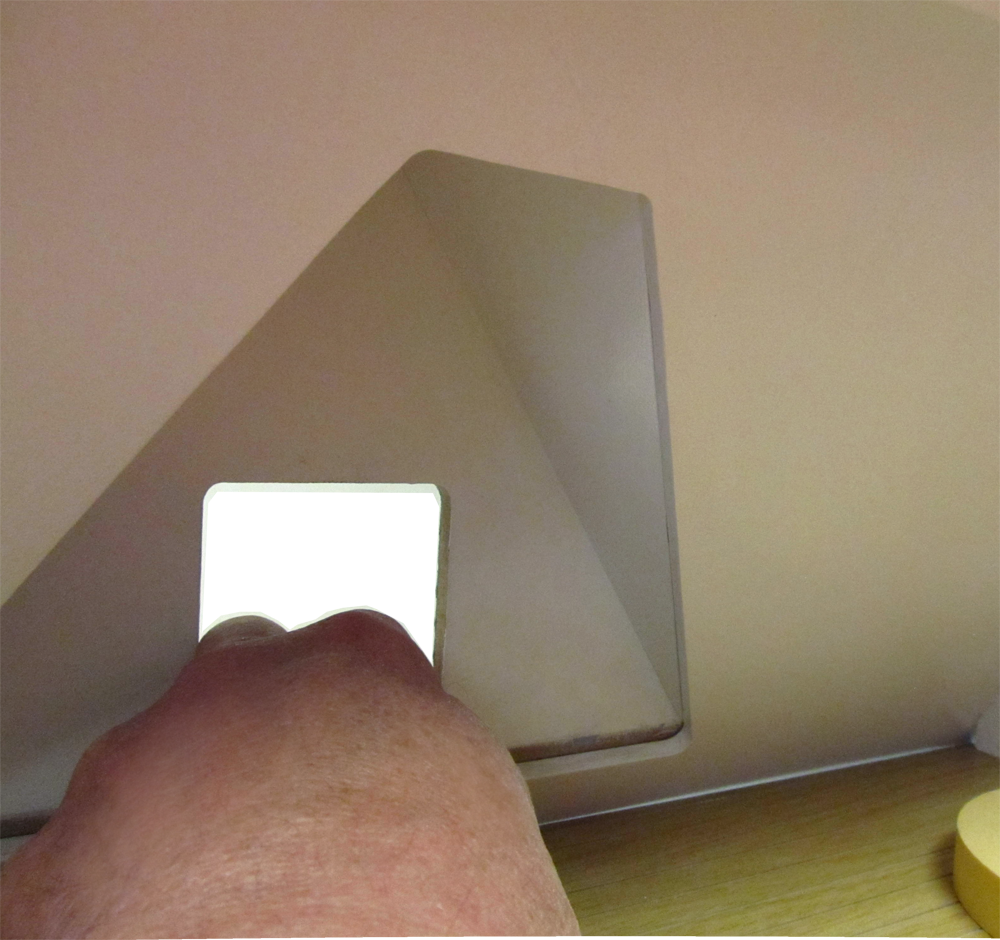
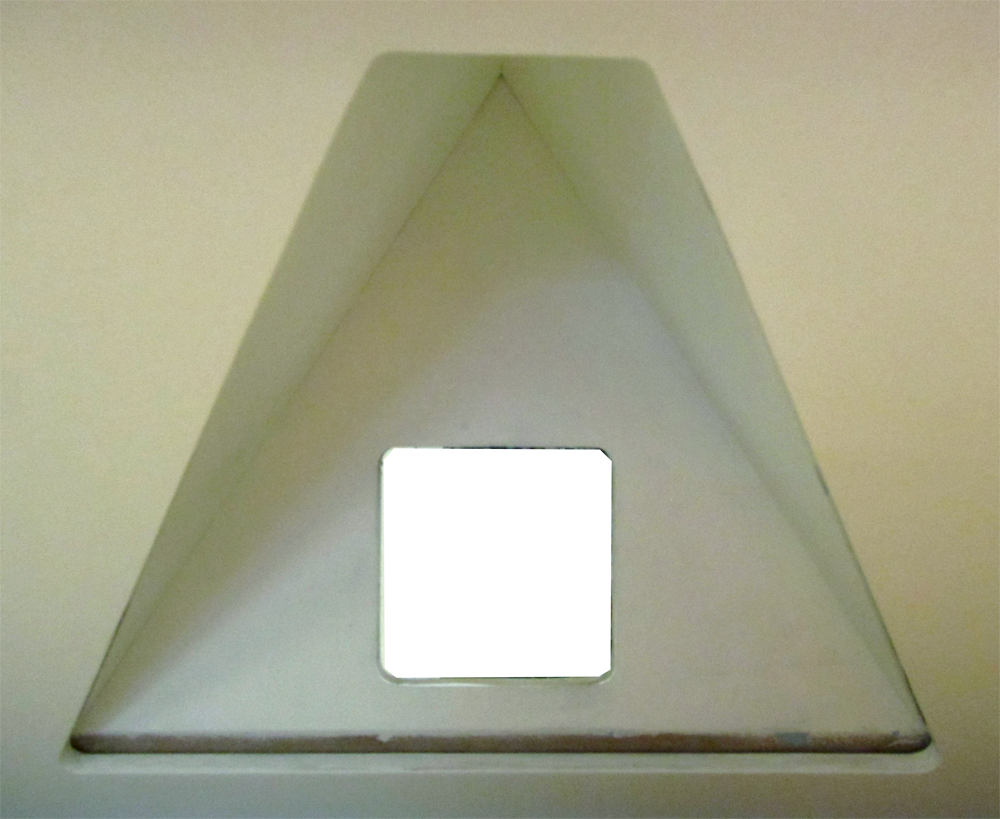
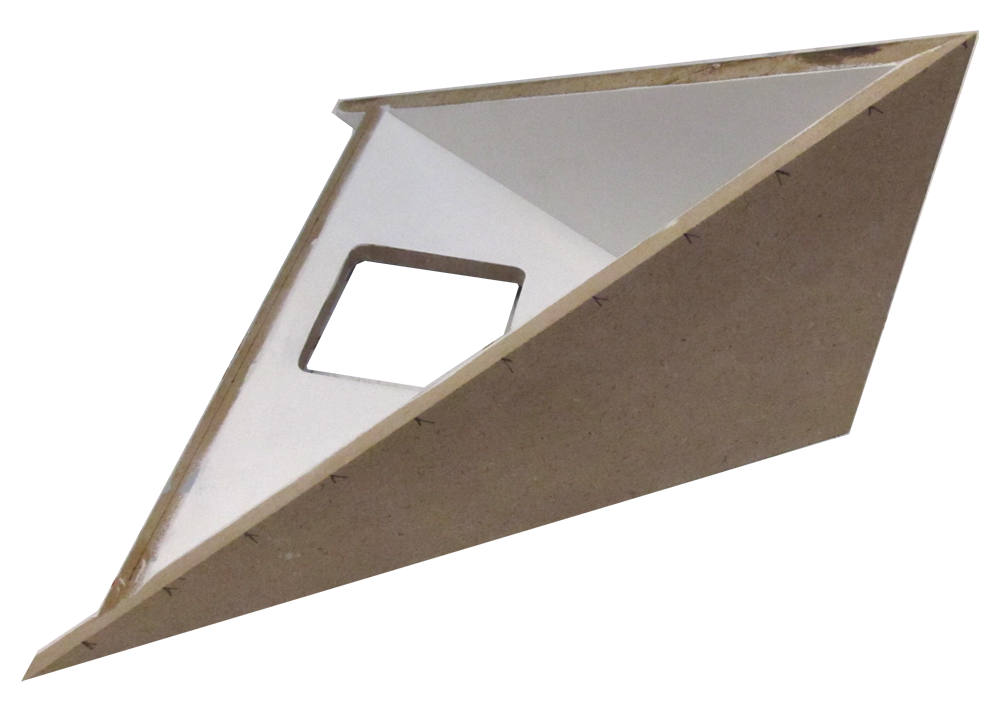
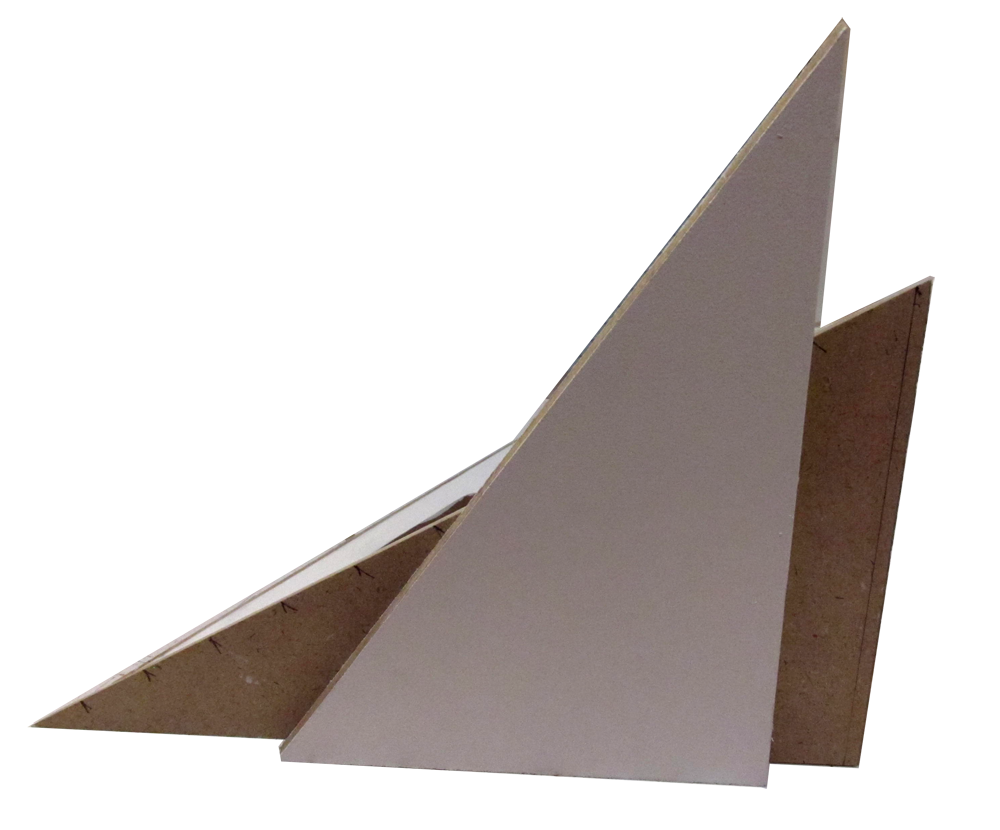
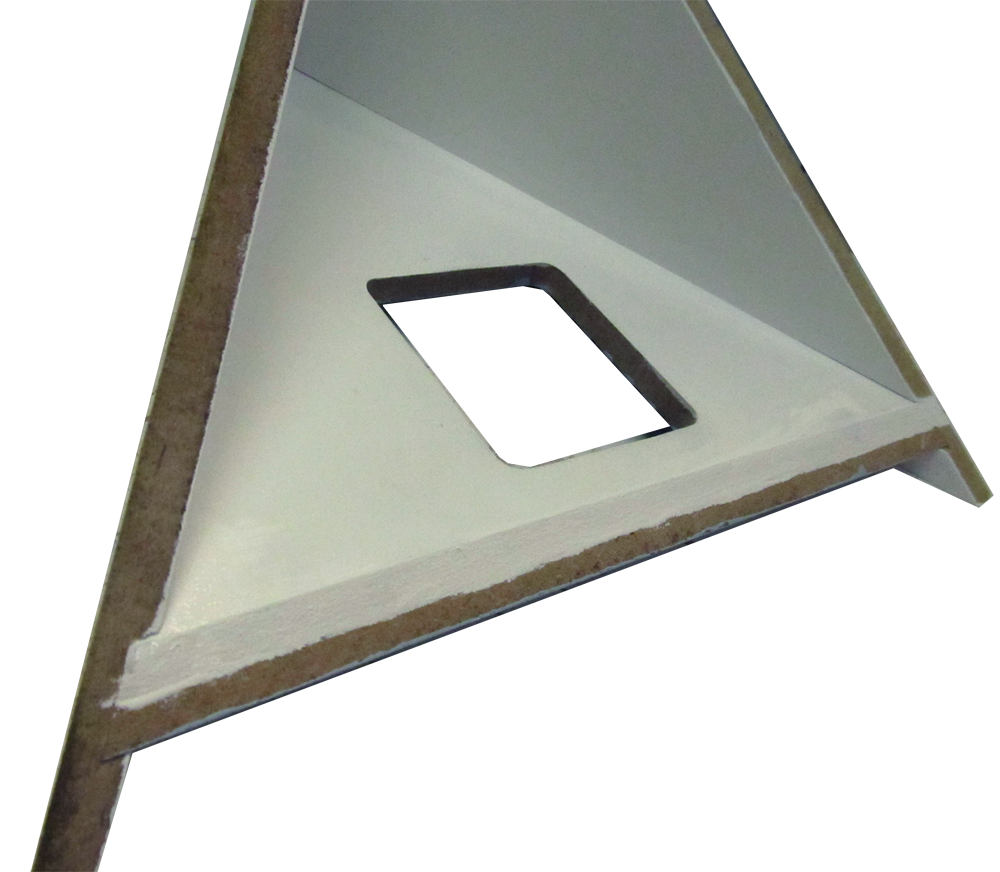
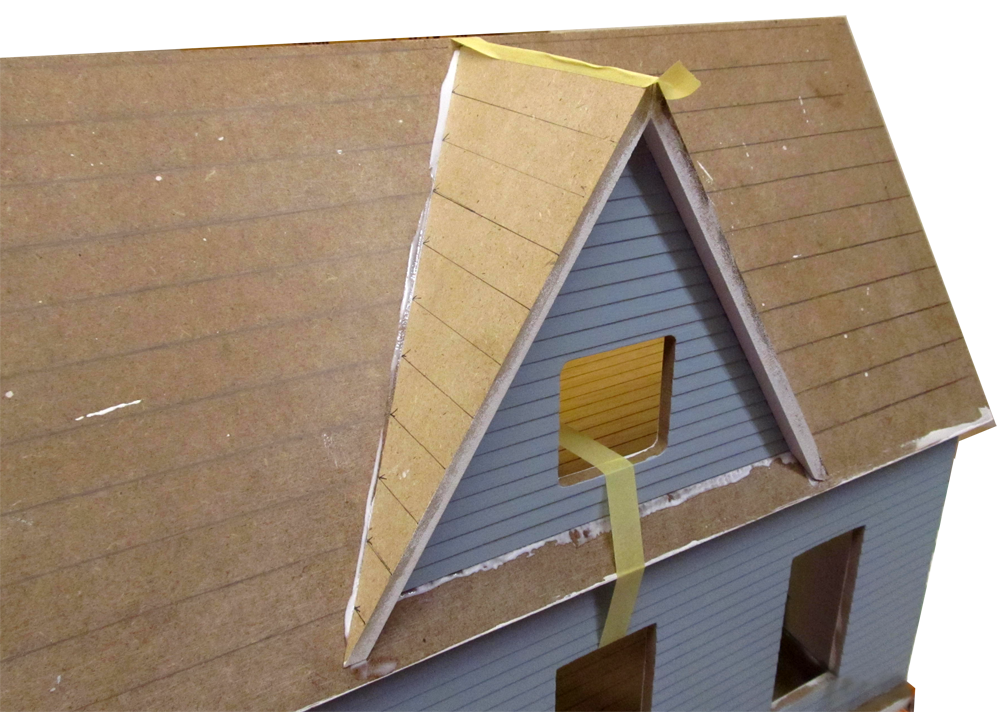
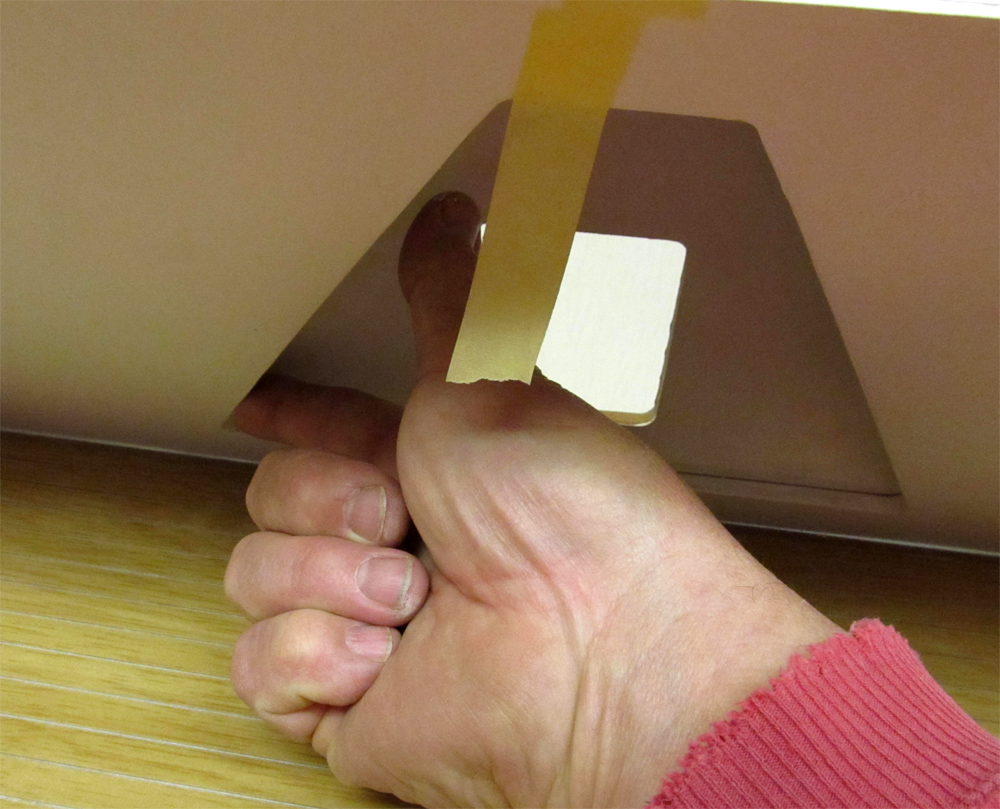
 The Gable Triangle is tight in the groove at the bottom, and centered in the grooves at the top
Gable/126D.png
The Gable Triangle is tight in the groove at the bottom, and centered in the grooves at the top
Gable/126D.png


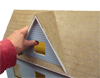
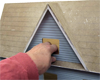
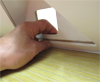
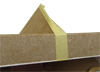
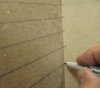
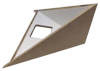
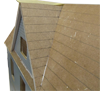
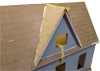
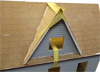
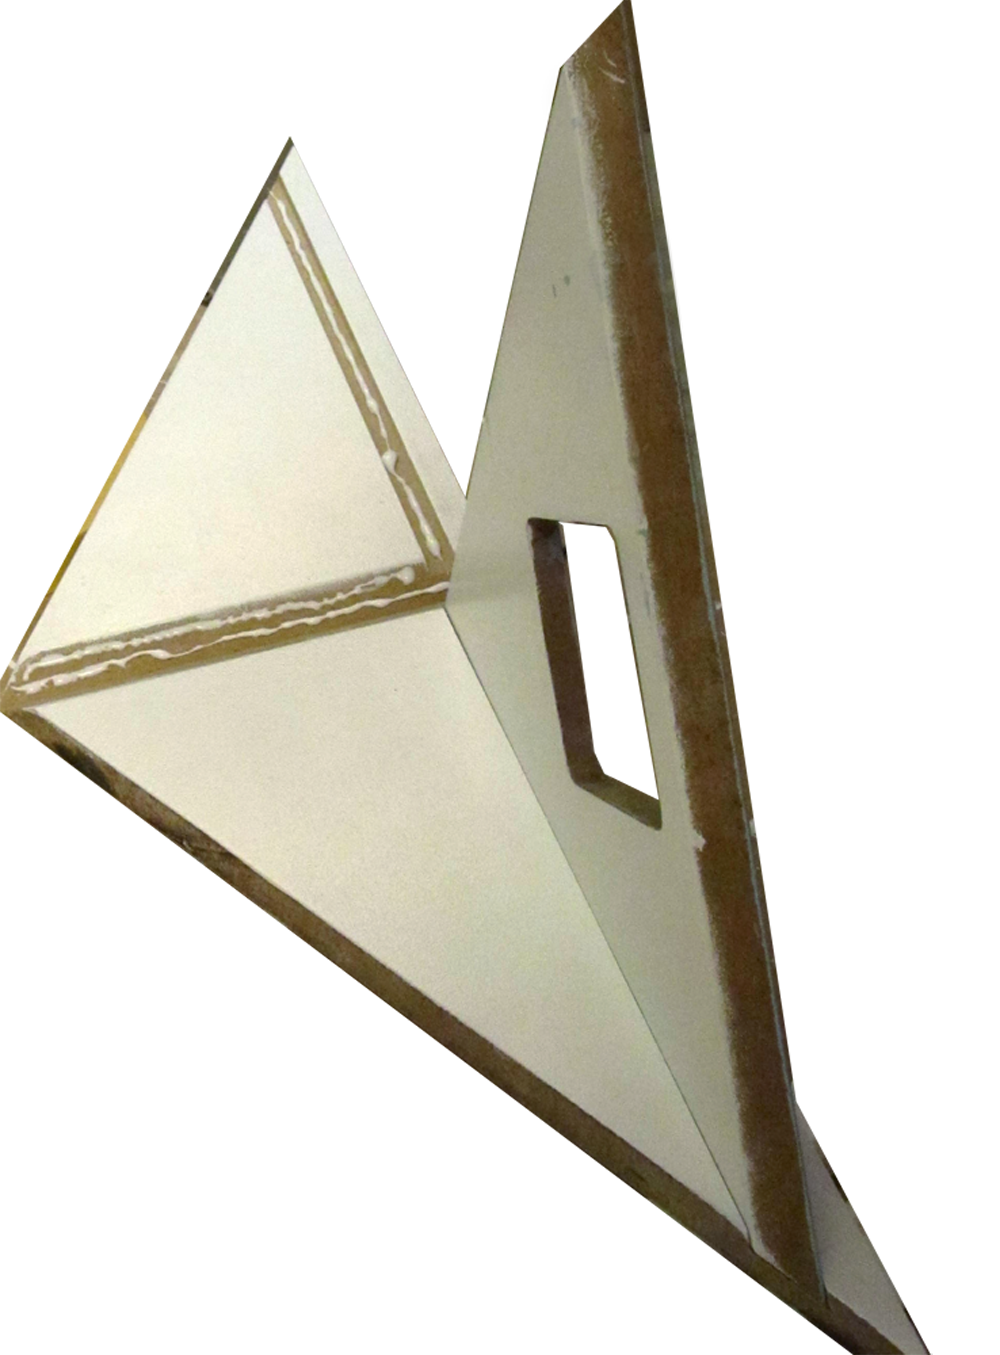
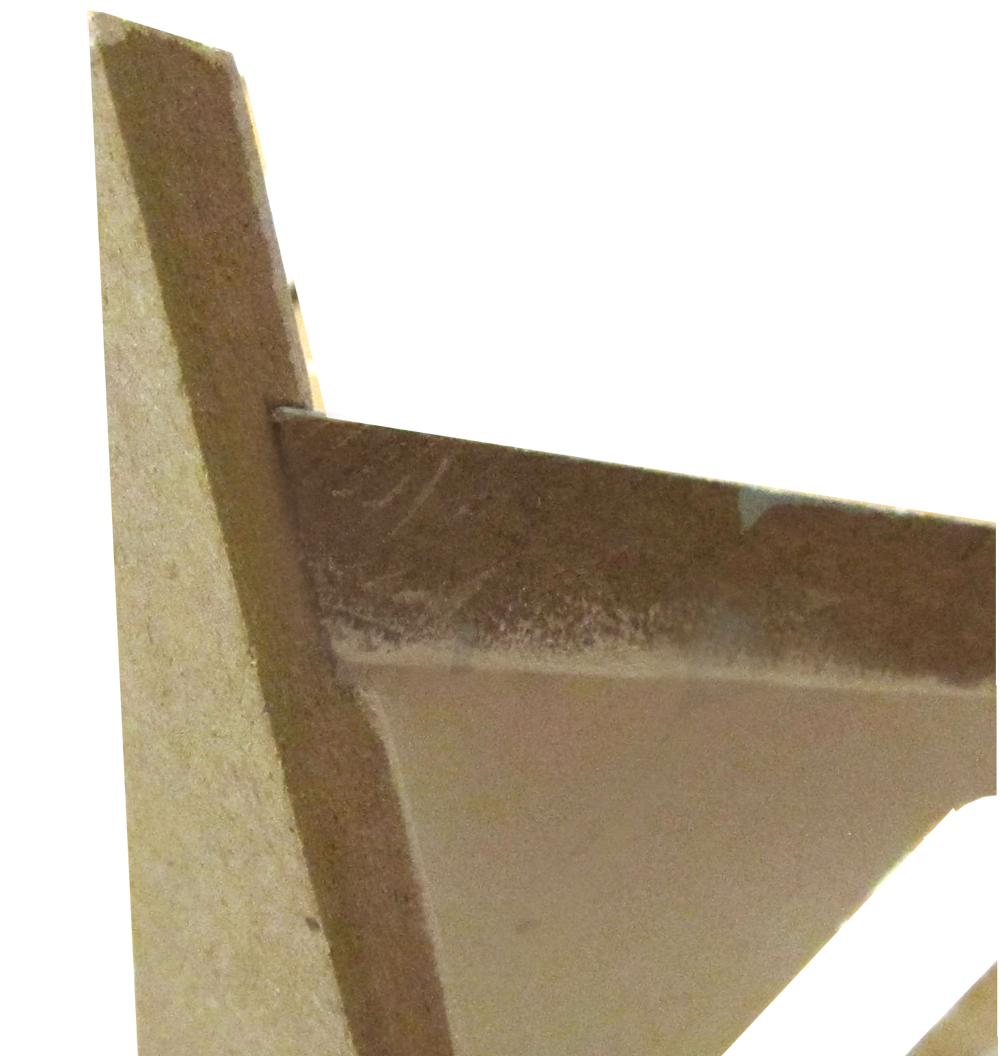
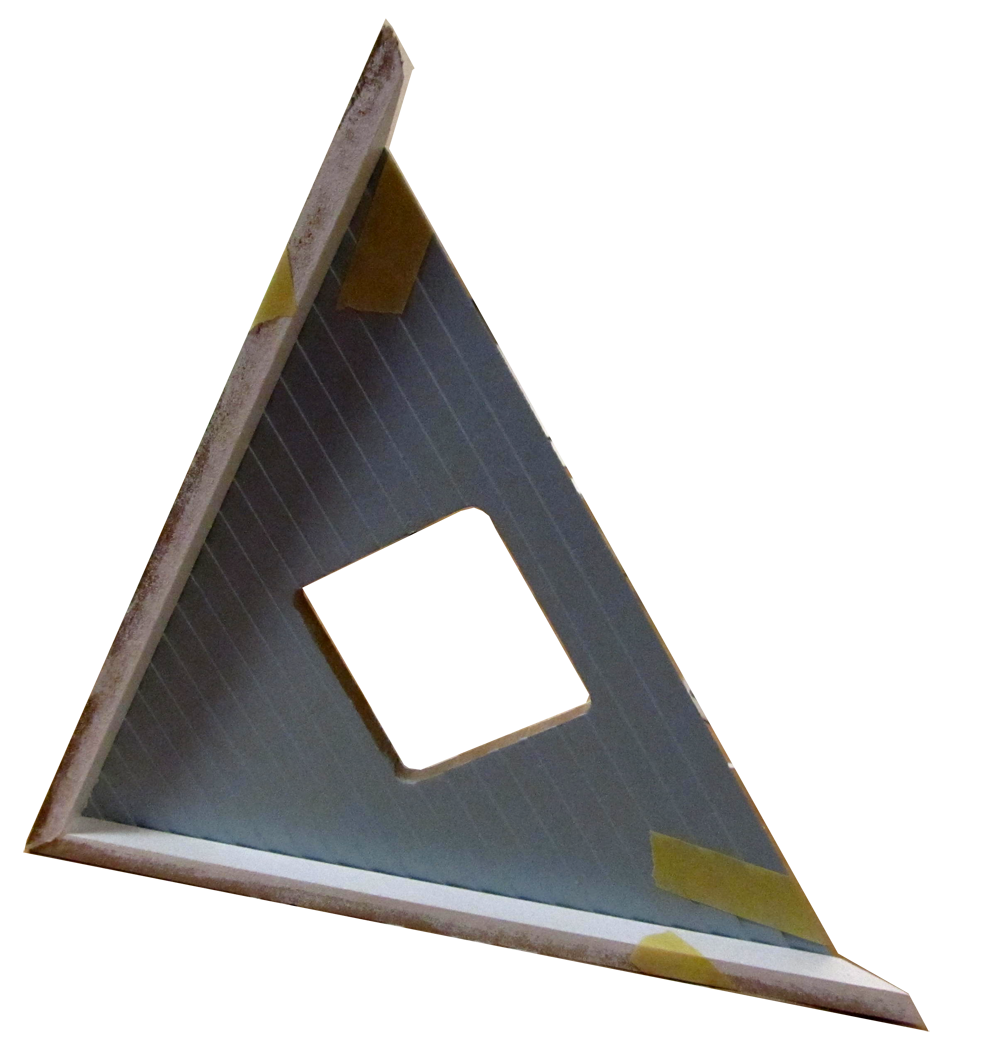
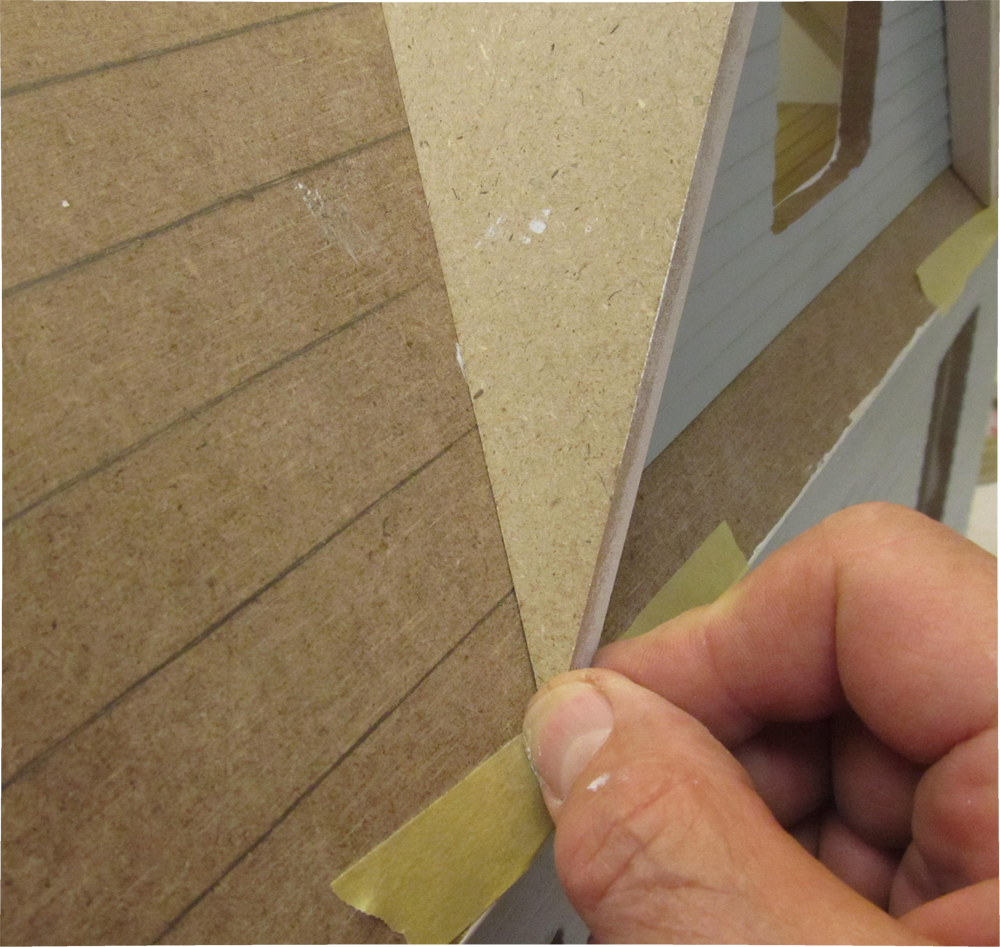
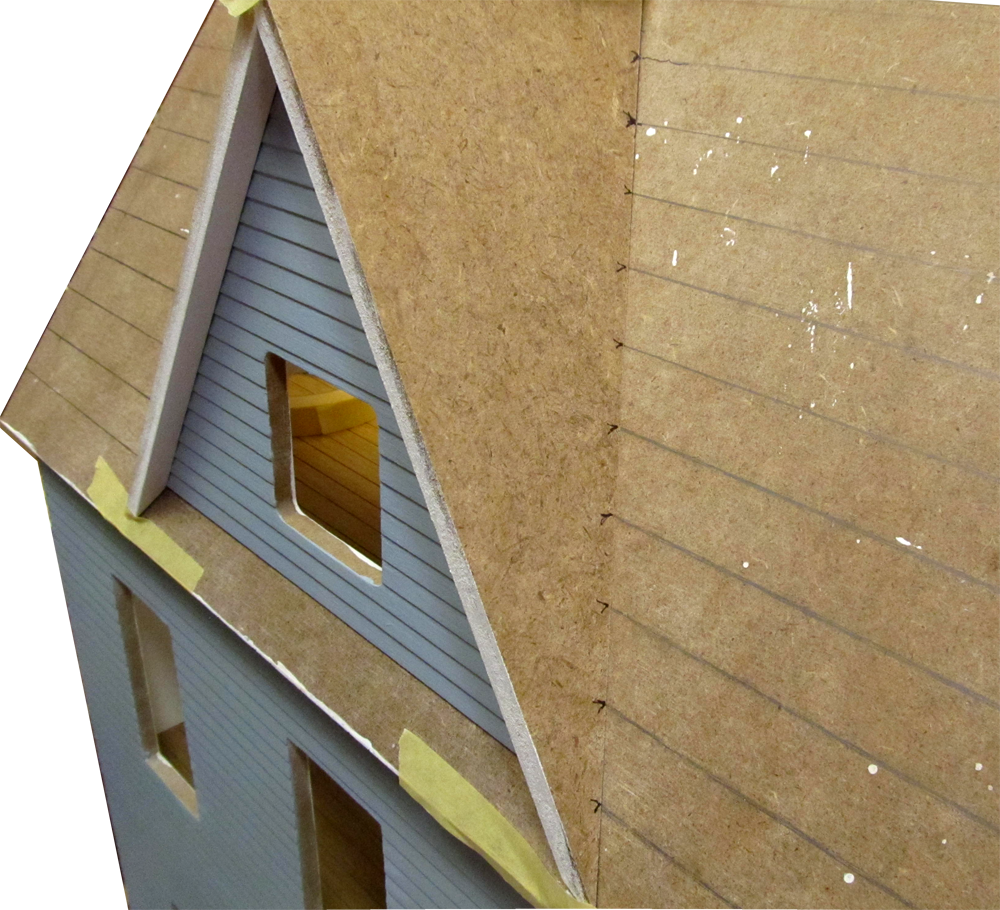
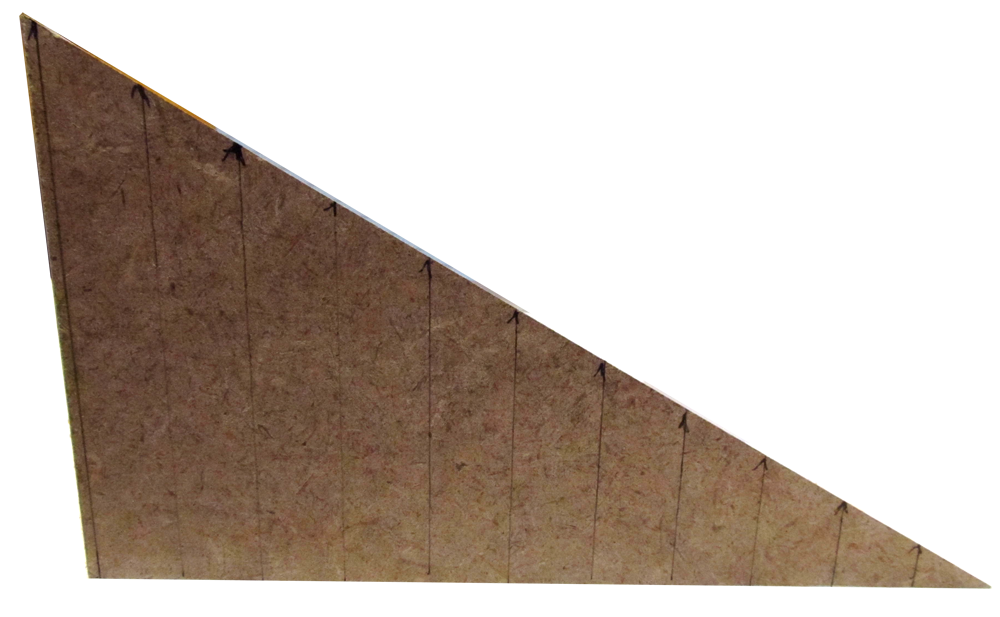
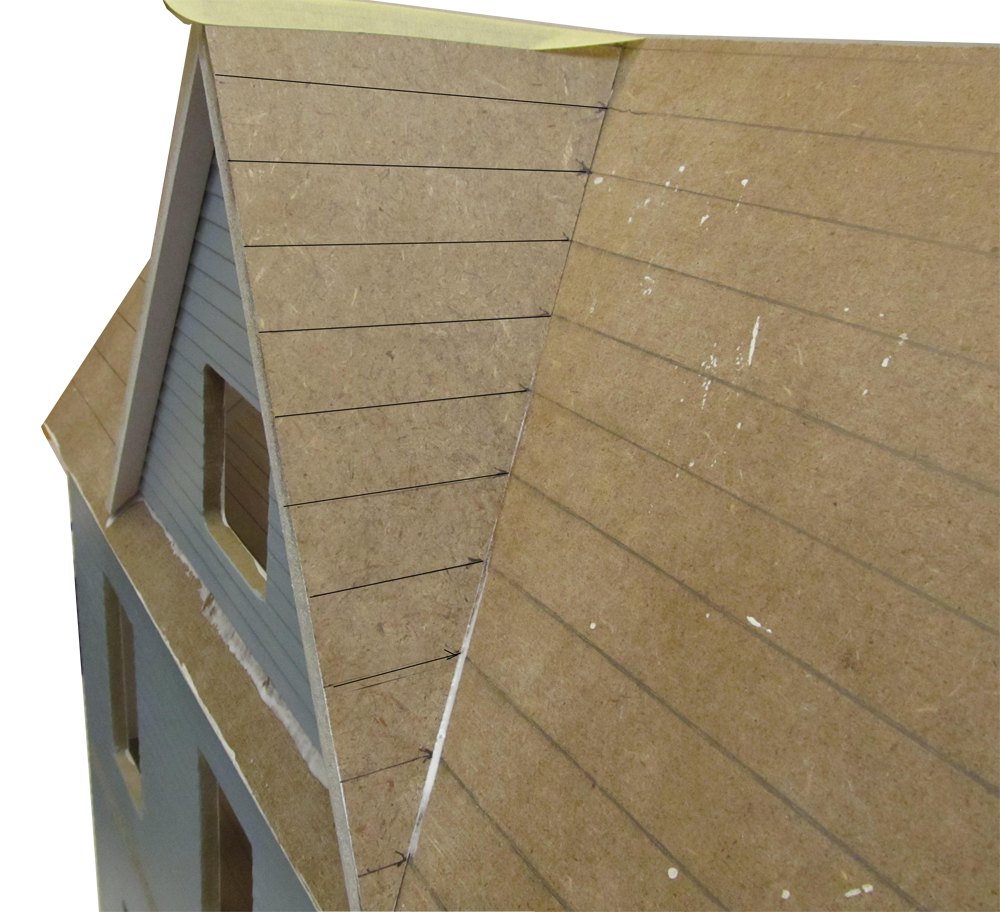
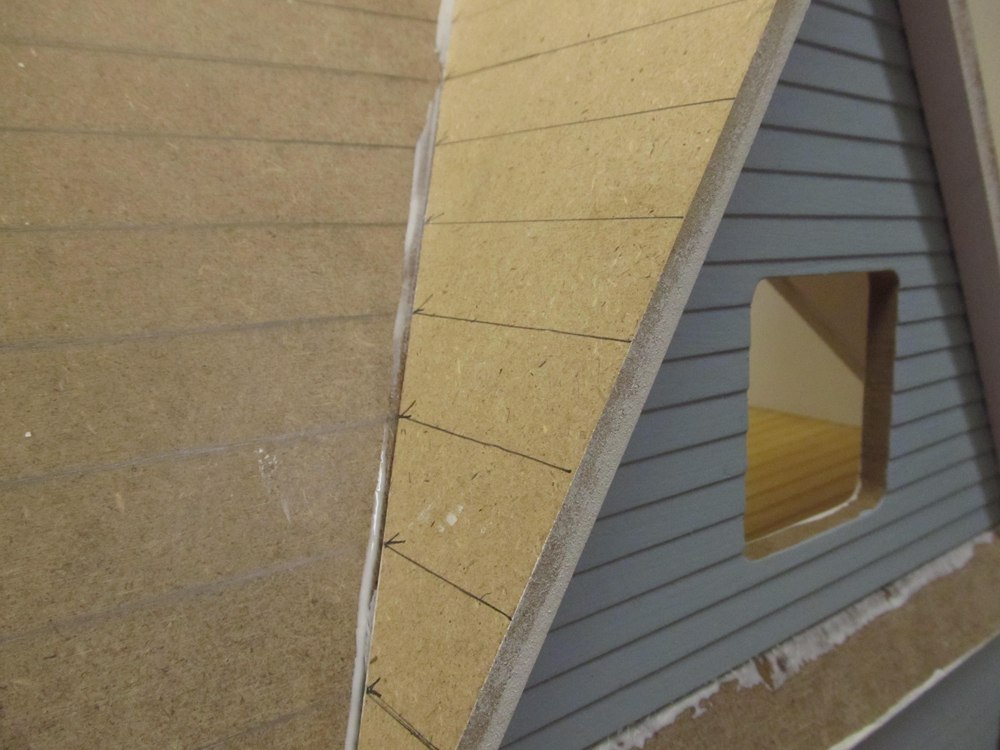
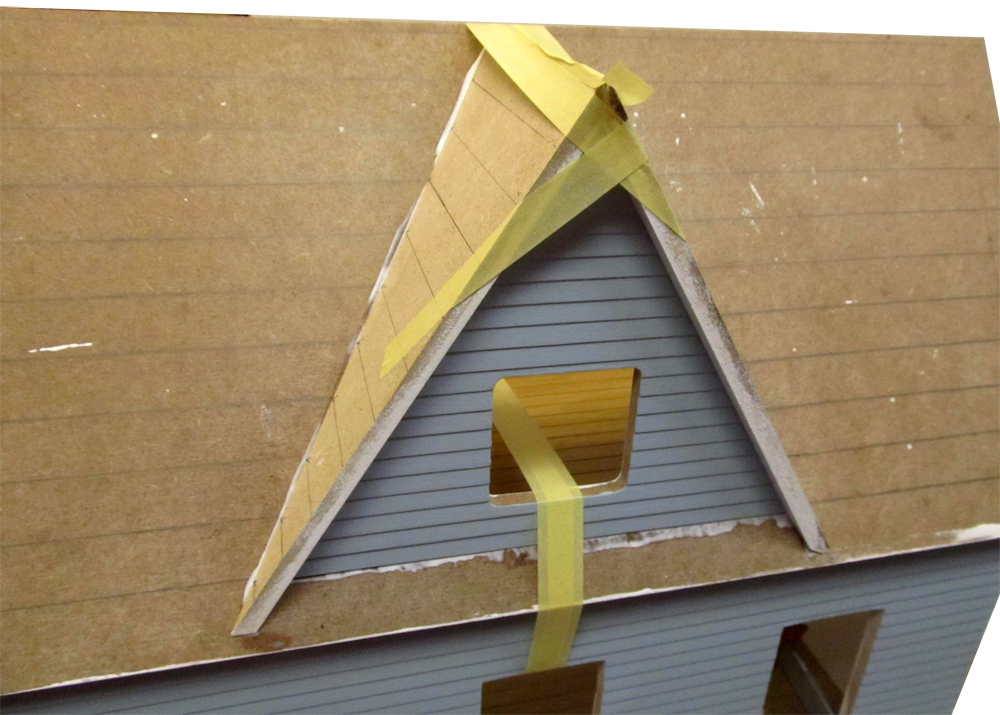
 Mark where the Front Roof's guidelines intersect with the Gable Roof
Gable/135D.png
Mark where the Front Roof's guidelines intersect with the Gable Roof
Gable/135D.png


Pre-Assembly
Assembly Home
Housebody
Gable (here)