|


Click on the photo for a printable copy
Windows (video) (Slideshow)
Brackets (slideshow)
Railings (Slideshow) (here)
Postbase (Slideshow)
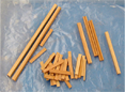
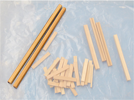
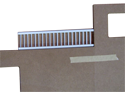
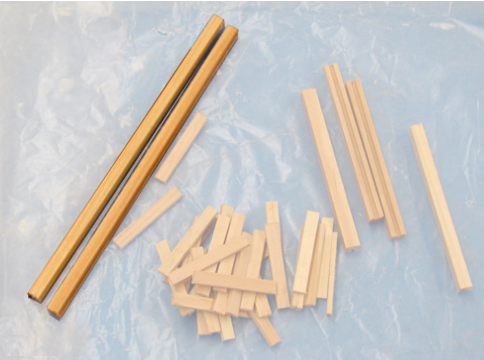
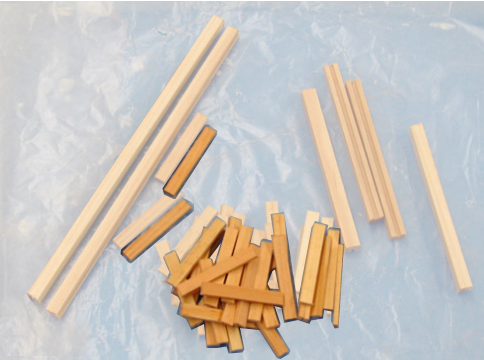
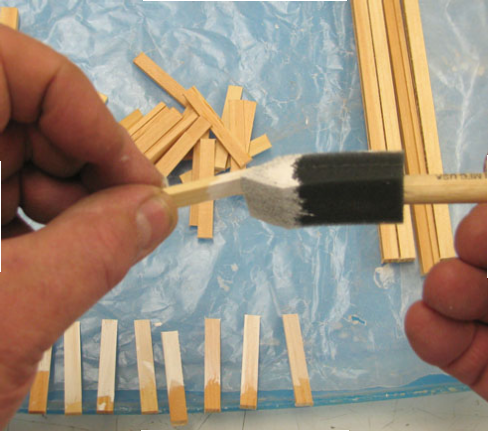
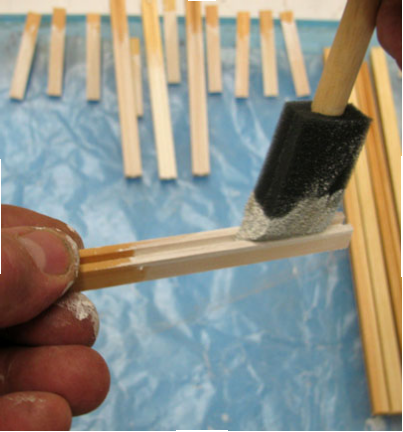
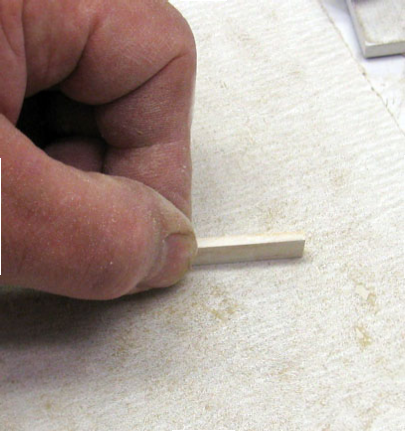
Railing parts should be Painted (first-coat) and sanded down to the wood before assembly. Do not let paint get on the ends.
|
DHTMLGoodies.com
 Paint (first coat) and Assemble the Rails
../../RGT_Website_assets/ajax-loader.gif
Paint (first coat) and Assemble the Rails
../../RGT_Website_assets/ajax-loader.gif
DHTMLGoodies.com
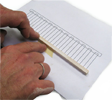
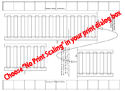 01. Click on the picture (above) for a printable copy of paqe 27
02D.png
01. Click on the picture (above) for a printable copy of paqe 27
02D.png
DHTMLGoodies.com
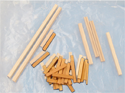
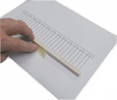
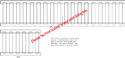 02. .. or, if you can print 8 1/2 x 14, with the long rail in one piece
01D.png
02. .. or, if you can print 8 1/2 x 14, with the long rail in one piece
01D.png
DHTMLGoodies.com
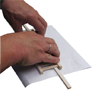
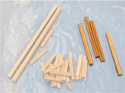
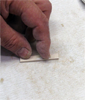
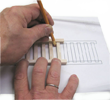
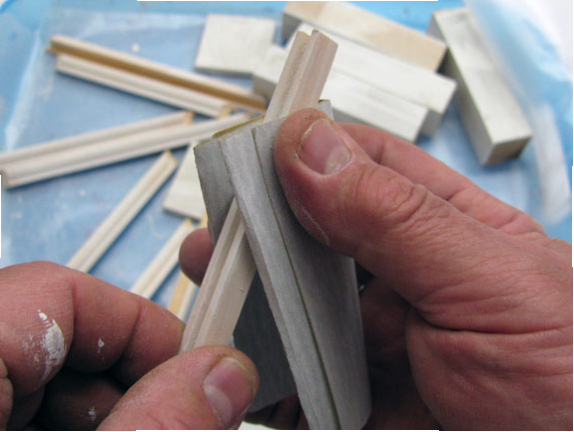
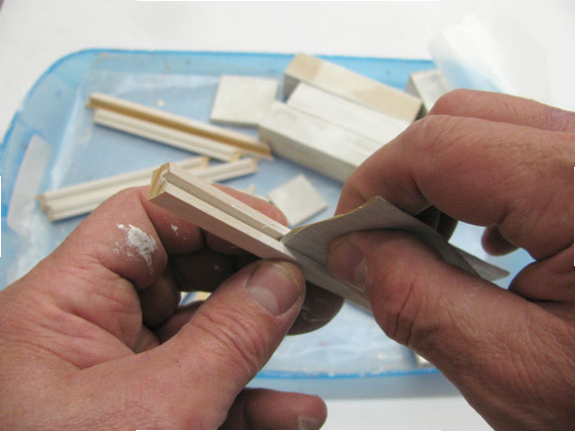
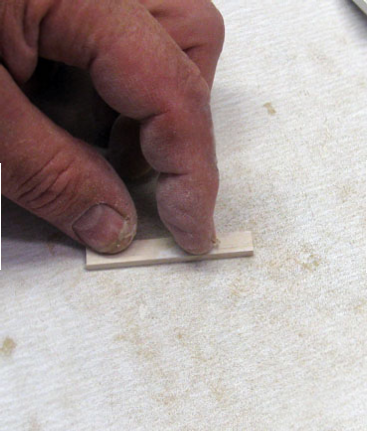
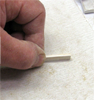 13. The surface feels silky and lots of wood is showing through
13D.png
13. The surface feels silky and lots of wood is showing through
13D.png
DHTMLGoodies.com
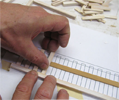
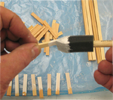
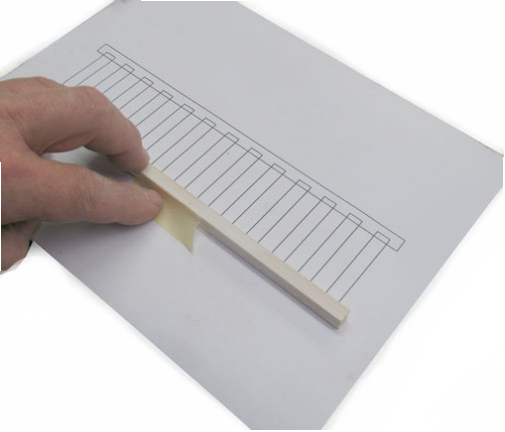
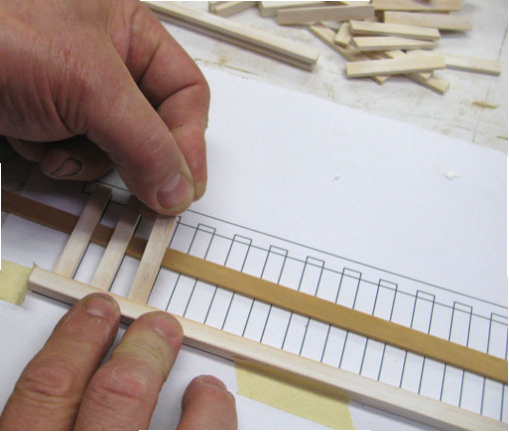
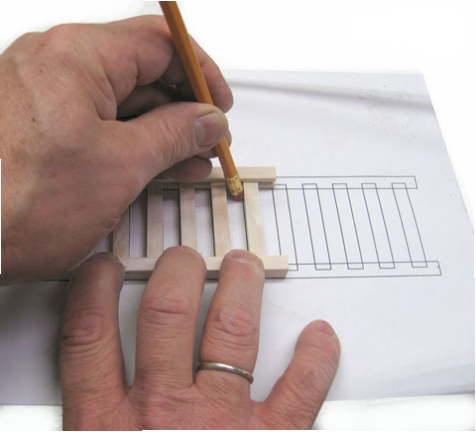
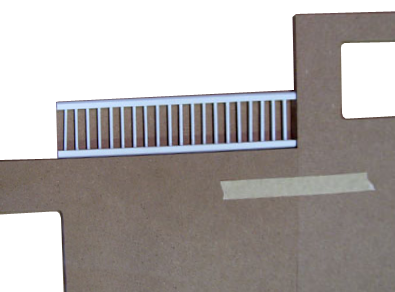
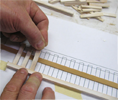 17. Poke the Balluster into the groove lined up with the diagram
17D.png
17. Poke the Balluster into the groove lined up with the diagram
17D.png
DHTMLGoodies.com
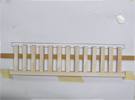
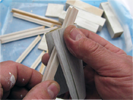
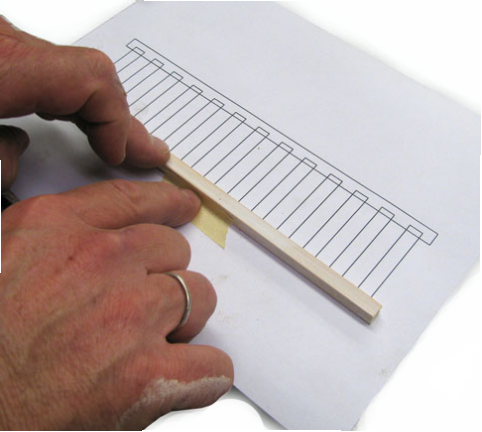
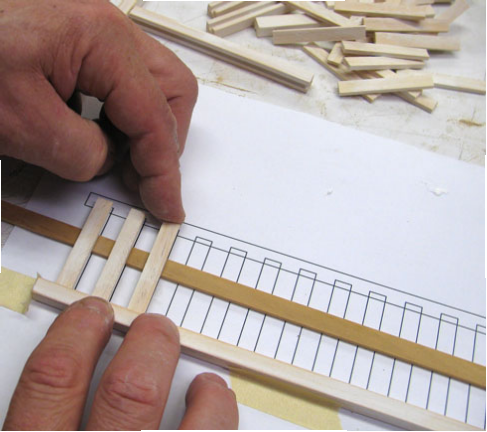
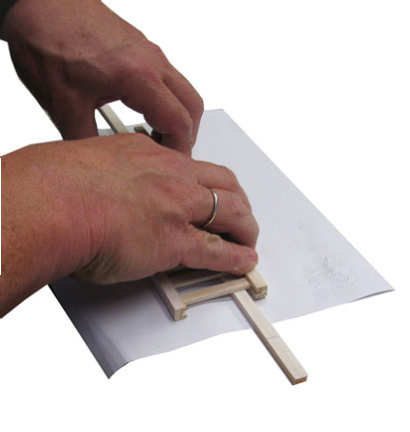
 19. Straighten the Ballusters to line up exactly with the Diagram
19D.png
19. Straighten the Ballusters to line up exactly with the Diagram
19D.png
DHTMLGoodies.com
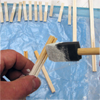
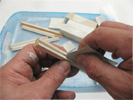
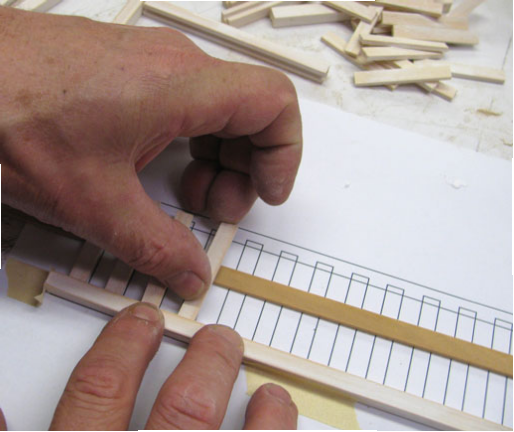
 20. Dab a little glue onto the other end end of the Ballusters
20D.png
20. Dab a little glue onto the other end end of the Ballusters
20D.png
DHTMLGoodies.com
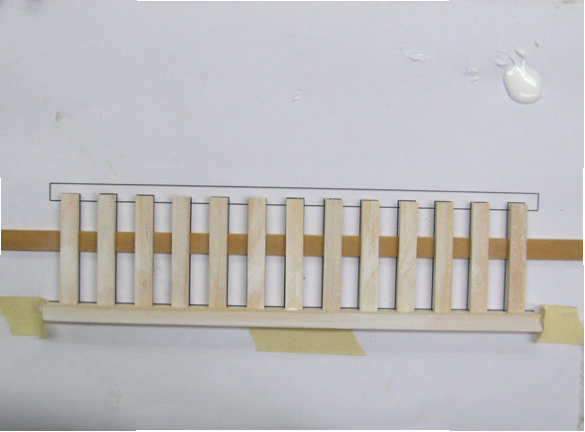
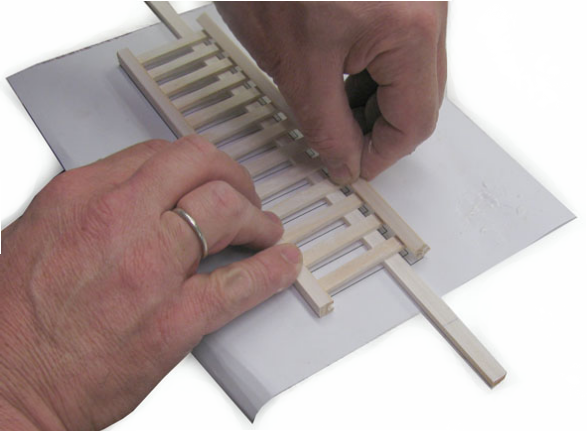
 22. Push down and scoop the Ballusters' ends into the groove
22.png
22. Push down and scoop the Ballusters' ends into the groove
22.png
DHTMLGoodies.com
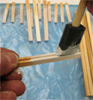
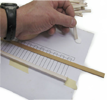
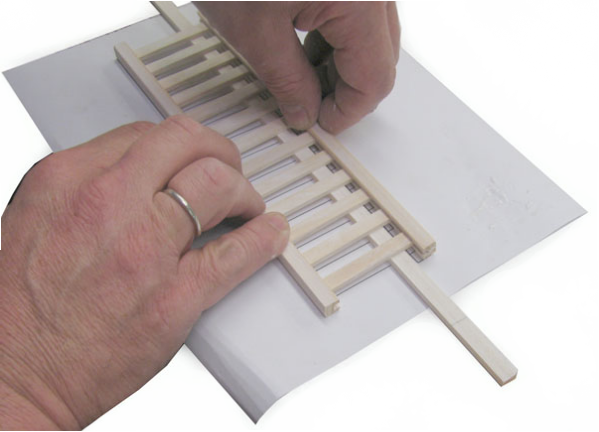
 23. Squeeze the Rail so the Ballusters go all the way into the groove
23D.png
23. Squeeze the Rail so the Ballusters go all the way into the groove
23D.png
|

