![]()
![]()
This slideshow illustrates customizing techniques but is not an instruction.
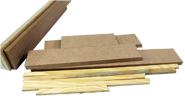
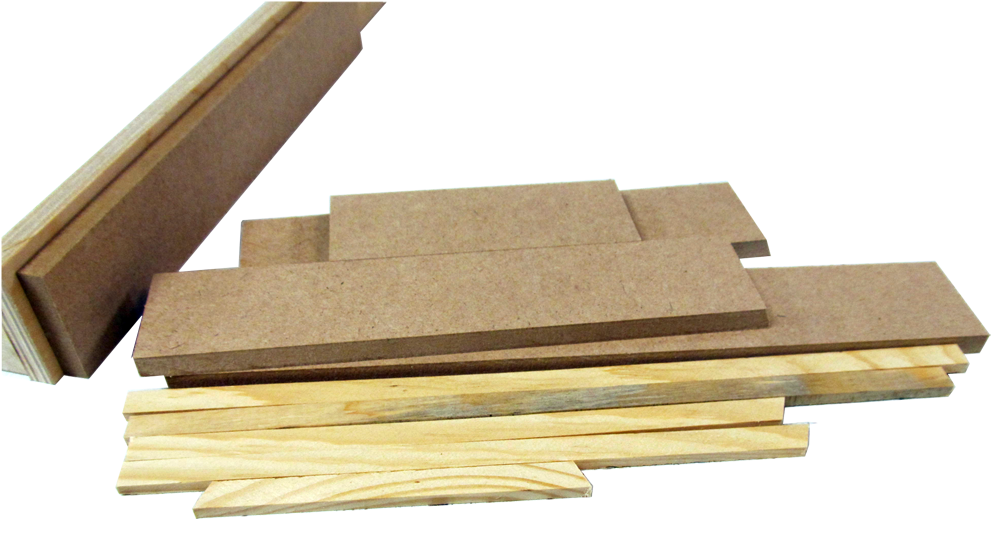
Materials needed for the Customization:
5pc) 3/16 x 3/8 Stripwood 11 1/2 and shorter
9pc) 3/8 Nosing 8 3/4 and shorter
(3 pc 1/8 x 3/8 x 11 7/8 may be used for floor overhang adjustment)
Supplies used in this slideshow:
Glue and tape
Pencil and paper
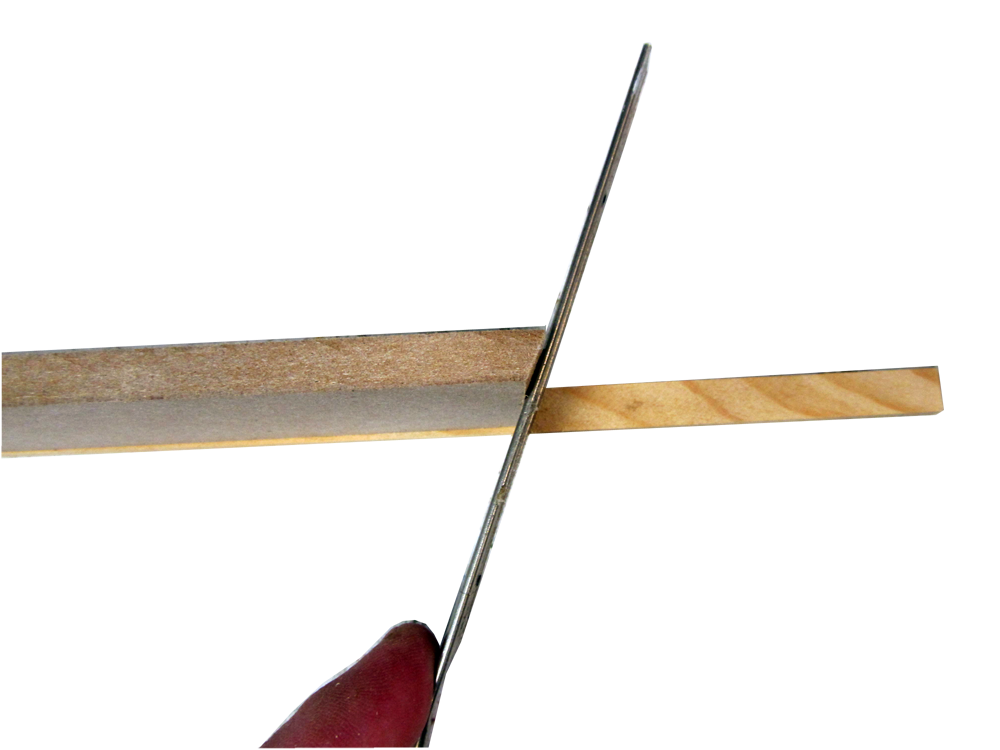
Razor Saw
![]()
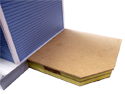
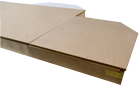
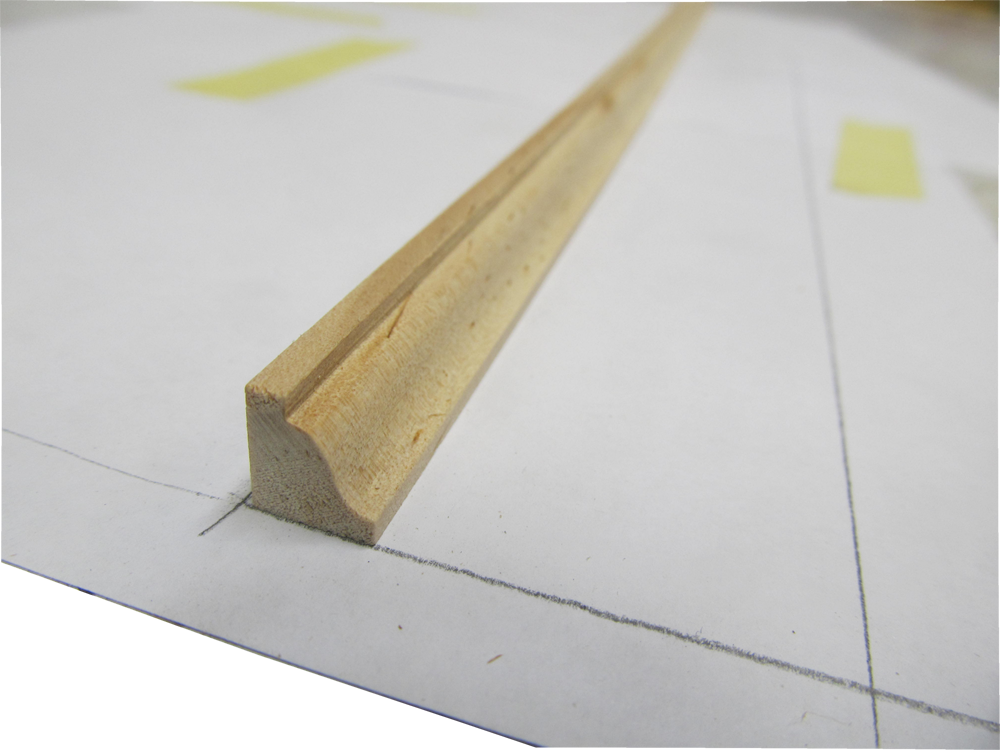
Pre-Cut Nosing for the DH37K
(you still have to cut the House's Side Nosing)
This addition can be custom ordered
with the stripwood (not pre-cut)
and/or nosing included.
If fitting this Addition to a DH71K Newport right side, a doorway into the Addition will share space with the stairs. Some builders move the stairs 1 1/4 or more toward the front and carve the door-frame and stair liner, and some move the stairs to the center of the house (this is what we did with the DH77K)
Cutting a new Stair Hole (JM401 example)
Newport center stair options more
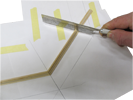
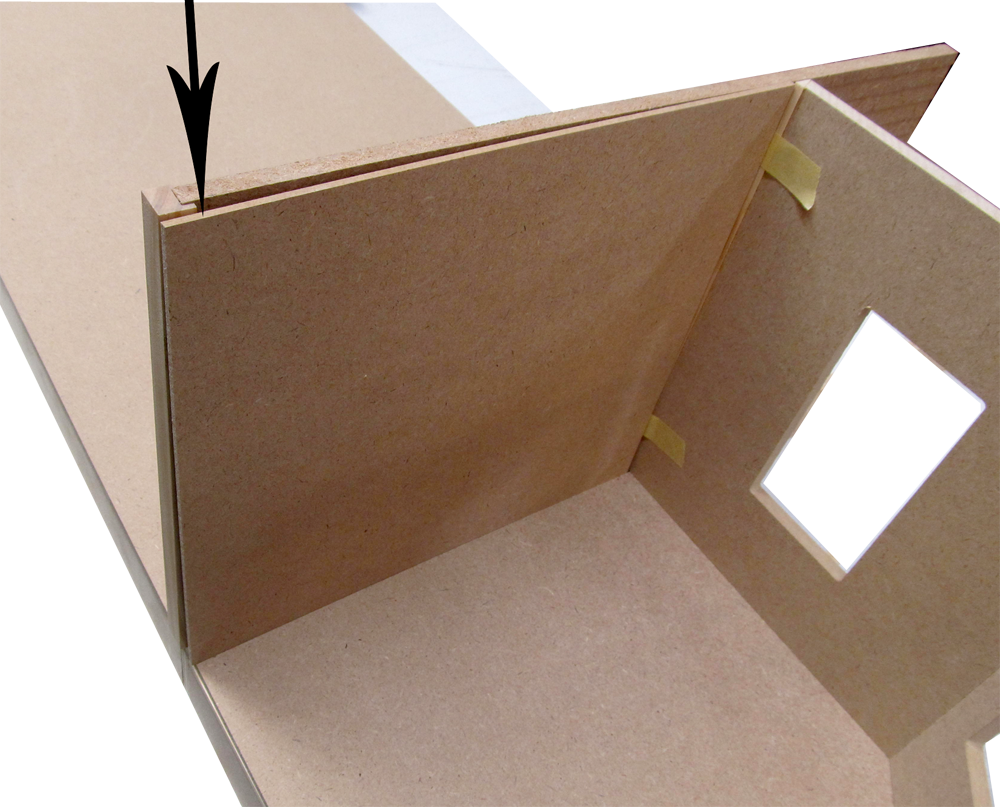
 00. Remove the house's nosing on the addition's side using heat
 (link at left) 00D.png
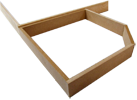
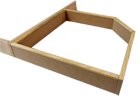
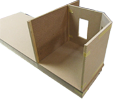
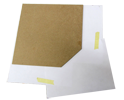
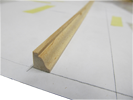
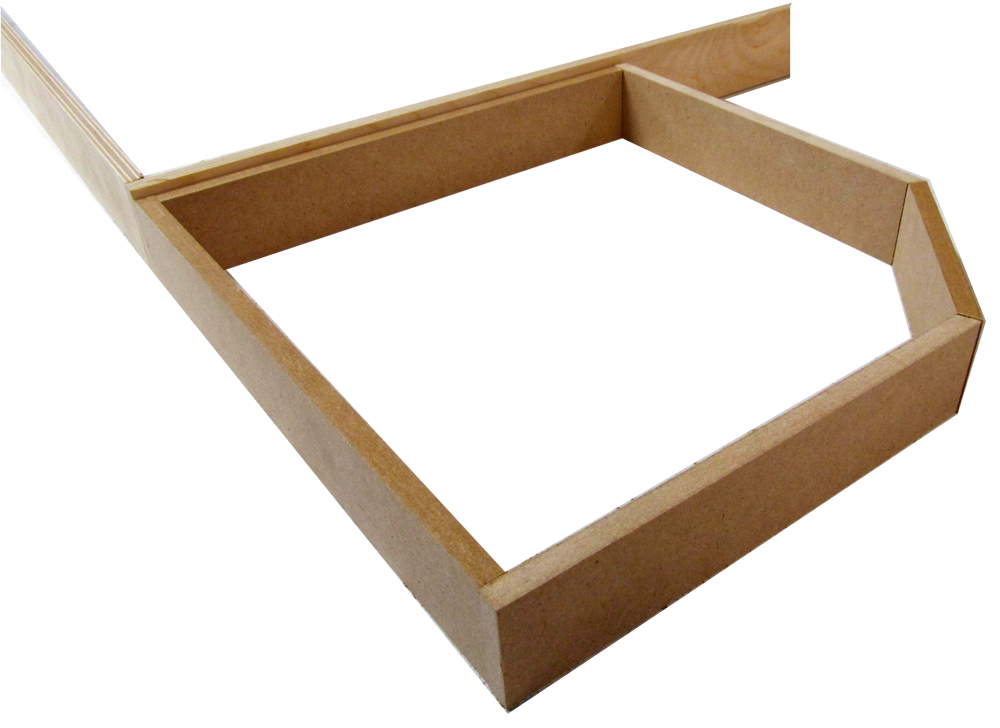
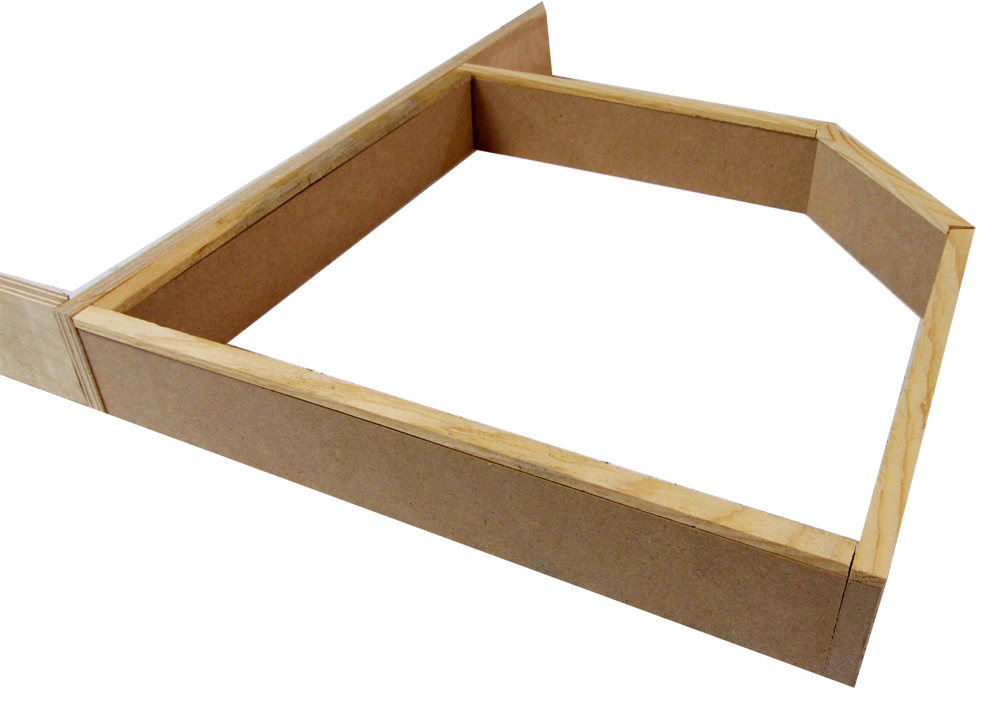
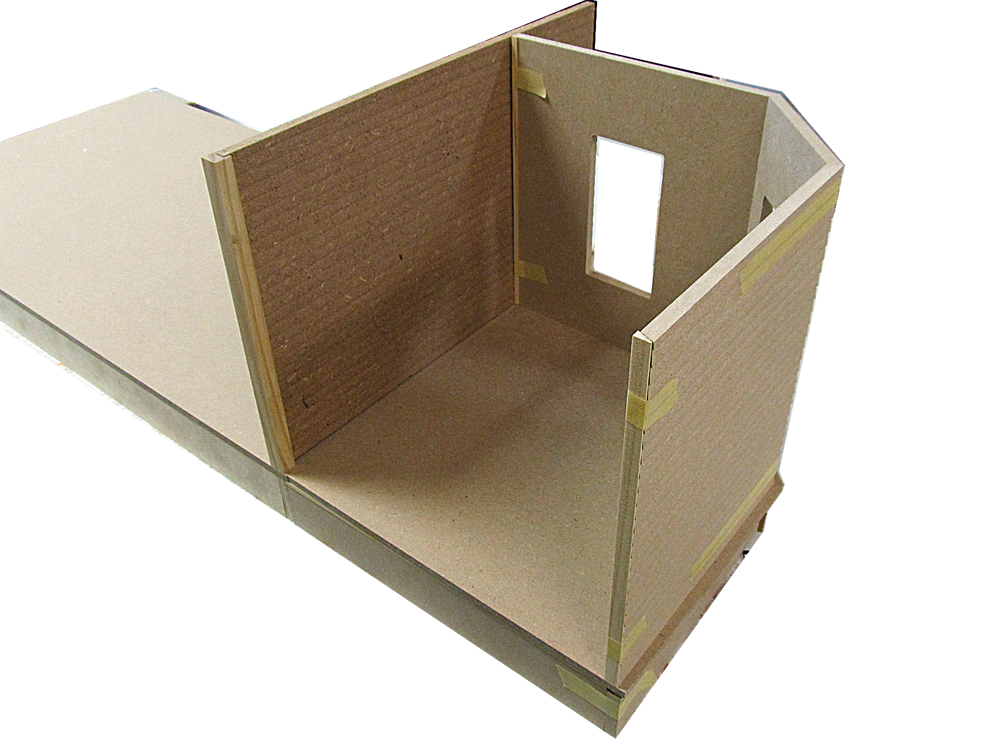
 02. Temporary assembly (you will need a Foundation piece for layout if you will be adding Nosing)
02D.png
02. Temporary assembly (you will need a Foundation piece for layout if you will be adding Nosing)
02D.png


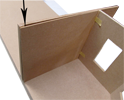
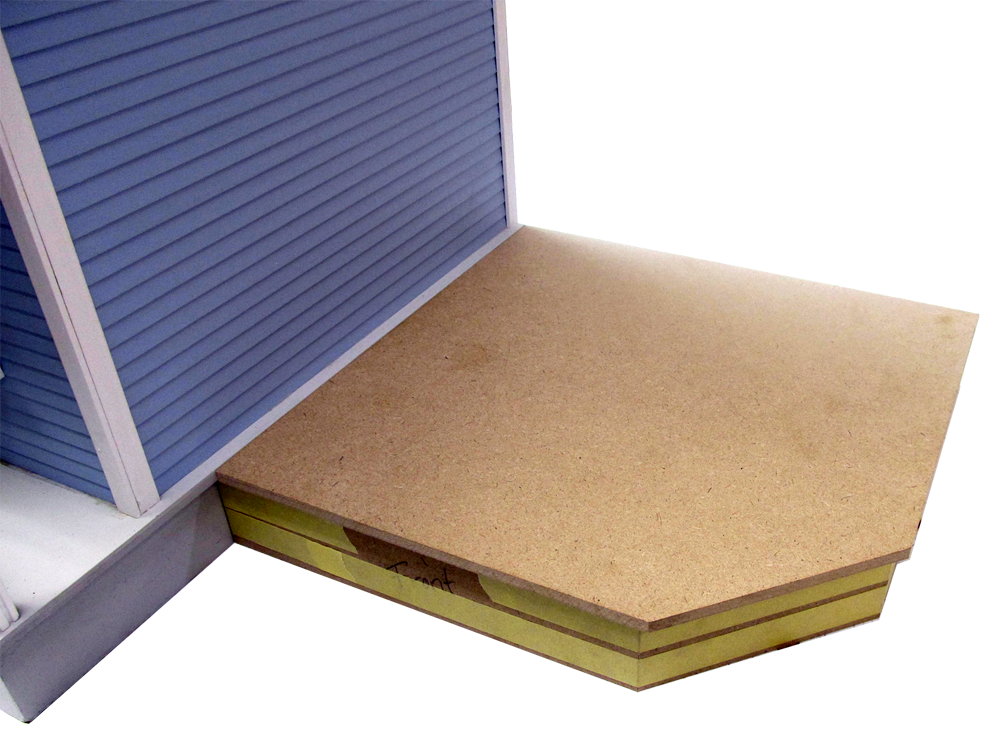
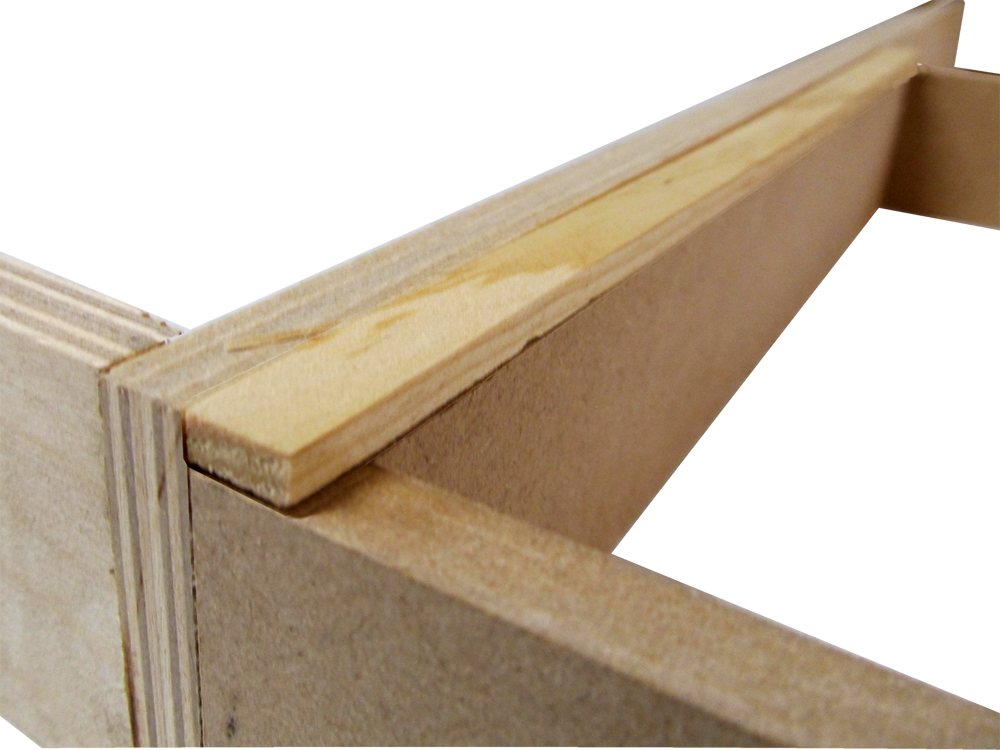
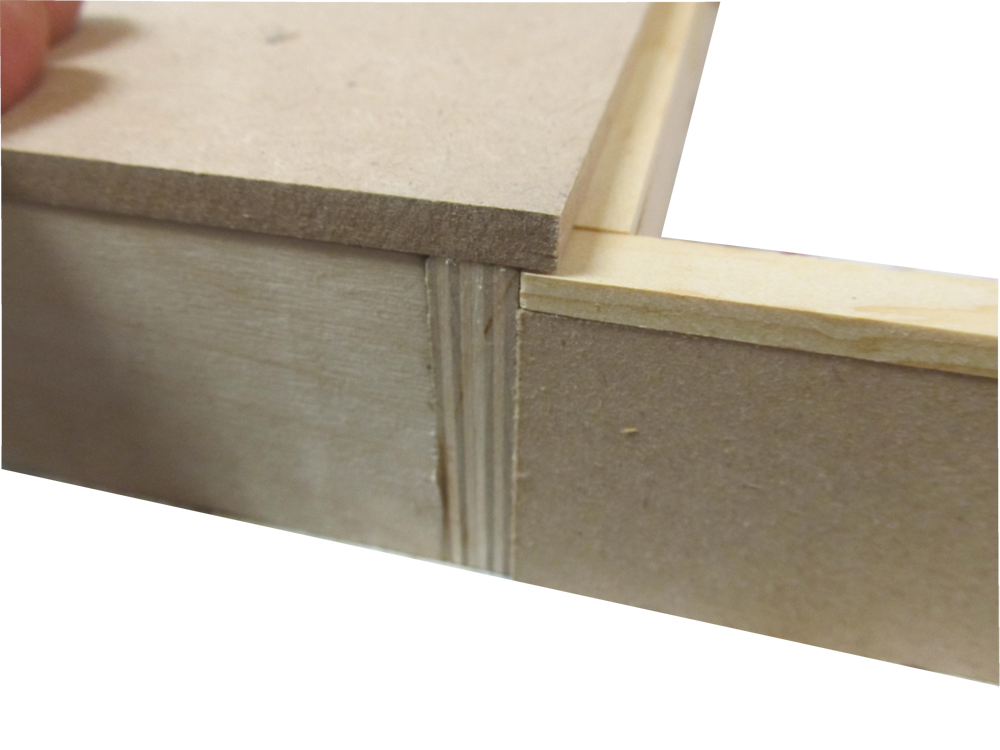
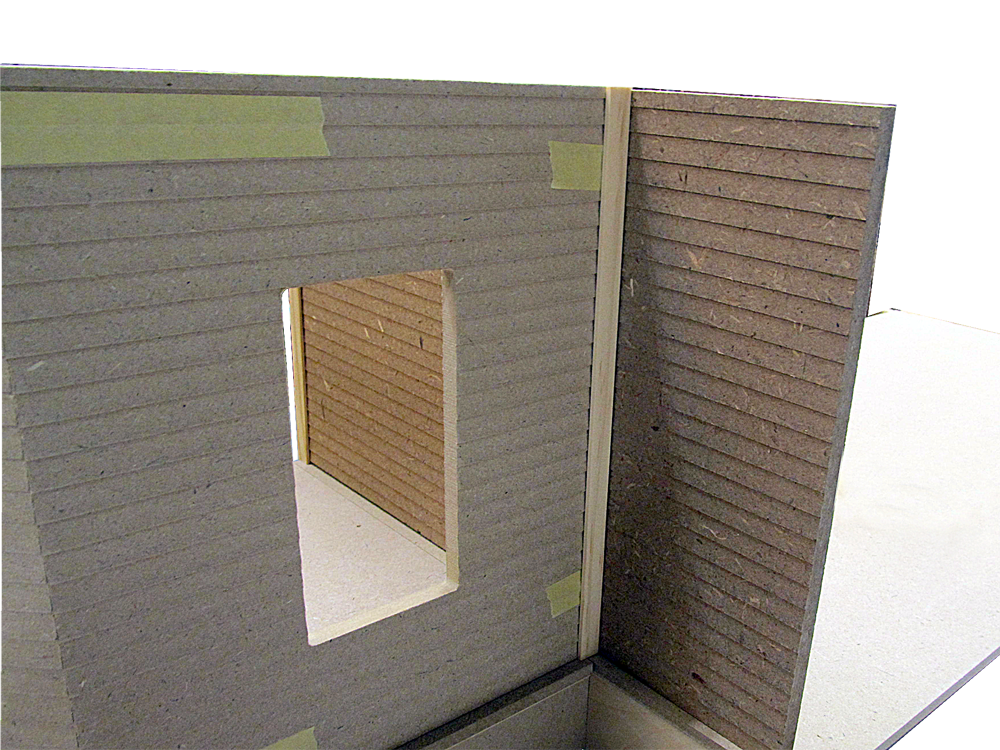
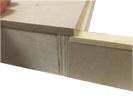 08. The modified Foundation tucks under the house Floor (on the left in this image)
08D.png
08. The modified Foundation tucks under the house Floor (on the left in this image)
08D.png

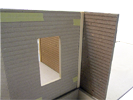
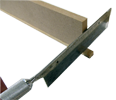
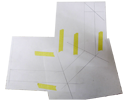
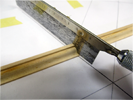
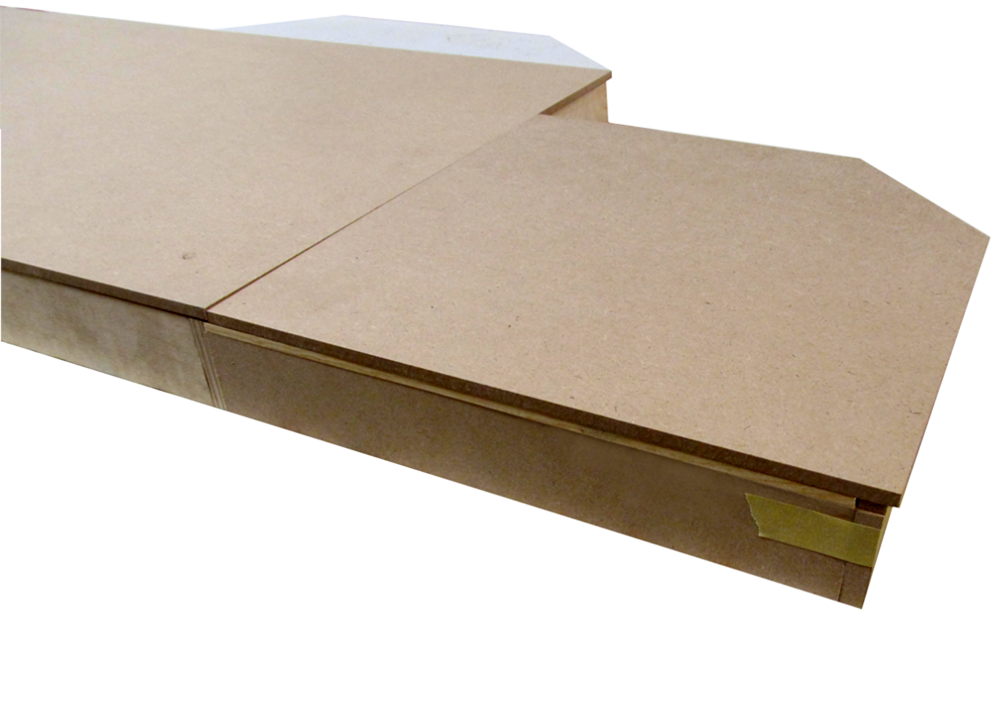
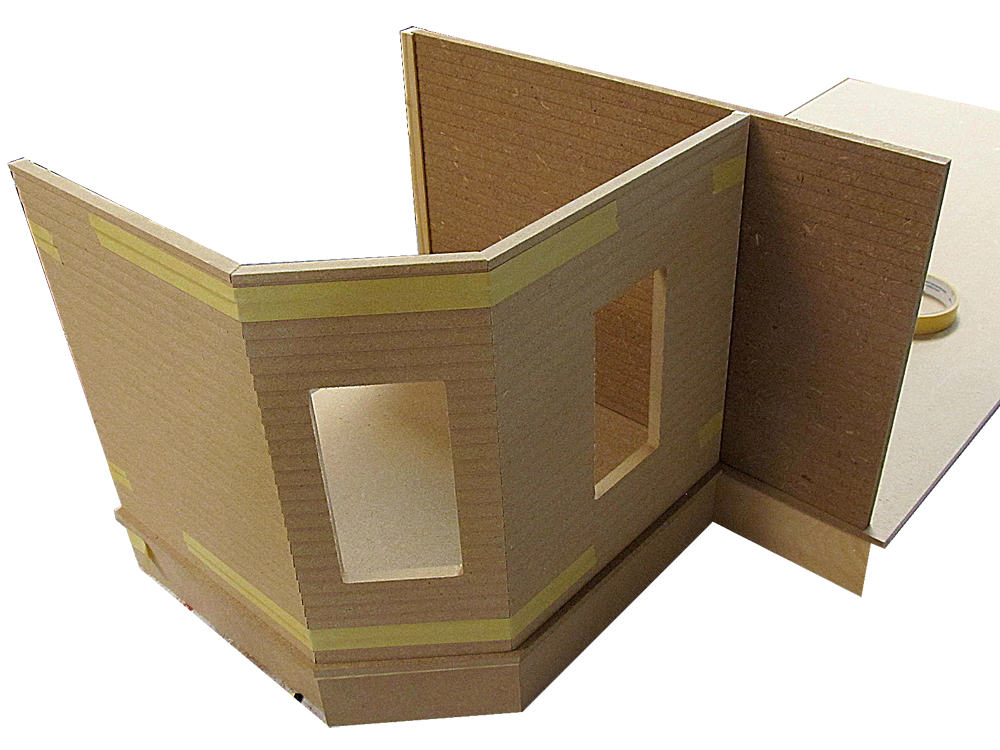
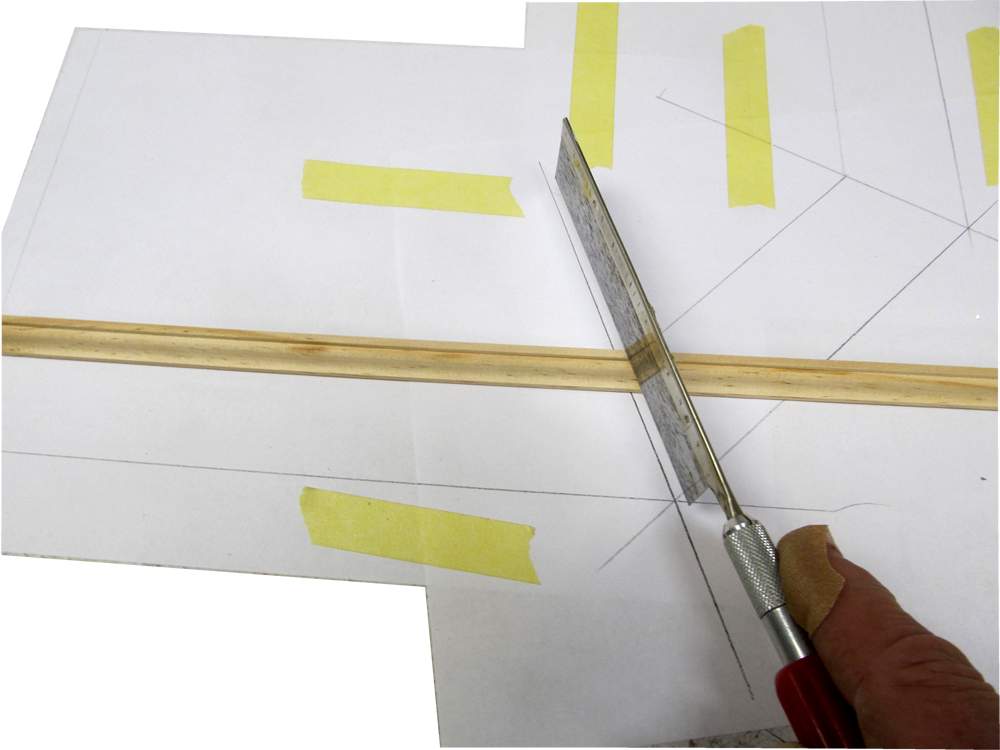
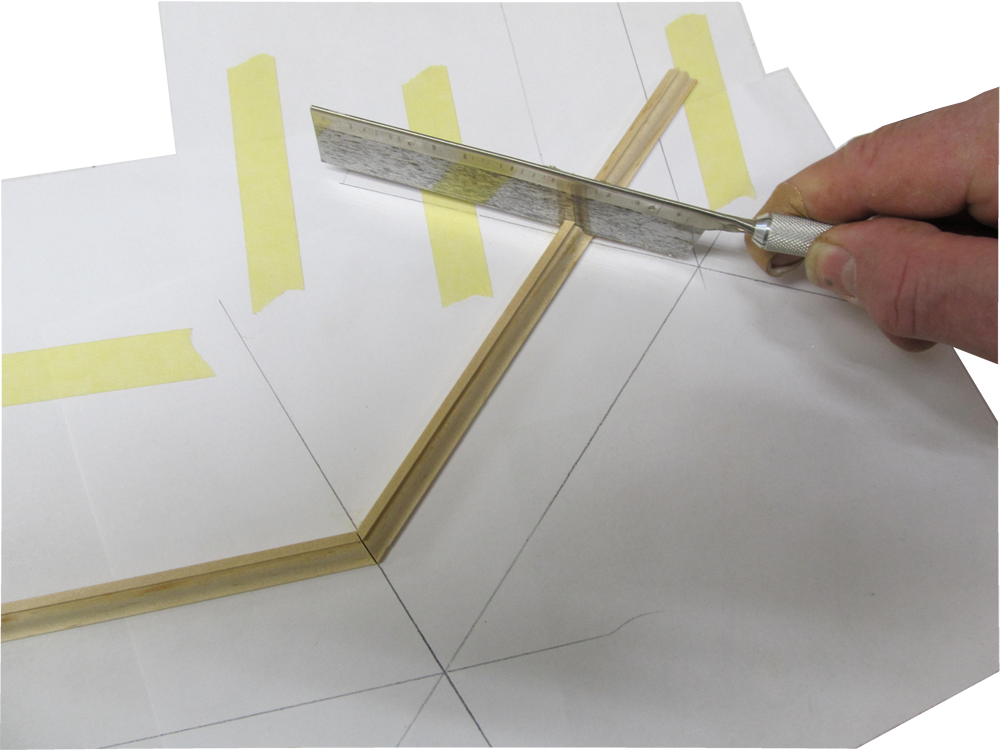
 15. .. so, even though it looks like a Left setup, the nosing we are cutting will fit the Right Addition)
15D.png
15. .. so, even though it looks like a Left setup, the nosing we are cutting will fit the Right Addition)
15D.png
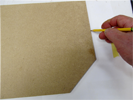

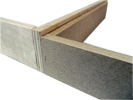
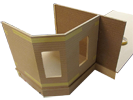
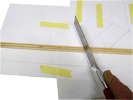
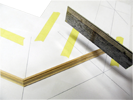
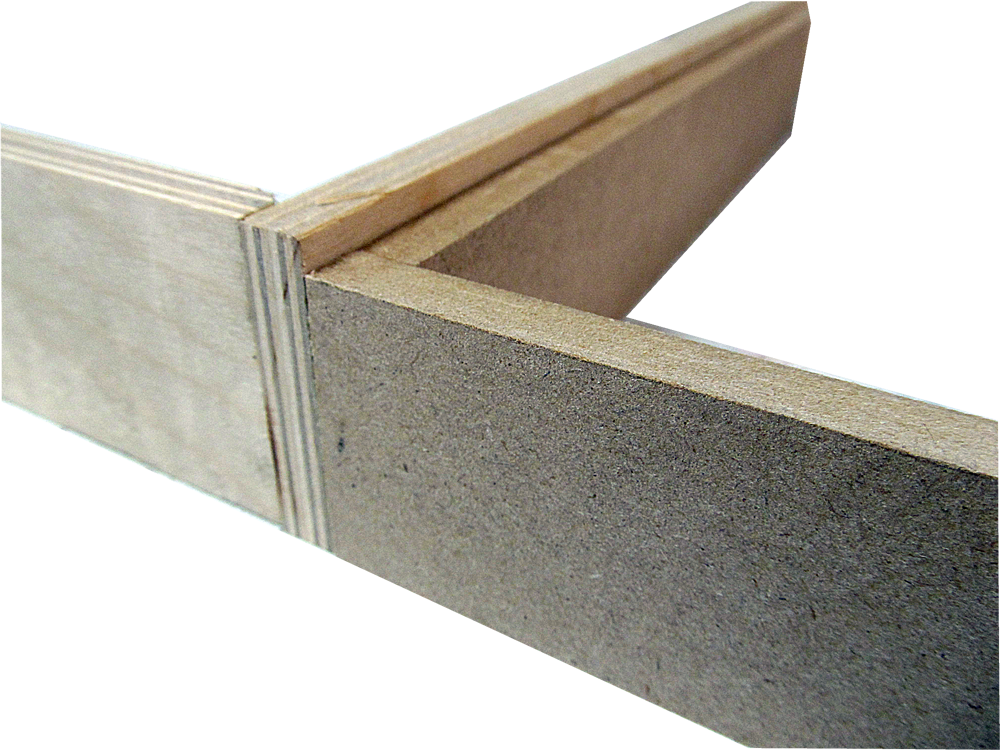
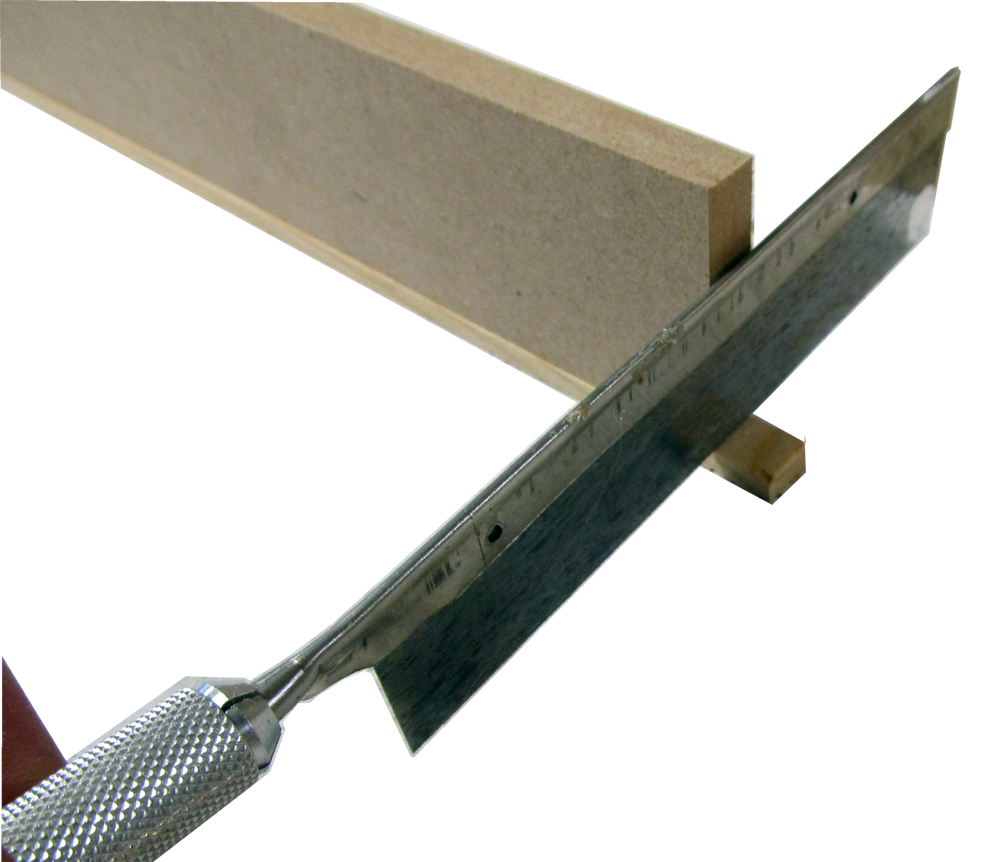
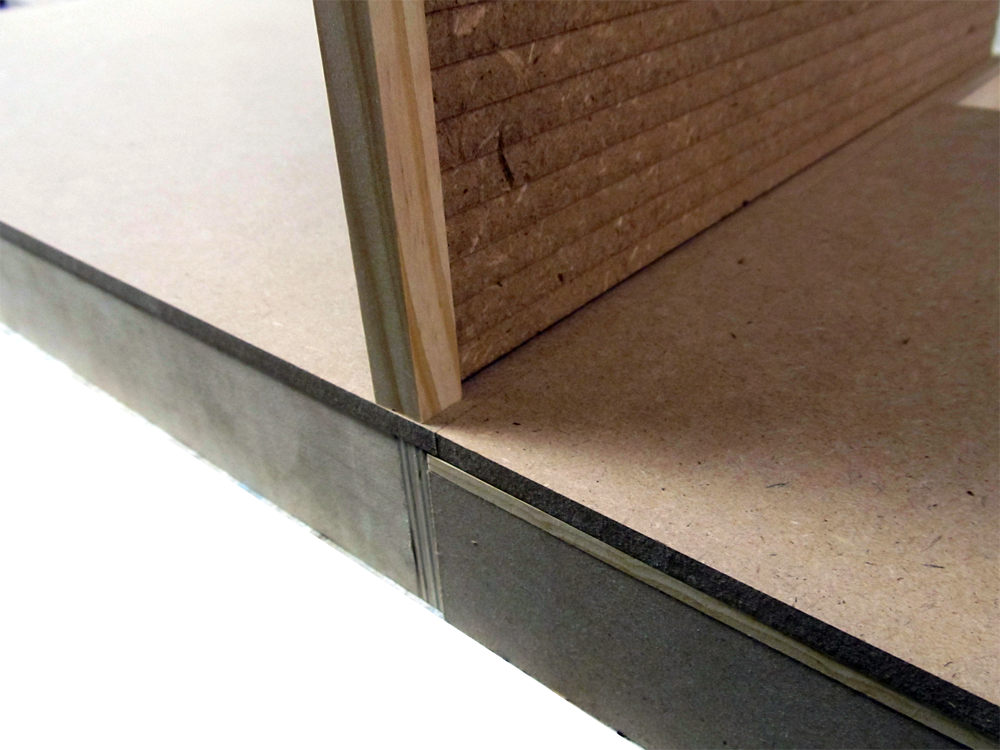
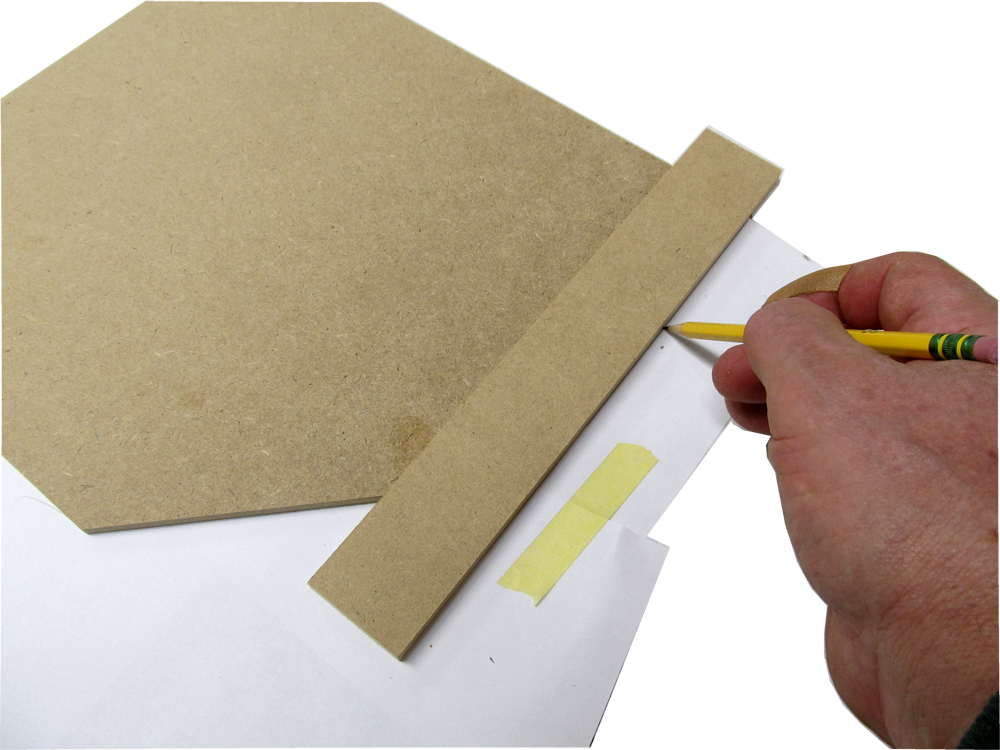
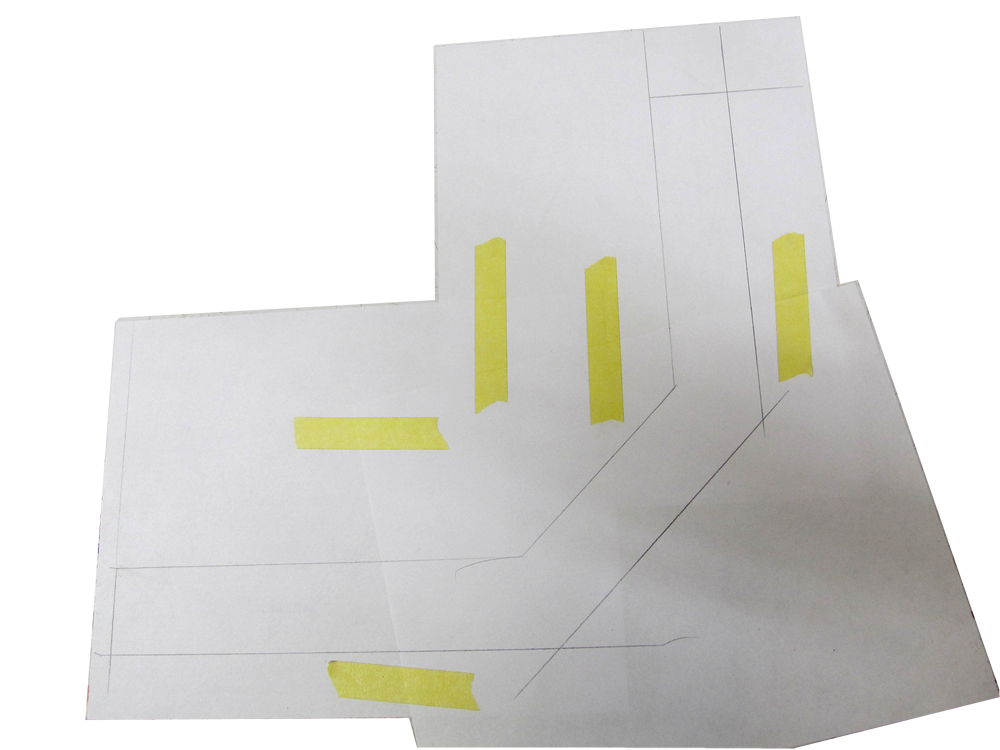
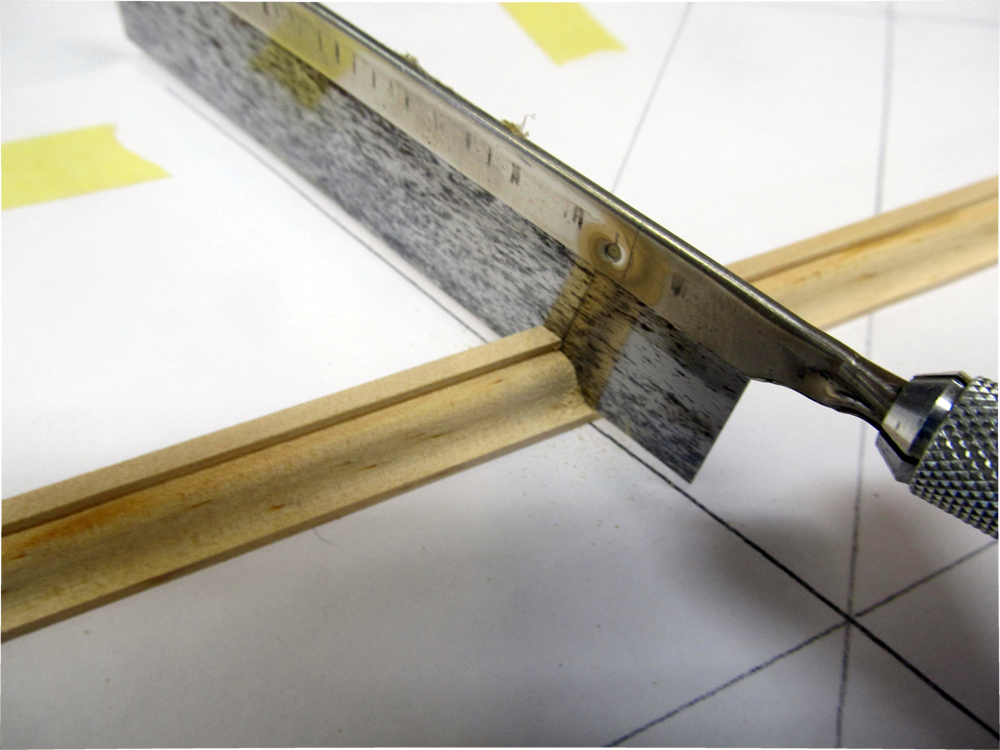
 18. Two parallel perimeters - make sure the House Side is in the up-side-down orinetation
18D.png
18. Two parallel perimeters - make sure the House Side is in the up-side-down orinetation
18D.png
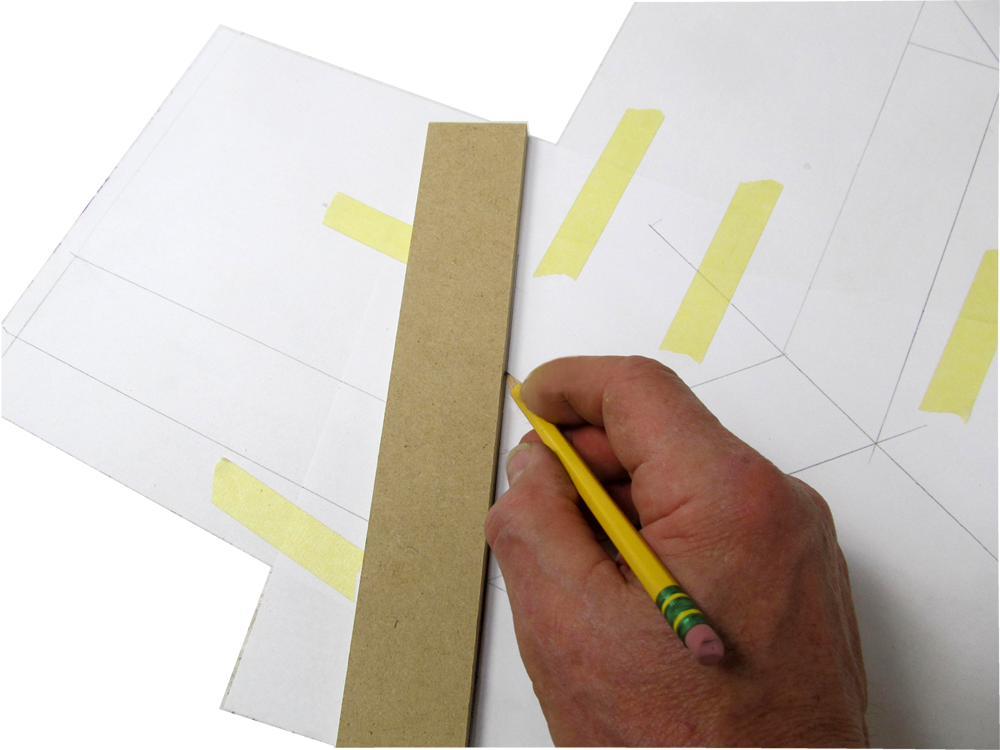
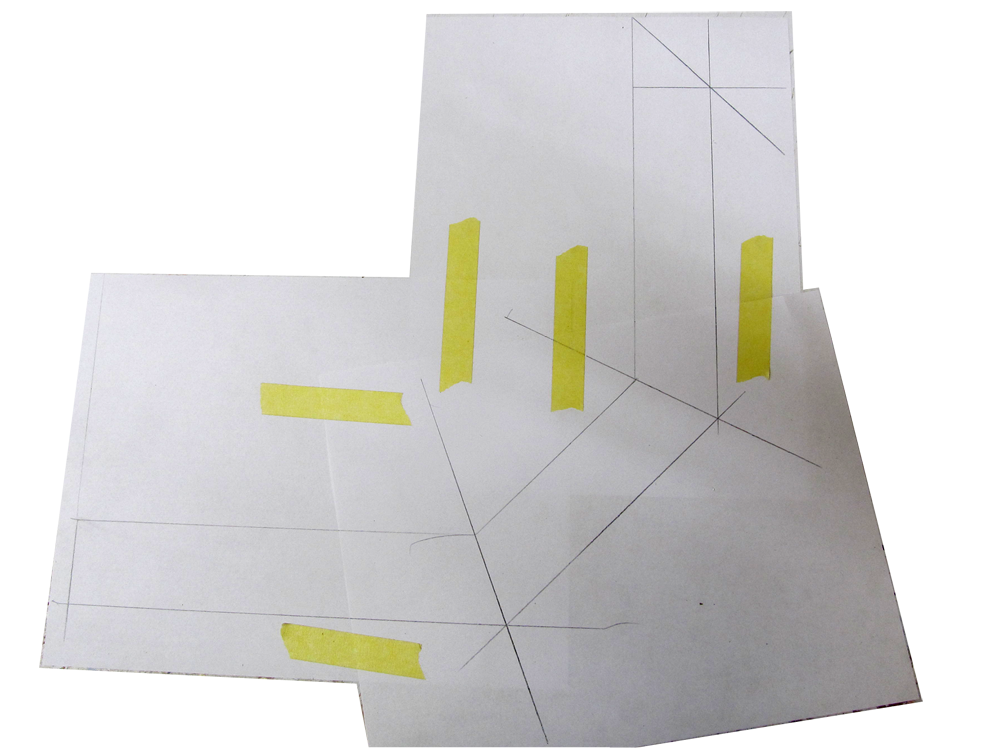
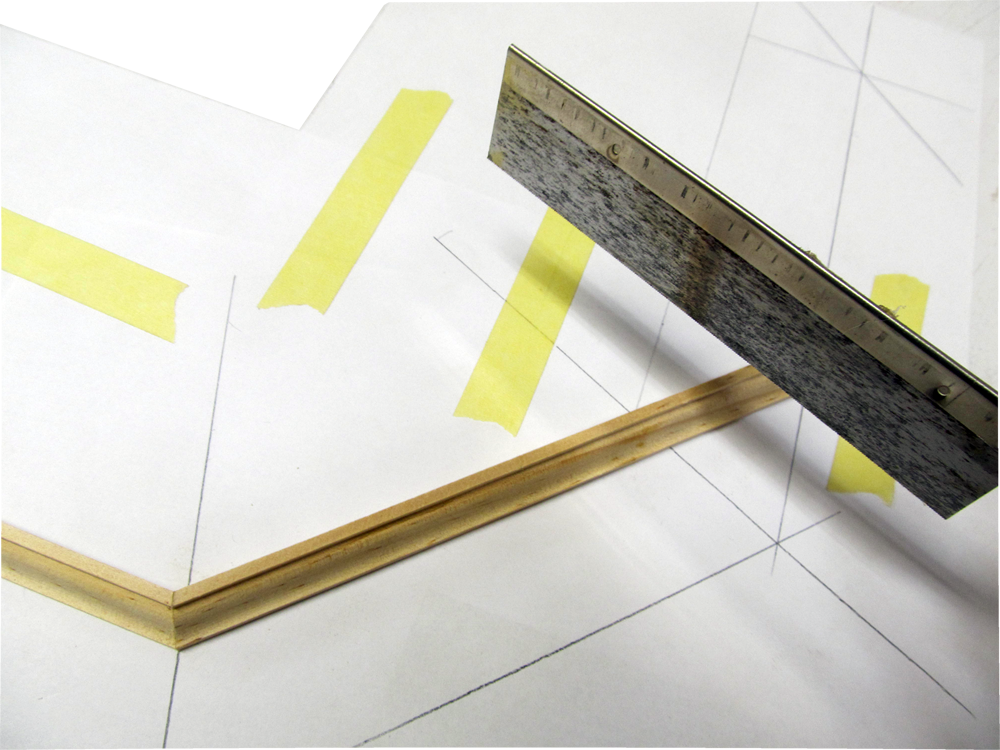
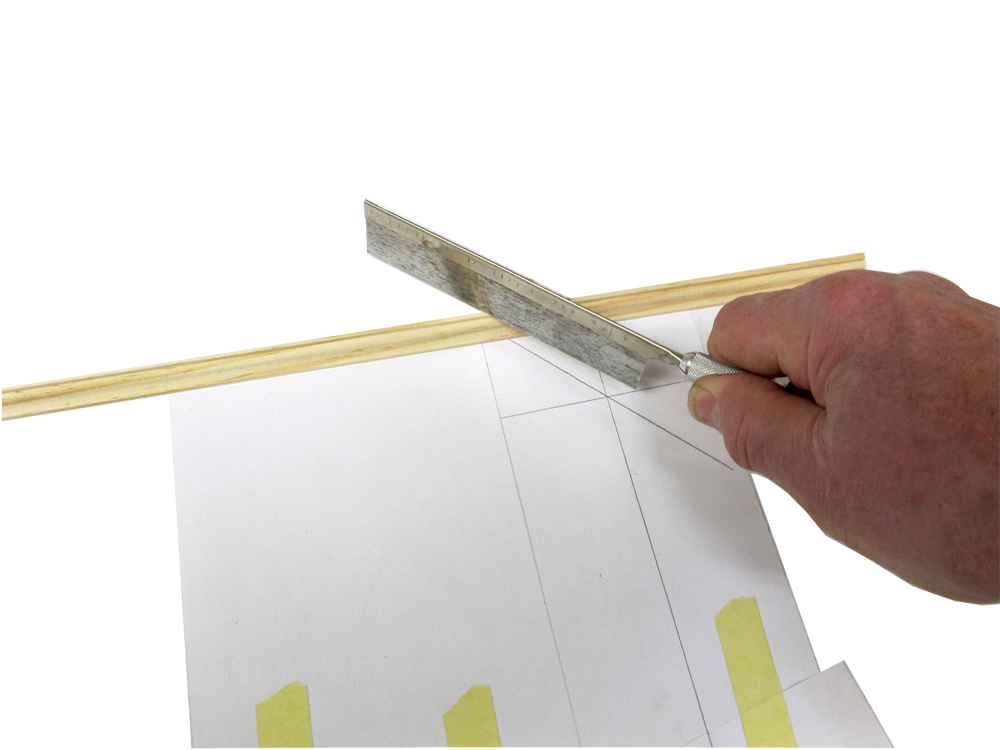
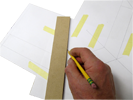 19. Connect the corners (be fussy for accuracy) - extend the lines in both directions
19D.png
19. Connect the corners (be fussy for accuracy) - extend the lines in both directions
19D.png


Q: I just received the New Haven Addition, thanks for the quick turn around. I do have 2 questions, however.
- The dollhouse I made several years ago is called “Newport” (Model DH-71K) and looks identical to the New Haven. I intend on using the addition on it. Can I assume that the this addition will match the original “Newport” dollhouse?
- I am making the addition for a Christmas gift for my Granddaughters and I don’t have easy access to their dollhouse. Can I completely build this addition and attach to the dollhouse later?
Thank you,
A: The DH37K New Haven addition is similar to the DH71 Newport, but it does have to be built in place on the house to be confident of the fit, and some trimming of the End Cap (the connector at the back of the side wall) on the Newport, or shortening the Liner on the Addition will be necessary. The ‘expected’ floor overhang in the Newport is around ¼” (This is not a specific dimension and could vary by a lot without any consequence in the original Newport build, so don’t depend on it), and on the New Haven house it is 3/8” so there will be a likely shortening of the overhang at the side of the Addition – you might have a piece of 1/8 x 3/8 stripwood available for each floor to adjust this overhang during the final building). The Newport includes Nosing for the floor’s edges and the New Haven does not, but there is an edge nosing set available for it:
https://www.realgoodtoys.com/search?q=Nosing
… which will diminish the overhang visibility and might be enough to make the stripwood unnecessary.
The foundations are different heights – here’s a slideshow:
https://www.dollhouseworkshop.net/RGT/77K/37K/CustomizeFor71K/Customizing.html
Minor variations in how they were assembled or how they have aged could cause interference or gaps, so ‘built in place’ is the way to go. A bit of problem solving along the way is expected, but this should be a reasonable customization.
I would paint the parts and test assemble the addition without glue so you will be ready for building it onto the house. The painting, sanding, and re-painting is by far the most time consuming part, and an hour or two may be all it takes for the final assembly if everything is ready and supplies and tools are organized and at hand. A flat work surface is critical for a good fit.
I would plan on
paint, sandpaper (100 gr plus 220 or 320 gr), and brushes
Masking tape (‘high tack’), Aleene’s original tacky glue, and hot-melt glue
https://www.dollhouseworkshop.net/RGT/Blogs/HotMelt/HotMelt.html
Weights (several half-gallon jugs of sand work well)
A hot air gun or hair dryer to soften the glue on the Newport’s Nosing
https://dollhouseworkshop.net/RGT/Repair/HotAirGun/HairDryer.html