Traditional style
Classic style (here)
Victorian style
Victorian Pattern (Queen Anne)
Cottage style
Drip Edge and Valley Flashing
Details and Techinques:
Boston Lap
Top Course ("Reveal")
Dip-Scoop-Slide (applying shingles)
Sandpaper on a stick (trimming the edge)
Sales:
Pine Octagon Shingles (1000): (500)
Red Cedar Octagon Shingles:
Dye1 Reddish Brown:
Dye3 Dark Grey:
Copper Sheeting for flashing:
![]()

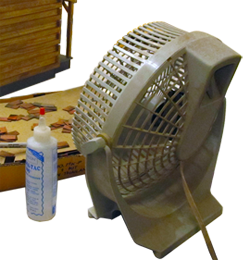
Use a fan for Ventilation!
 Octagon Shingle installation, classic style
../../../RGT_Website_assets/ajax-loader.gif
 22. Using a Starter Course under the Octagon shows the detail without being fragile
22D.png
 31. Full or Half shingles to start the courses weaves the seam back-and-forth
31D.png
These are HOW500 Hand-Split Pine Shingles dyed with one packet of Dye1 and 2 1/2 cups of water
This slideshow is a Demo of techniques - it is almost always best to do the shingling on a fully assembled house


