![]()
![]()
Customizing 1 here
Customizing 2
Customizing 3
Customizing 4
Customizing 5
Customizing 6
The Victoria’s Farmhouse is a great house to build, and a great house to move into. It has big rooms, an interesting interior shape, and access from the side for the front room. I am working on one now in my spare time, and I’ll document the steps I follow for personalizing the inside.
Test the spaces with furniture:
I don’t need every piece I imagine for the inside… I hope this will be a work in progress for a long time to come. But I do need to place some of the large items to block out the spaces.
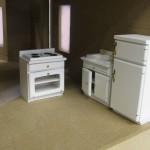
This gives me an idea of where I want the interior walls, and helps me to know that my floorplan will work. Even paper cutouts of the things I want the rooms to hold will help envision how to organize the space, where to put extra windows or doors, and how to run the wiring.
Make a floorplan
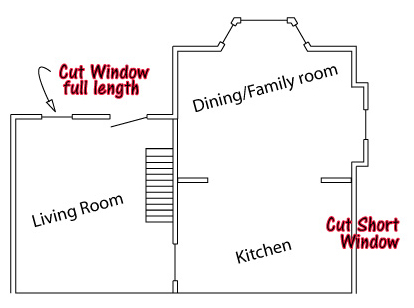
My floorplan lets me get prepared for the work I am intending to do.
I will cut two new windows and modify the two windows that will be changed first. Next, I’ll do some of the wiring, put in the dividers, and then finish the wiring. I’ll put notes on the floorplan so I won’t forget, a swatch of the wallpaper, the rug or flooring, anything that helps me keep track of where I am going (when I get busy, this build could go onto the shelf for long enough that I will forget the choices I have made).
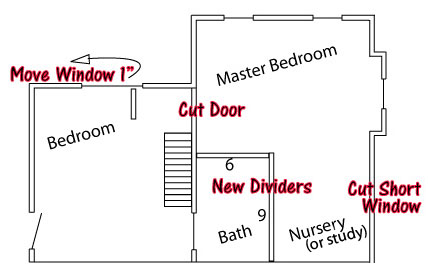
Move a window
I am going to move the 2nd floor window so I can leave a hint of a hall for the stairs, and make a bedroom in the right-front room.
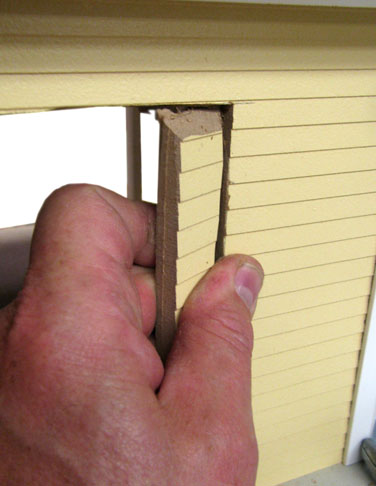
I have a blind divider to see how far I need to move the window. If I can keep it to one inch, the shutters will cover any irregularity I leave on the outside.
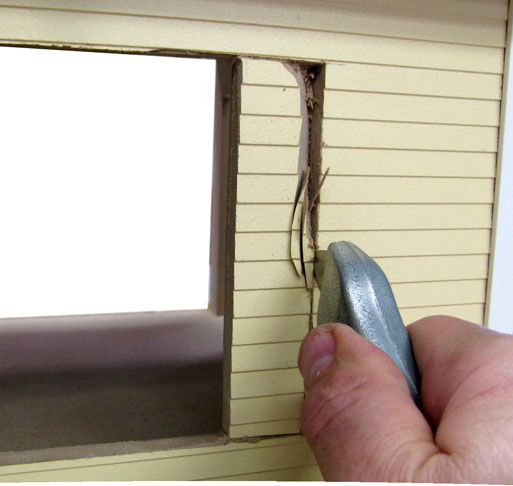
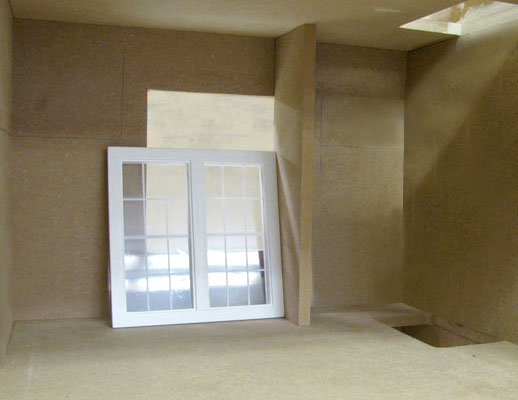
Carving the wall taking little ribbons of material away… lots of small, gentle cuts is safer and easier than taking big chunks.
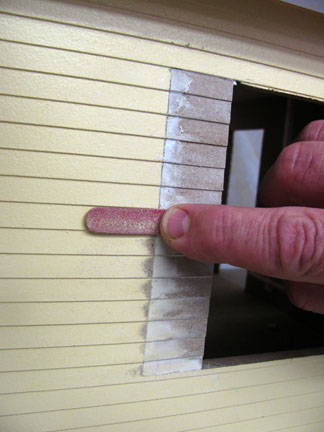
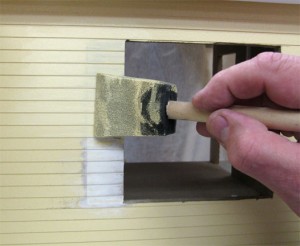
I fit a piece of wall material, lining up the clapboard as closely as I could, and glued it in. An emery board is a great ‘leveler’ for flattening fill on a wall. Now a couple of coats of paint and we’re good to go.
I’ll finish cutting and moving the other windows using this same technique, then it’s on to the wiring.
I have work to do
Gary