|


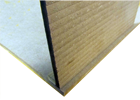
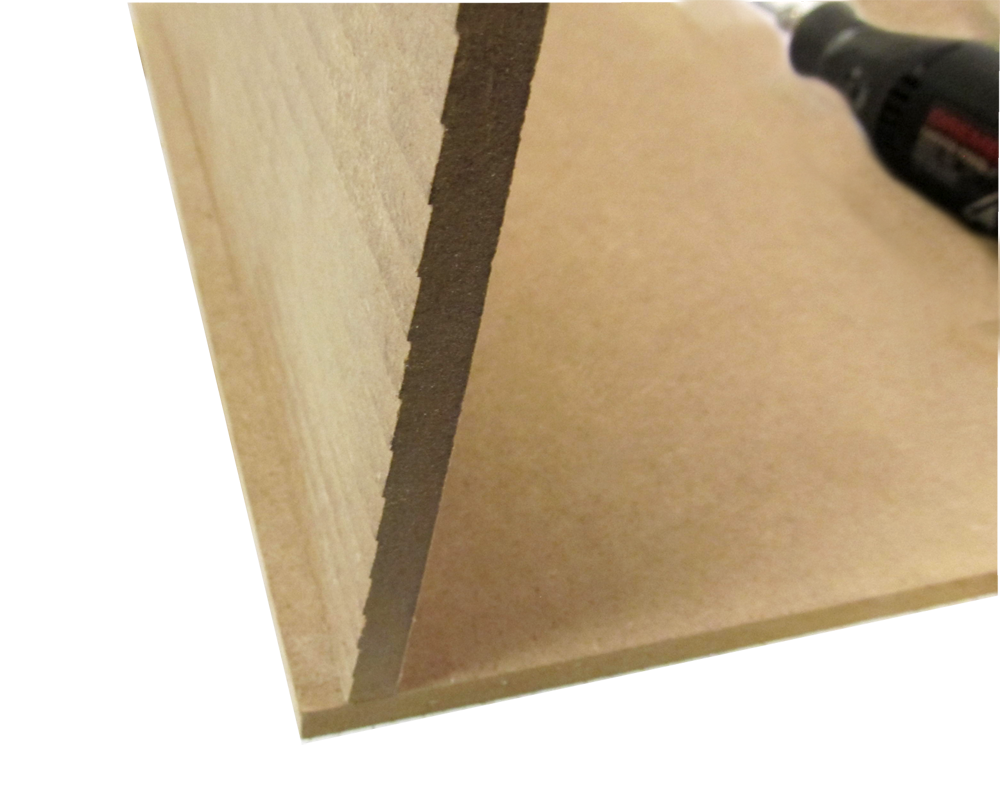
This method of cutting E-Slots is done during the "Pre-Assembly" step, page 7 of the instructions.
DH77K Instructions
Pre-Assembly Slideshow
Cut E-Slots (Rotary Rool) (here)
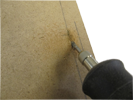
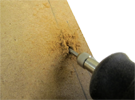
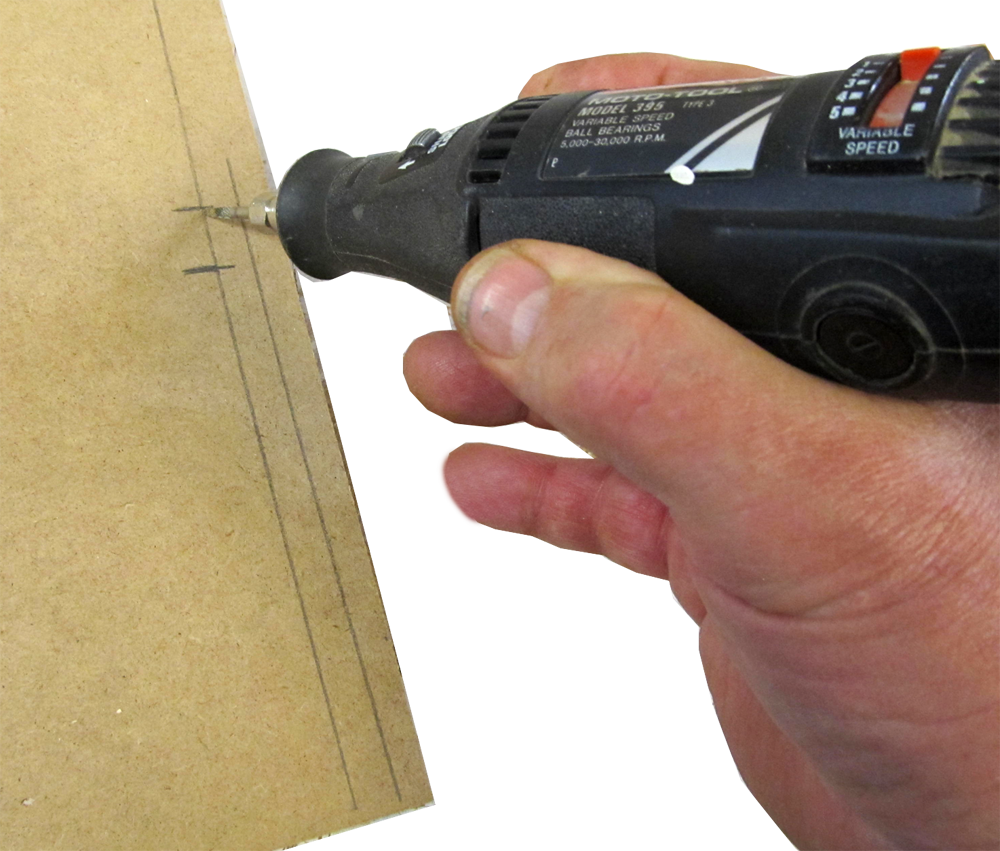
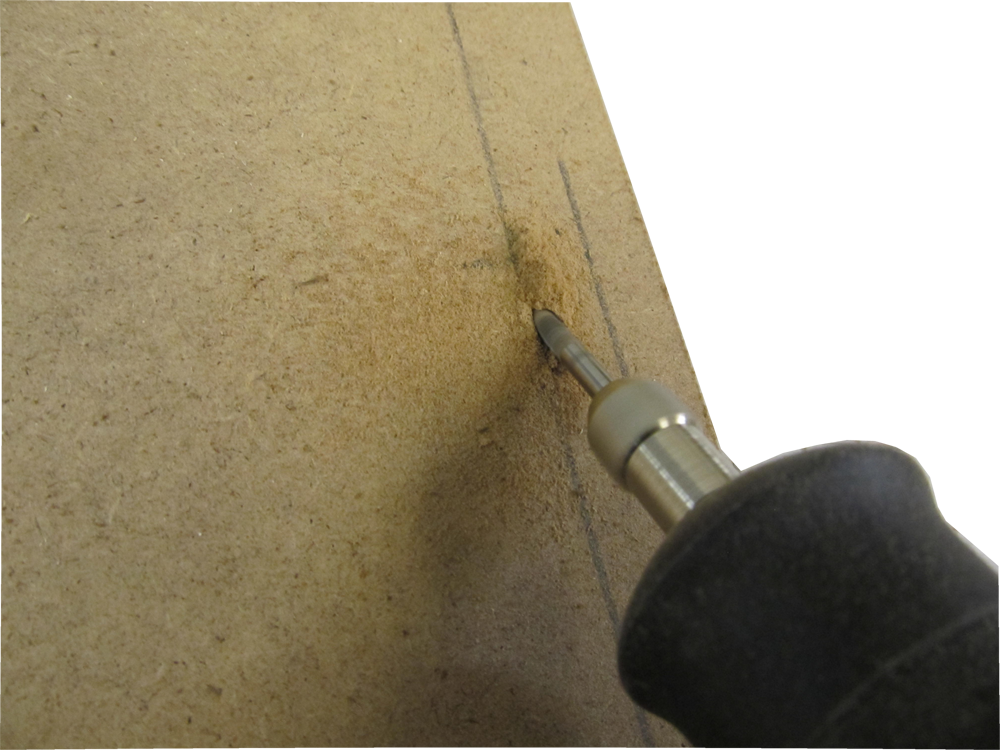
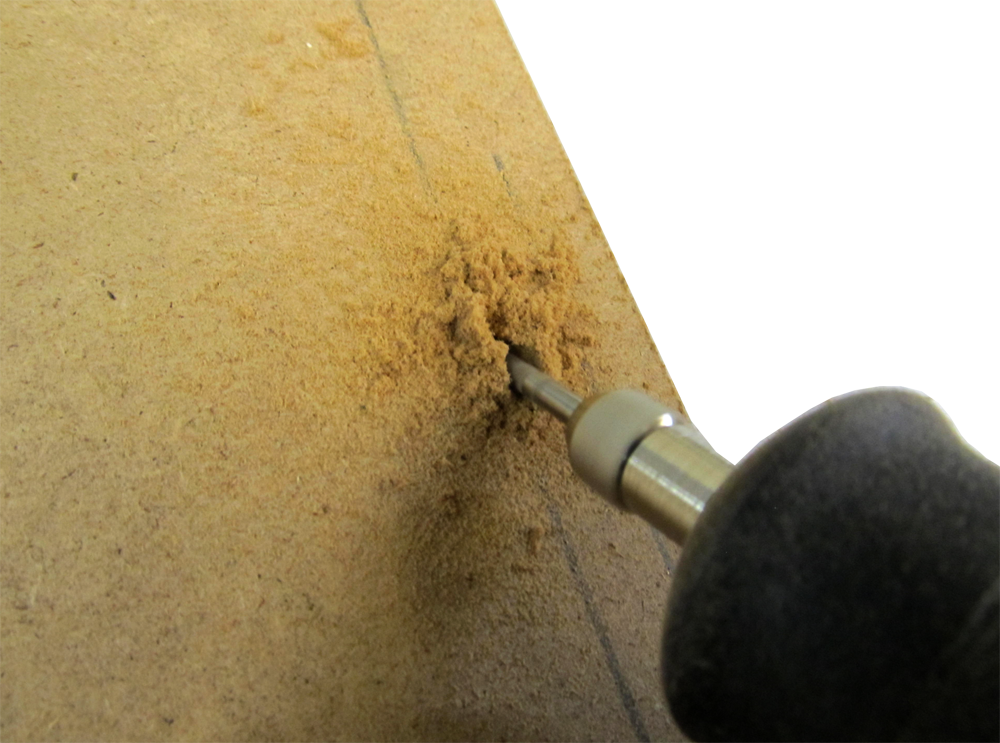
Cut E-Slots (Drill)
Cut E-Slots (Oscillating Multitool)
Attic E-Slot (Oscillating Multitool)
|
DHTMLGoodies.com
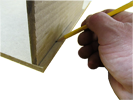
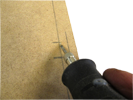
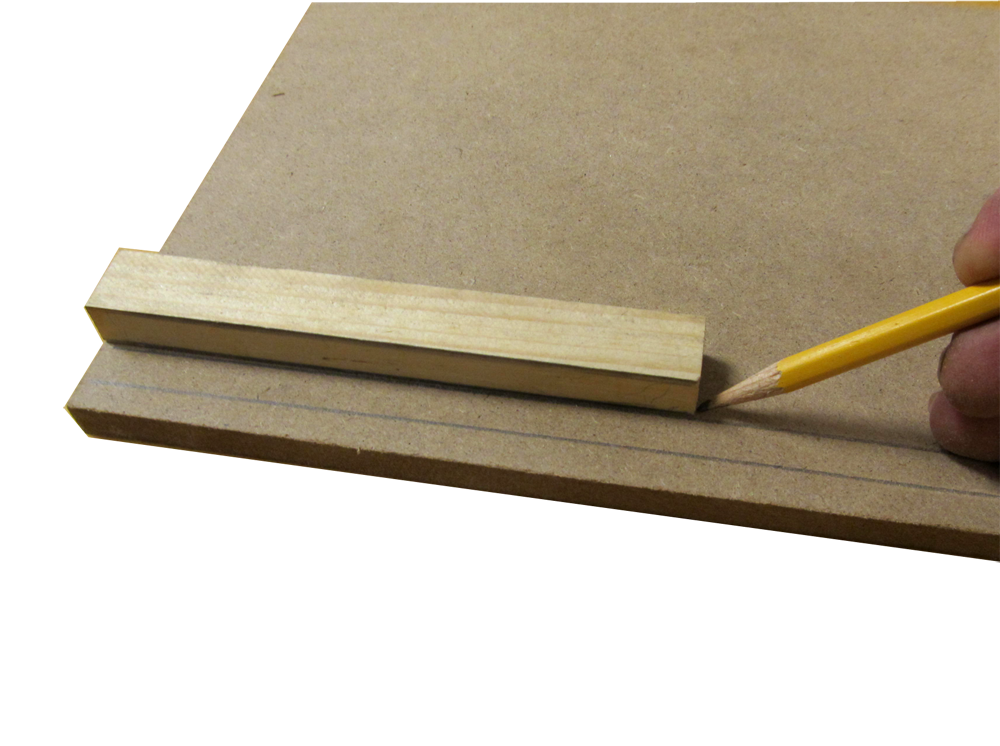
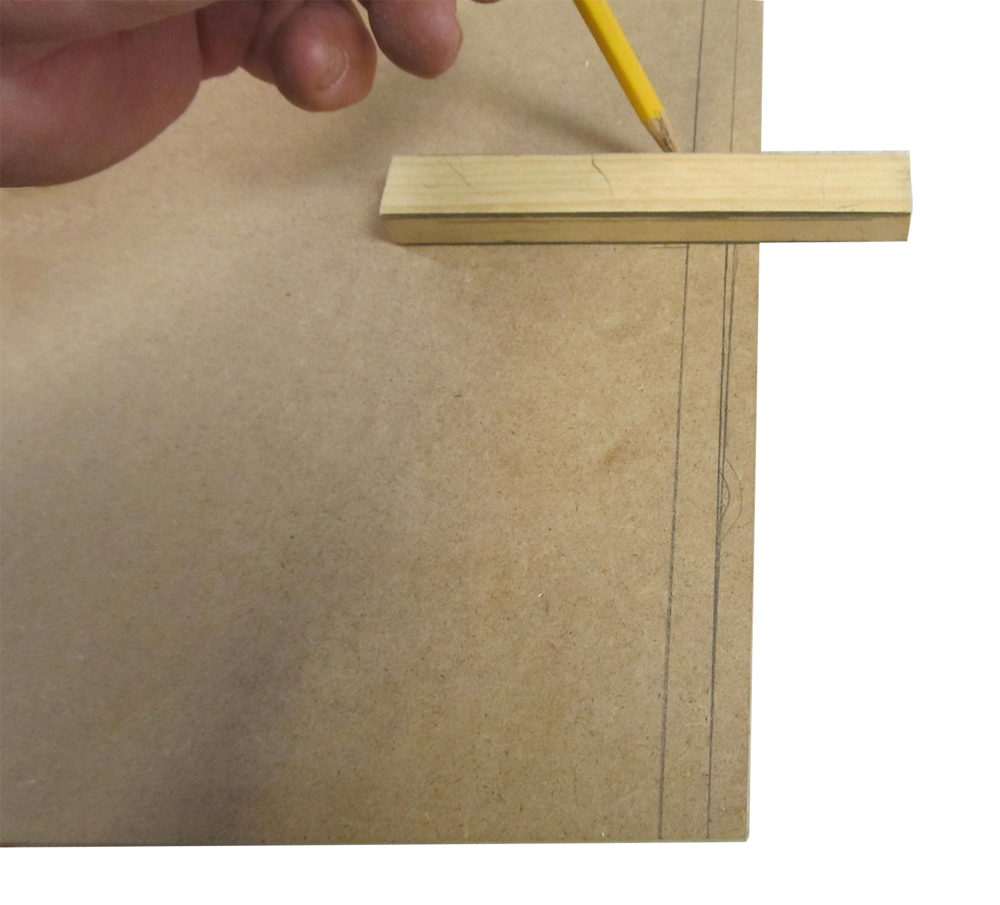
 06. The Layout Stick from the wiring set is 5 1/2" long
06D.png
06. The Layout Stick from the wiring set is 5 1/2" long
06D.png
DHTMLGoodies.com
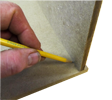
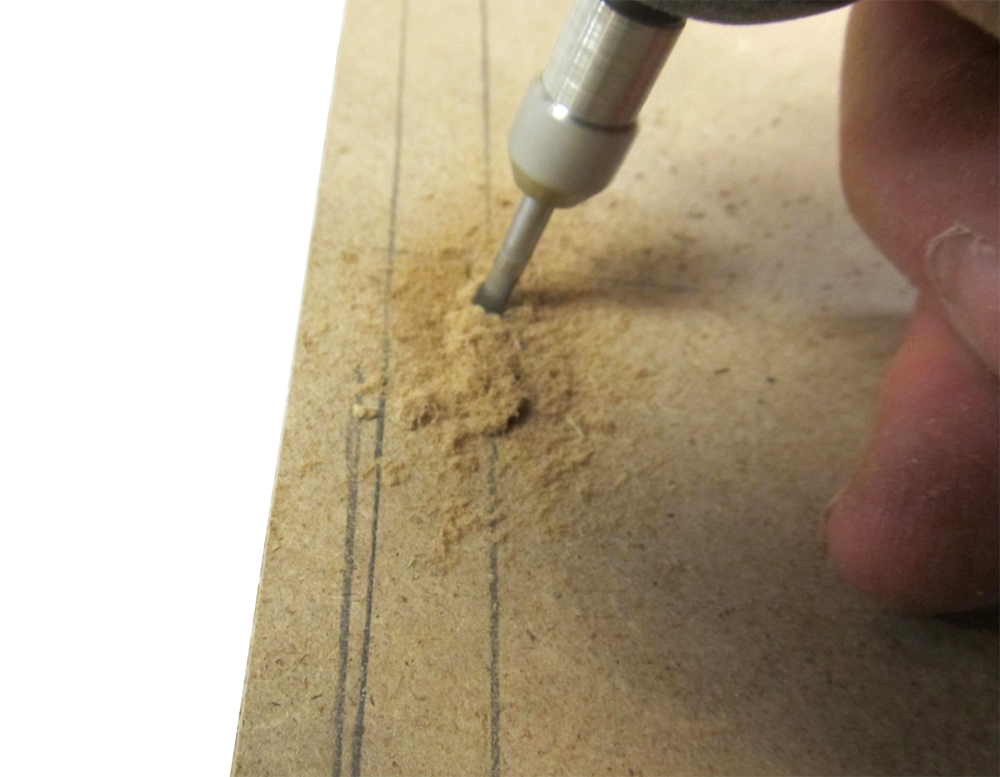
 08. .. or use the layout stick to mark the width of the E-Slot
08D.png
08. .. or use the layout stick to mark the width of the E-Slot
08D.png
DHTMLGoodies.com
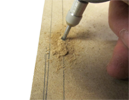
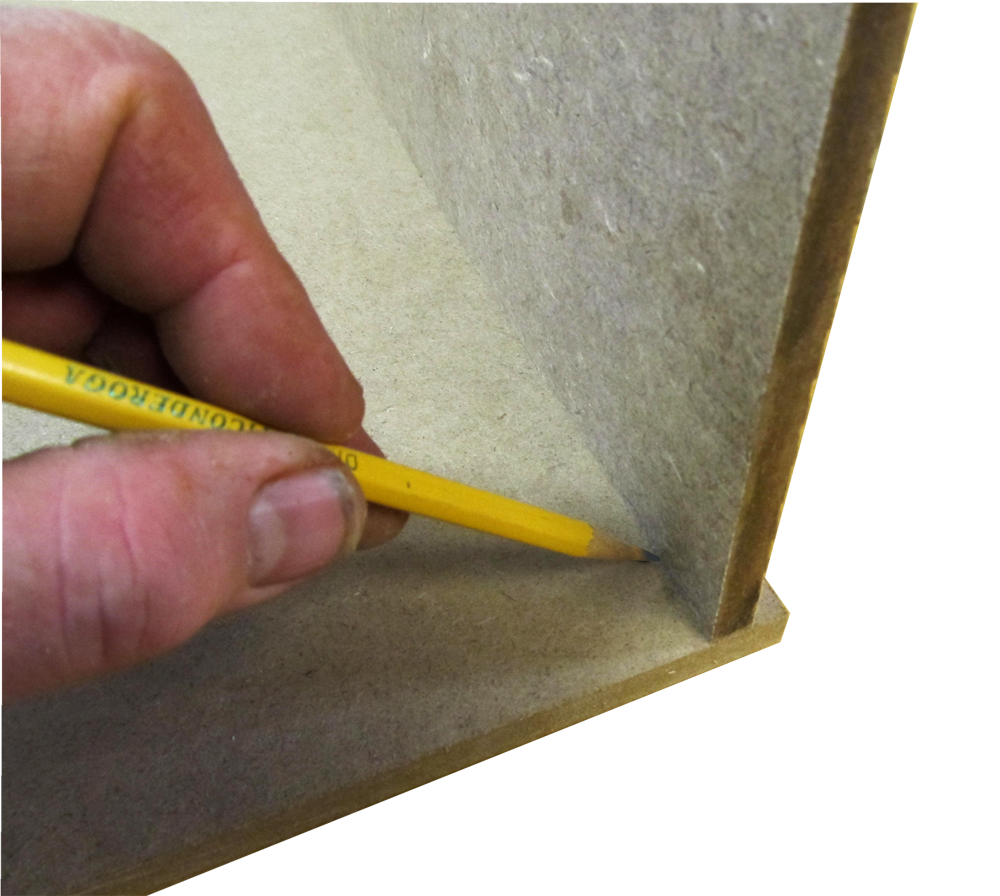
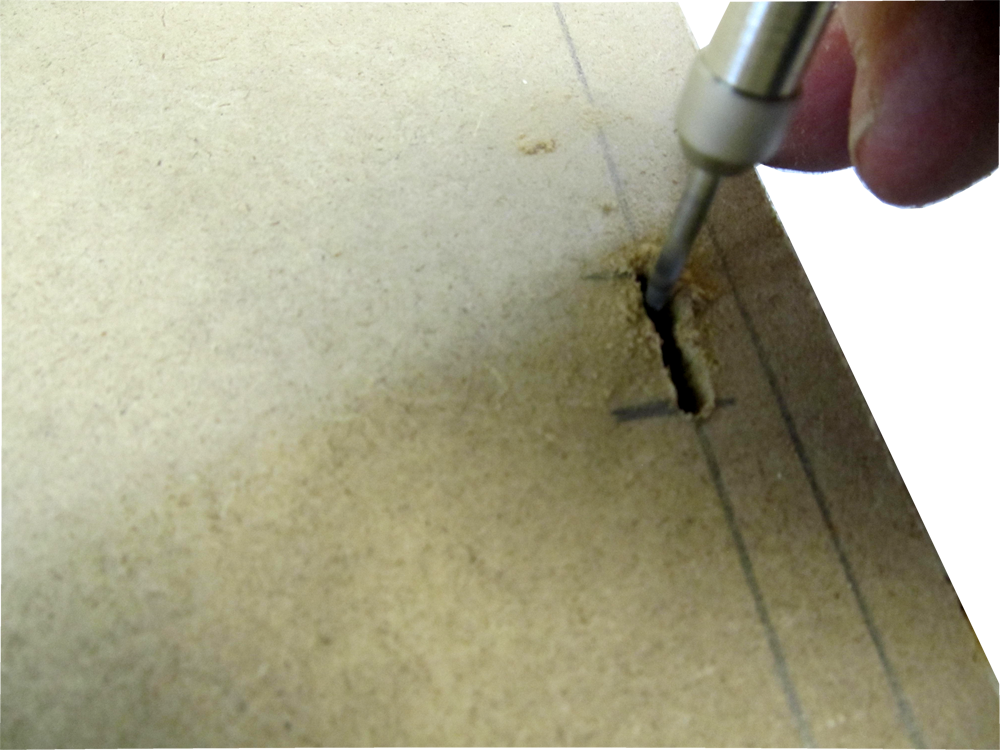
 13. For the best 'NET' wiring plan, do both sides of each floor
13D.png
13. For the best 'NET' wiring plan, do both sides of each floor
13D.png
DHTMLGoodies.com
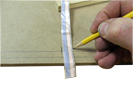
 19. Test the tapewire before you glue the walls to the floors
19D.png
19. Test the tapewire before you glue the walls to the floors
19D.png
DHTMLGoodies.com
 00. Next slideshow: E-Slot using a drill
../../Buttons/ClickHere.png
00. Next slideshow: E-Slot using a drill
../../Buttons/ClickHere.png
|


