![]()
Slideshows support but do not replace the instructions
Parts
PreAssembly
Floors, Foundations, and Roofs
Mark the Floors for painting (here)
Paint
Assembly:
Housebody 1: First floor
Housebody 2: Second floor
Top Floor - mark and paint
Tower and Roof
Exterior Frinishing
Index
Corner Trim
Windows
Shingles and Dormers
Rails Assemble Install Addendum
Interior Frinishing
Interiors Home
Interior Window Trim
Dividers
Stairs, Banister & Landing
DHTMLGoodies.com
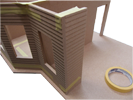
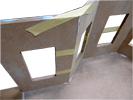 36. Stretch tape on the inside (you aren't gluing these parts yet, just tracing them)
36D.png
 36. Stretch tape on the inside (you aren't gluing these parts yet, just tracing them)
36D.png
DHTMLGoodies.com
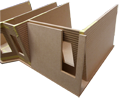
 39. Wall G fits behind Wall F. Locate Wall F 13" from the right edge of the floor...
39D.png
 39. Wall G fits behind Wall F. Locate Wall F 13" from the right edge of the floor...
39D.png
DHTMLGoodies.com
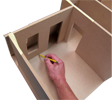
 49. Make sure the walls are nicely parallel and don't move while you are tracing
49D.png
 49. Make sure the walls are nicely parallel and don't move while you are tracing
49D.png
DHTMLGoodies.com
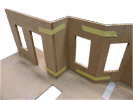
 57. Move the Walls to the top of the 2nd Floor, set up just like the Base Floor
57D.png
 57. Move the Walls to the top of the 2nd Floor, set up just like the Base Floor
57D.png
DHTMLGoodies.com
 53. Put the top Floor on the Walls and trace the underside (do not trace the top of the Top Floor)
53D.png
 53. Put the top Floor on the Walls and trace the underside (do not trace the top of the Top Floor)
53D.png


