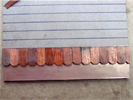
Octagonal Shingles
Traditional
Classic style
Victorian style
Cottage style with ¾" reveal
1. Flashing and Guidelines
2. First Course (here)
3. Weave, Flattening, Top Course
Drip Edge and Valley Flashing
Details and Techinques:
Boston Lap
Top Course ("Reveal")
Dip-Scoop-Slide (applying shingles)
Sandpaper on a stick (trimming the edge)
Sales:
Pine Octagon Shingles (1000): (500)
Red Cedar Octagon Shingles:
Dye1 Reddish Brown:
Dye3 Dark Grey:
Copper Sheeting for flashing:

c.1880 photo of the Roseland Cottage roof

1845 sketch by owner, Henry Bowen
![]()
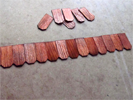
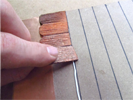
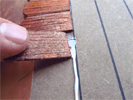
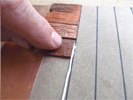
 All the shingles on a roof overlap the next course down except the First Course
../../../RGT_Website_assets/ajax-loader.gif
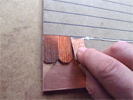
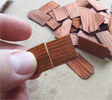 33. .. so I will double the thickness of the bottom edge of this course so it will match
33D.png
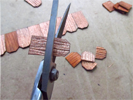
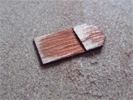
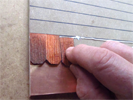
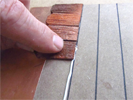
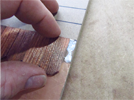 90. The last shingle on this row will be cut to fit (plus a little for sanding)
90D.png
 00. Next: Weave, Flatten, Top Course
Click the "Click" button (above) ../../../Buttons/ClickHere.png
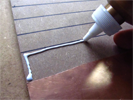
Tacky Glue is slower than solvent glues because you have to pause for each course to stiffen
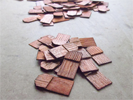
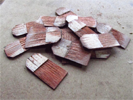
These are HOW500 Hand-Split Pine Shingles dyed with one packet of Dye1 and one cup of water

