Shingling with Fabric Glue
![]()
Shingle Slideshow 01 (here)
Shingle Slideshow 02
Shingle Slideshow 03
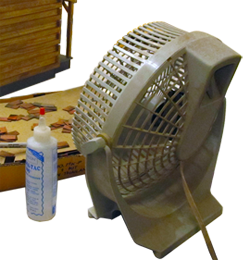
Use a fan for Ventilation!


DHTMLGoodies.com
 Give the glue bottle a little squeeze before turning it over to control drips
ShingleSlideshow/02D.png
Give the glue bottle a little squeeze before turning it over to control drips
ShingleSlideshow/02D.png
Give the glue bottle a little squeeze before turning it over to control drips
ShingleSlideshow/02D.png

DHTMLGoodies.com
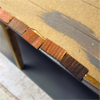
 Starters will lift the First Course to the same angle as the upper courses
ShingleSlideshow/04D.png
Starters will lift the First Course to the same angle as the upper courses
ShingleSlideshow/04D.png
Starters will lift the First Course to the same angle as the upper courses
ShingleSlideshow/04D.png
DHTMLGoodies.com
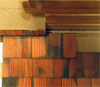
 glue squeezing at the top will be hidden by the next higher course
ShingleSlideshow/06D.png
glue squeezing at the top will be hidden by the next higher course
ShingleSlideshow/06D.png
glue squeezing at the top will be hidden by the next higher course
ShingleSlideshow/06D.png


DHTMLGoodies.com
 do two roofs at the same time to let each course dry a bit
ShingleSlideshow/17D.png
do two roofs at the same time to let each course dry a bit
ShingleSlideshow/17D.png
do two roofs at the same time to let each course dry a bit
ShingleSlideshow/17D.png


DHTMLGoodies.com
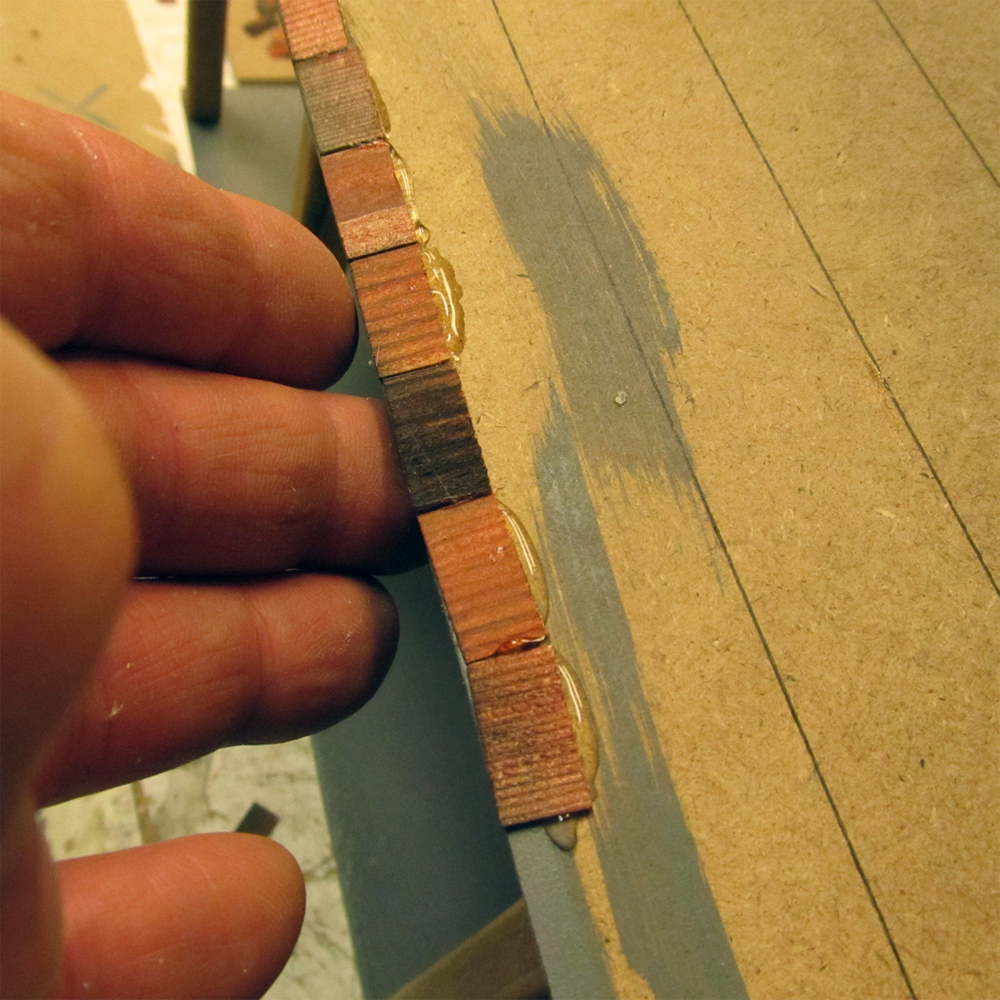
 press down as you slide the shingle up to the guidelineline
ShingleSlideshow/25D.png
press down as you slide the shingle up to the guidelineline
ShingleSlideshow/25D.png
press down as you slide the shingle up to the guidelineline
ShingleSlideshow/25D.png

DHTMLGoodies.com
 Glue squeezings at the top won't show if your line of glue is high enough
ShingleSlideshow/27D.png
Glue squeezings at the top won't show if your line of glue is high enough
ShingleSlideshow/27D.png
Glue squeezings at the top won't show if your line of glue is high enough
ShingleSlideshow/27D.png


DHTMLGoodies.com
 The next course will be cut to leave 1" on the course that's already glued
ShingleSlideshow/49D.png
The next course will be cut to leave 1" on the course that's already glued
ShingleSlideshow/49D.png
The next course will be cut to leave 1" on the course that's already glued
ShingleSlideshow/49D.png

DHTMLGoodies.com
 scissors or a razor saw... a razor saw leaves a usable offcut
ShingleSlideshow/51D.png
scissors or a razor saw... a razor saw leaves a usable offcut
ShingleSlideshow/51D.png
scissors or a razor saw... a razor saw leaves a usable offcut
ShingleSlideshow/51D.png


