Shingling with Fabric Glue
![]()
Shingle Slideshow 01
Shingle Slideshow 02
Shingle Slideshow 03 (here)
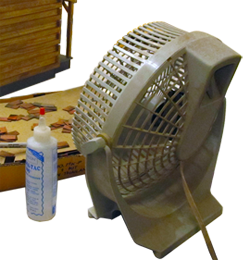
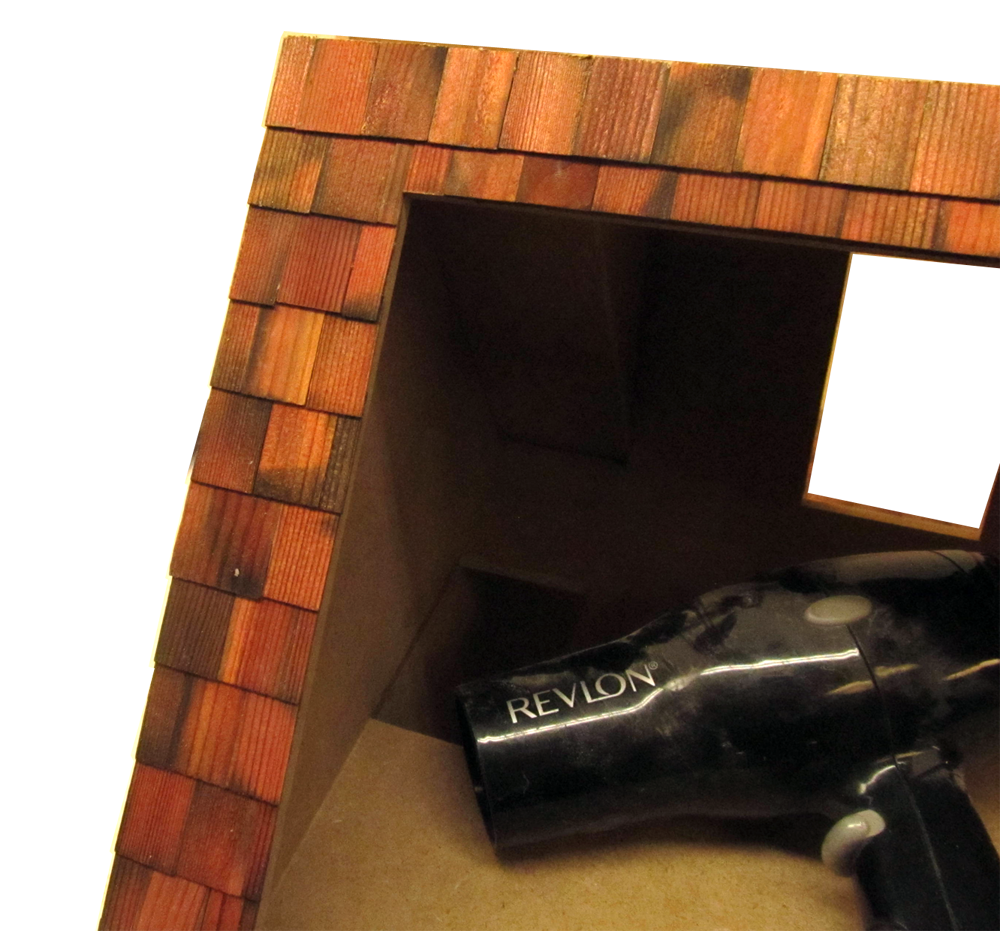
Use a fan for Ventilation!

DHTMLGoodies.com
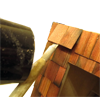
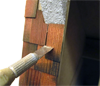
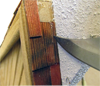
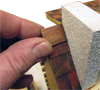
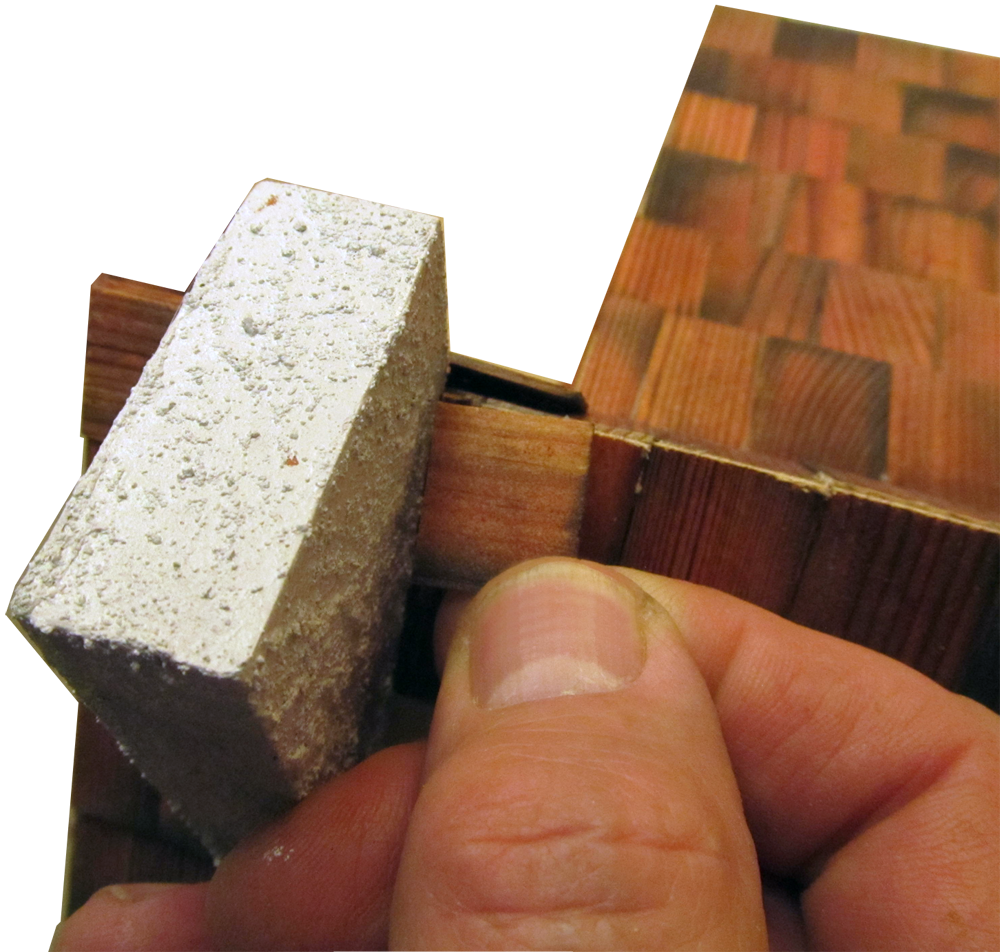
 heating softens most glues, and this hair dryer is all the heat needed
ShingleSlideshow/095D.png
heating softens most glues, and this hair dryer is all the heat needed
ShingleSlideshow/095D.png
heating softens most glues, and this hair dryer is all the heat needed
ShingleSlideshow/095D.png


DHTMLGoodies.com
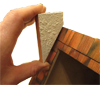
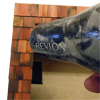
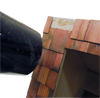
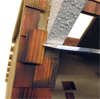
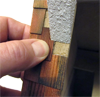
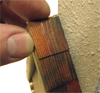
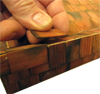
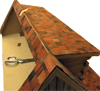
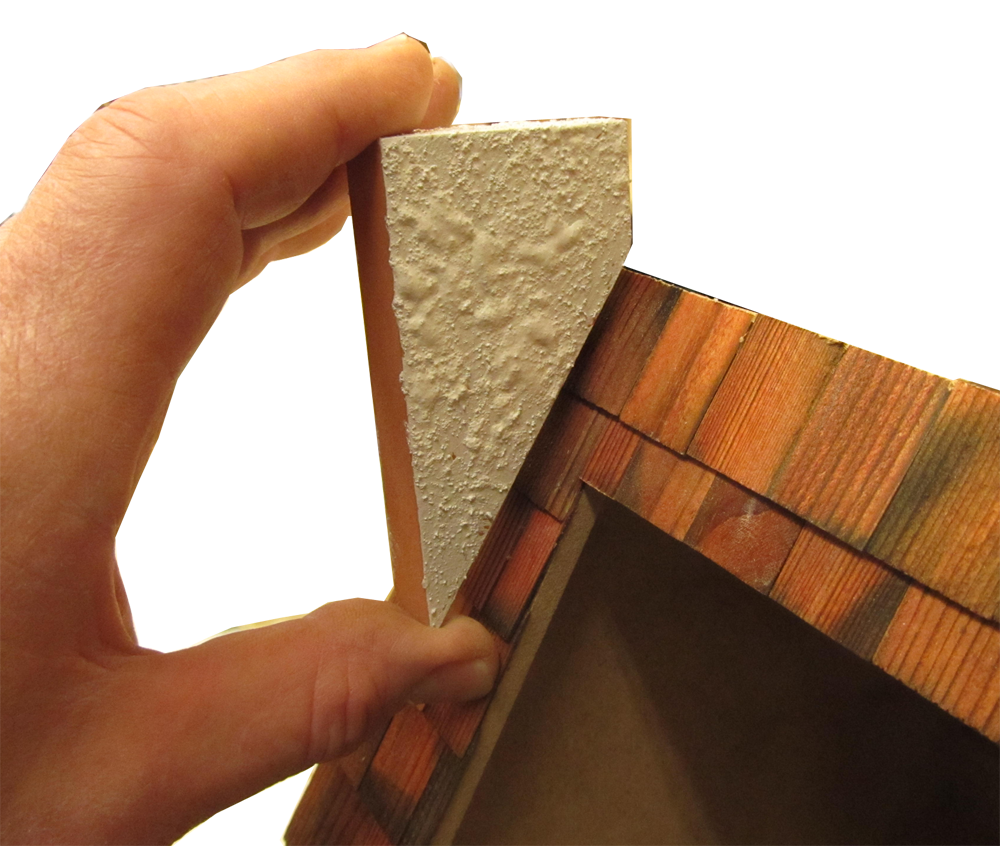
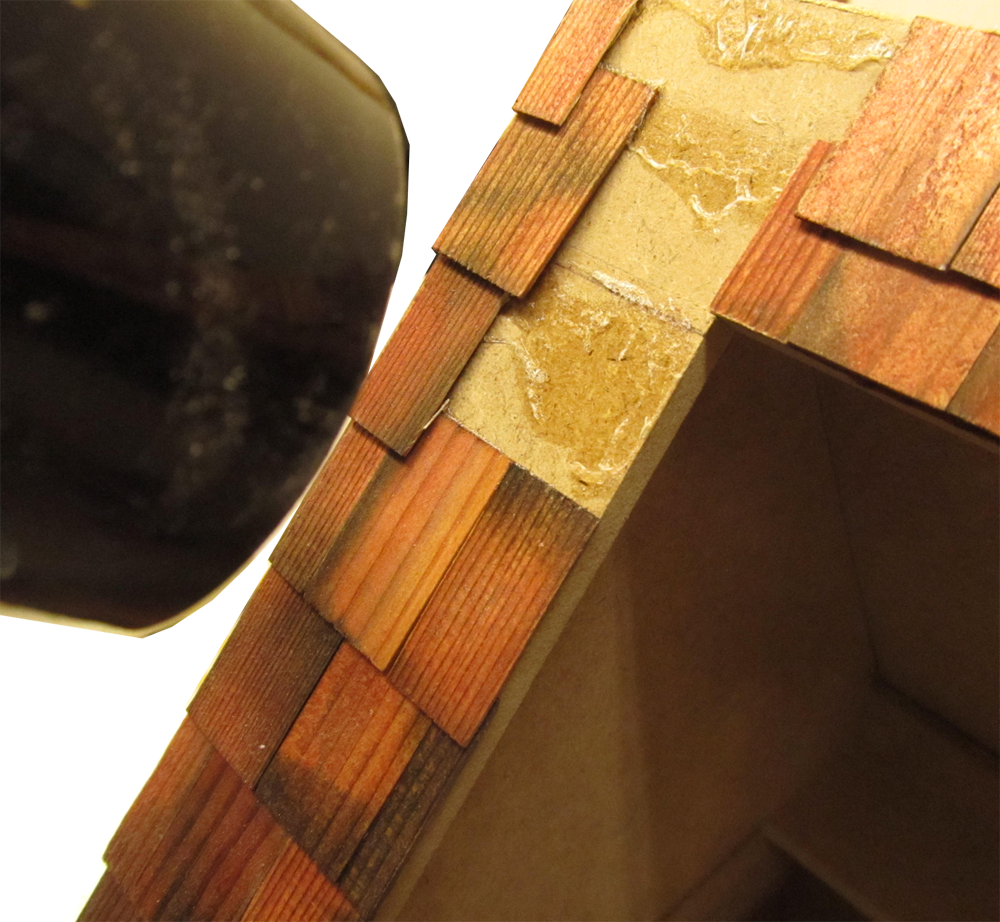
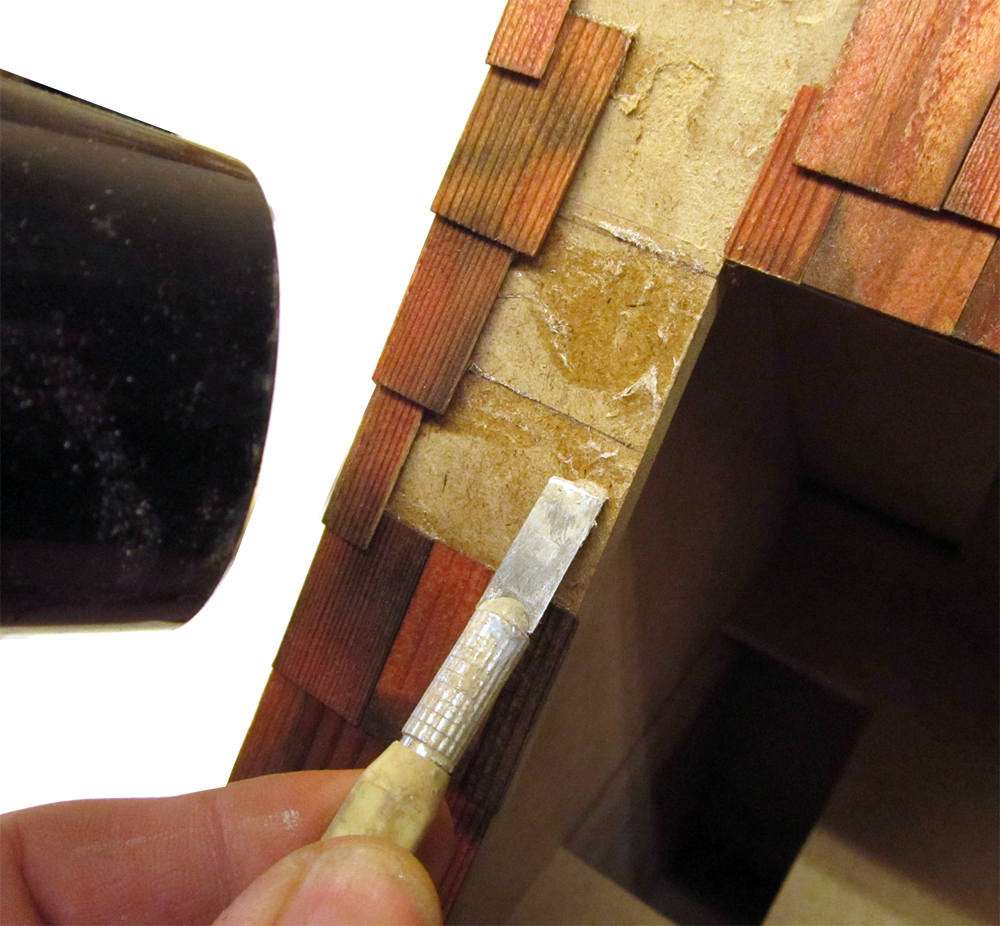
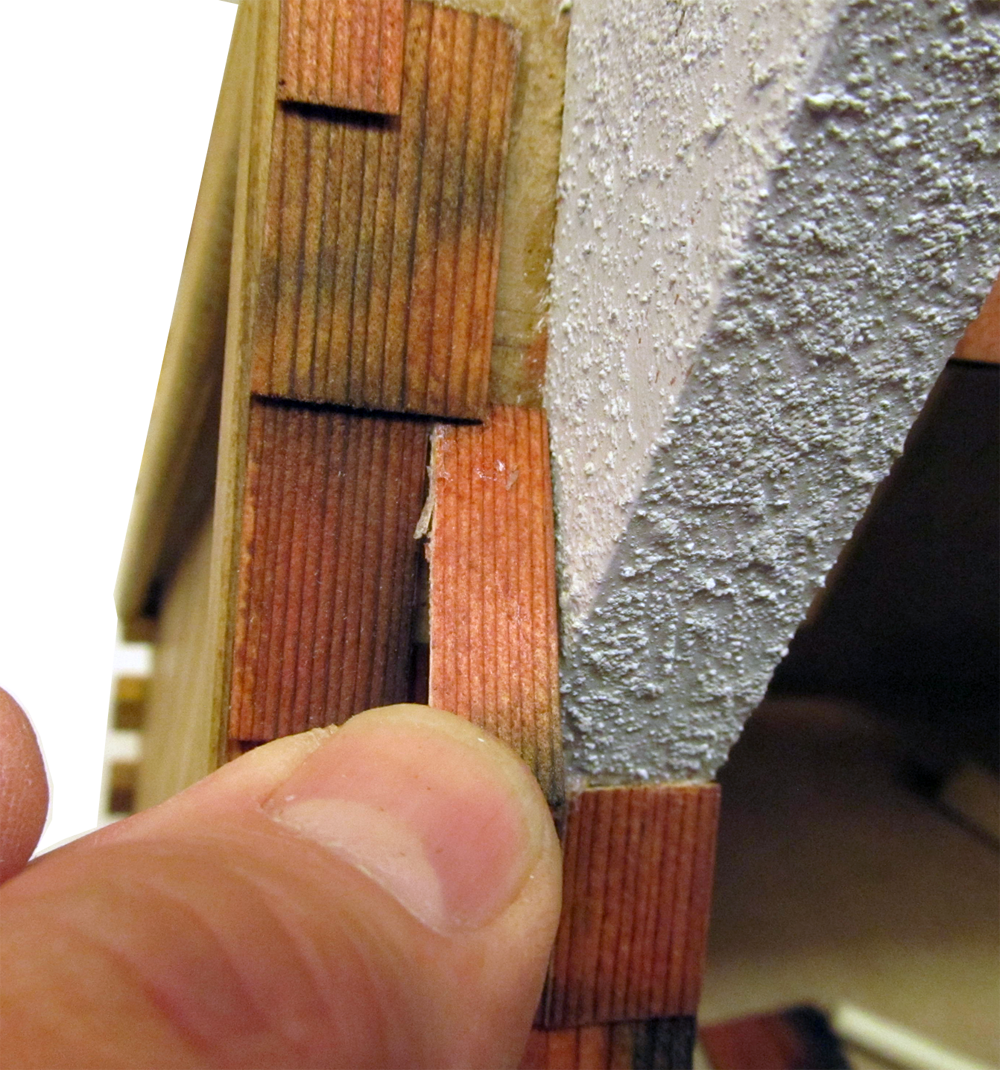
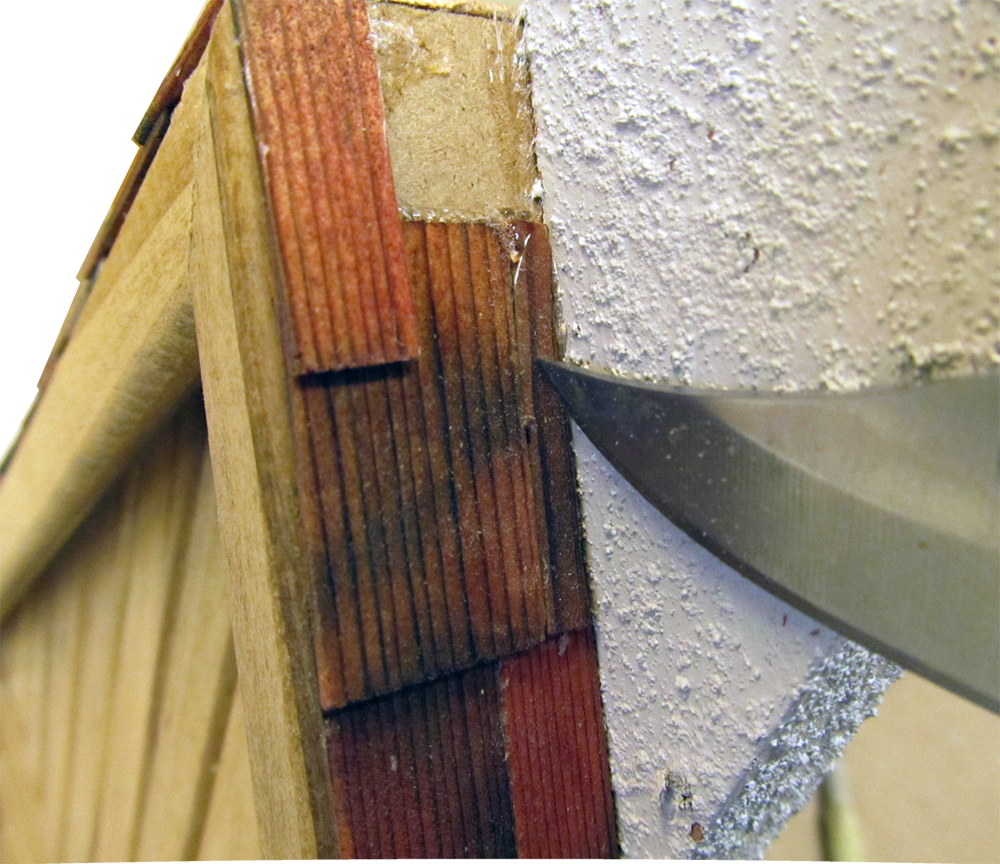
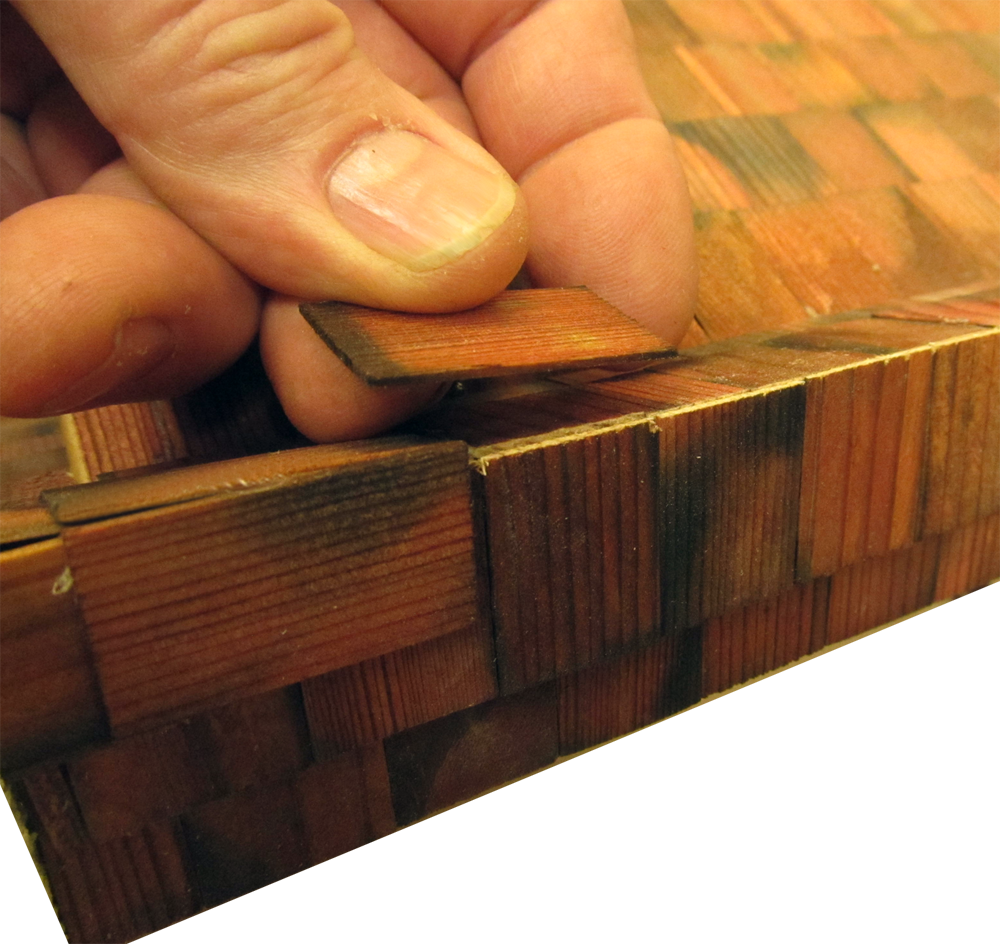
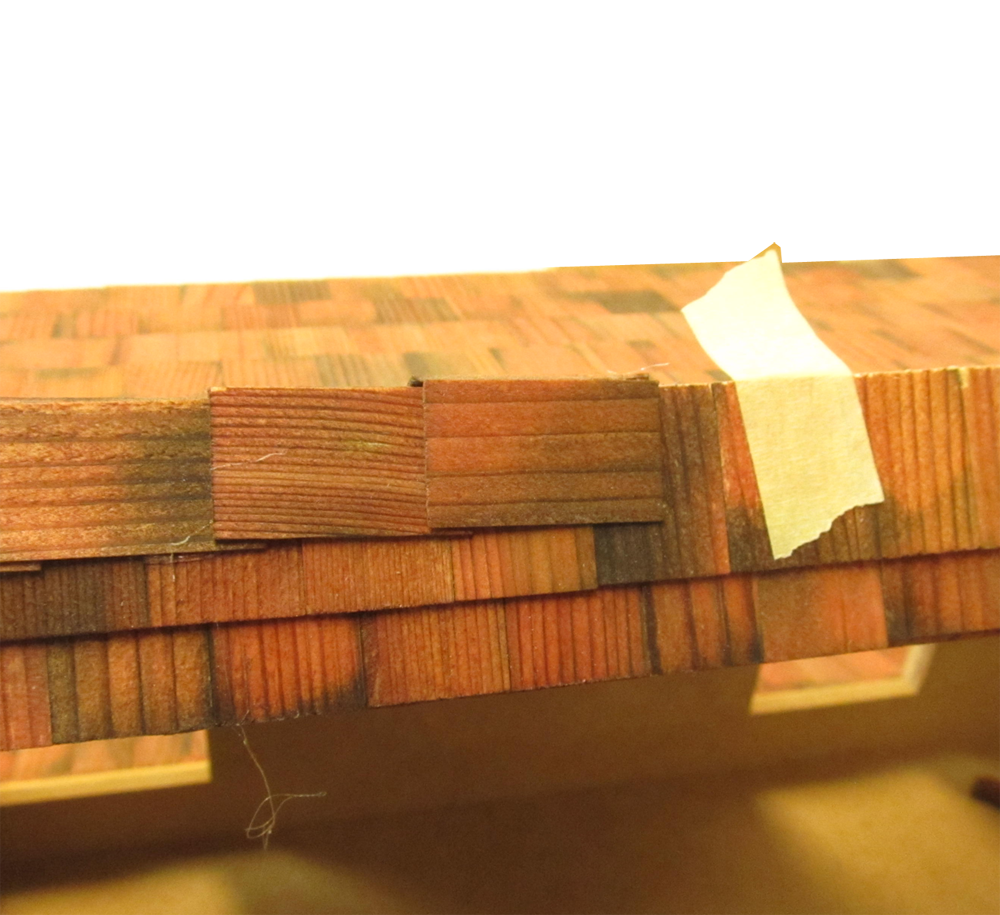
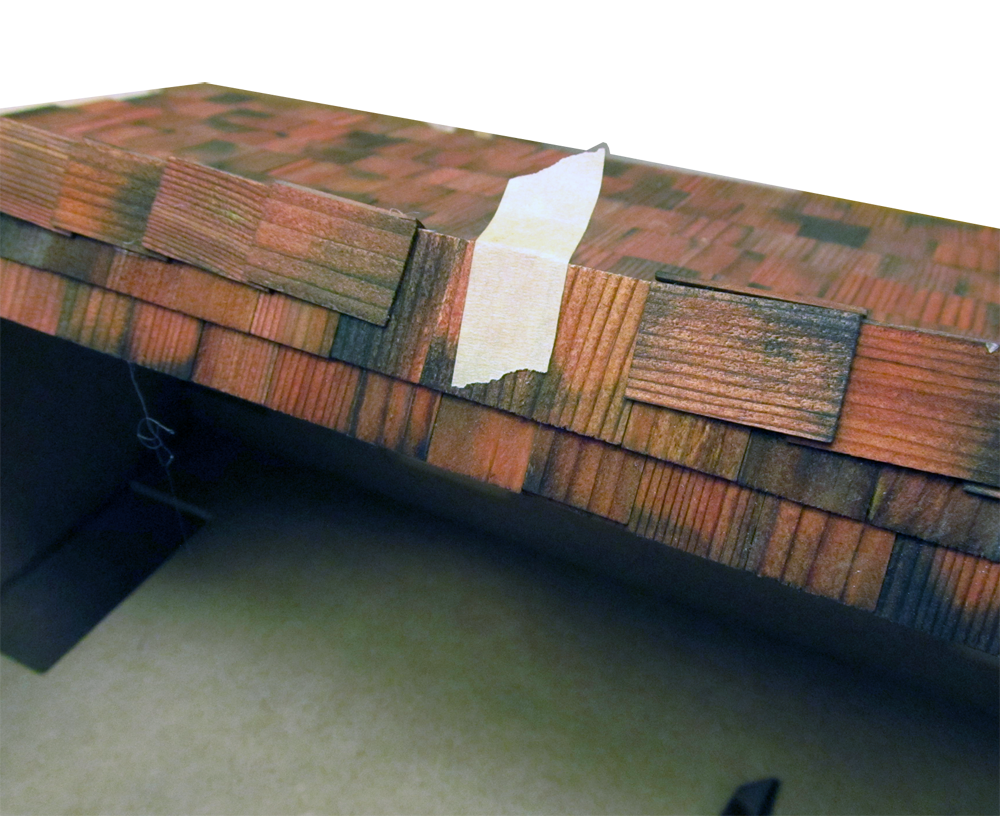
 Now it's time for the "Boston Lap. Mark the center with tape.
ShingleSlideshow/120D.png
Now it's time for the "Boston Lap. Mark the center with tape.
ShingleSlideshow/120D.png
Now it's time for the "Boston Lap. Mark the center with tape.
ShingleSlideshow/120D.png


DHTMLGoodies.com
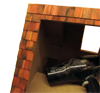
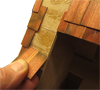
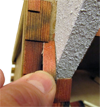
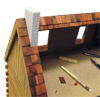
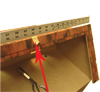
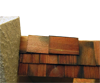
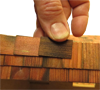
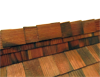
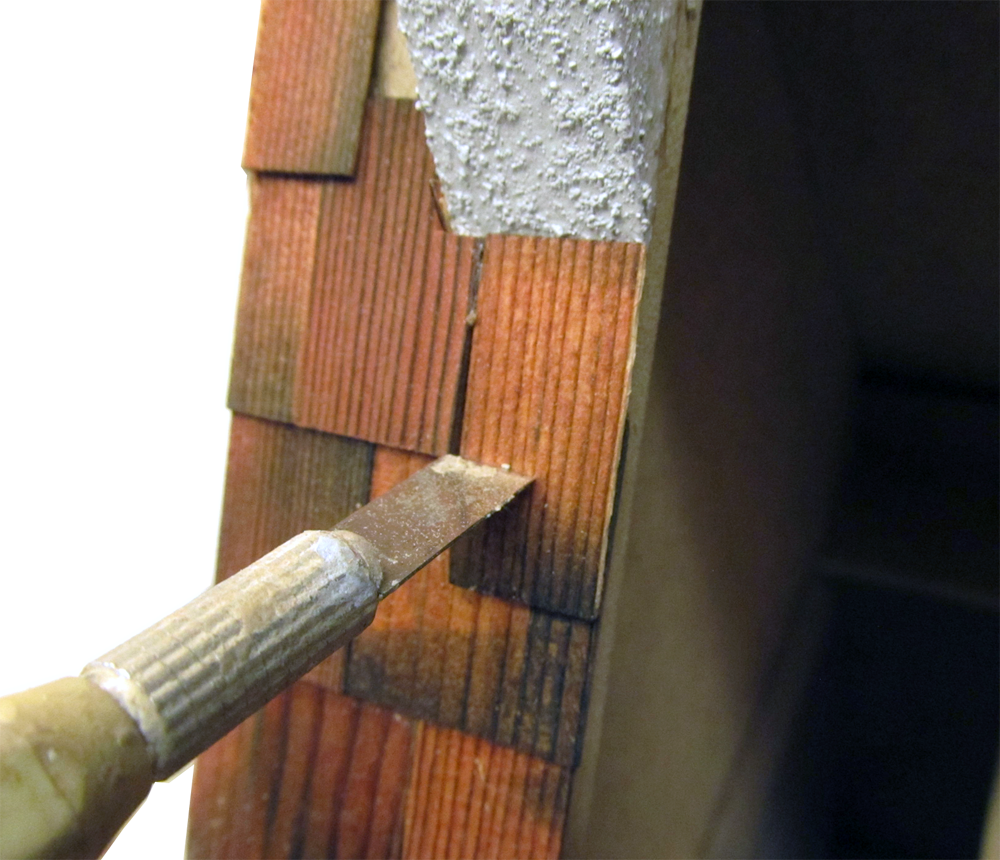
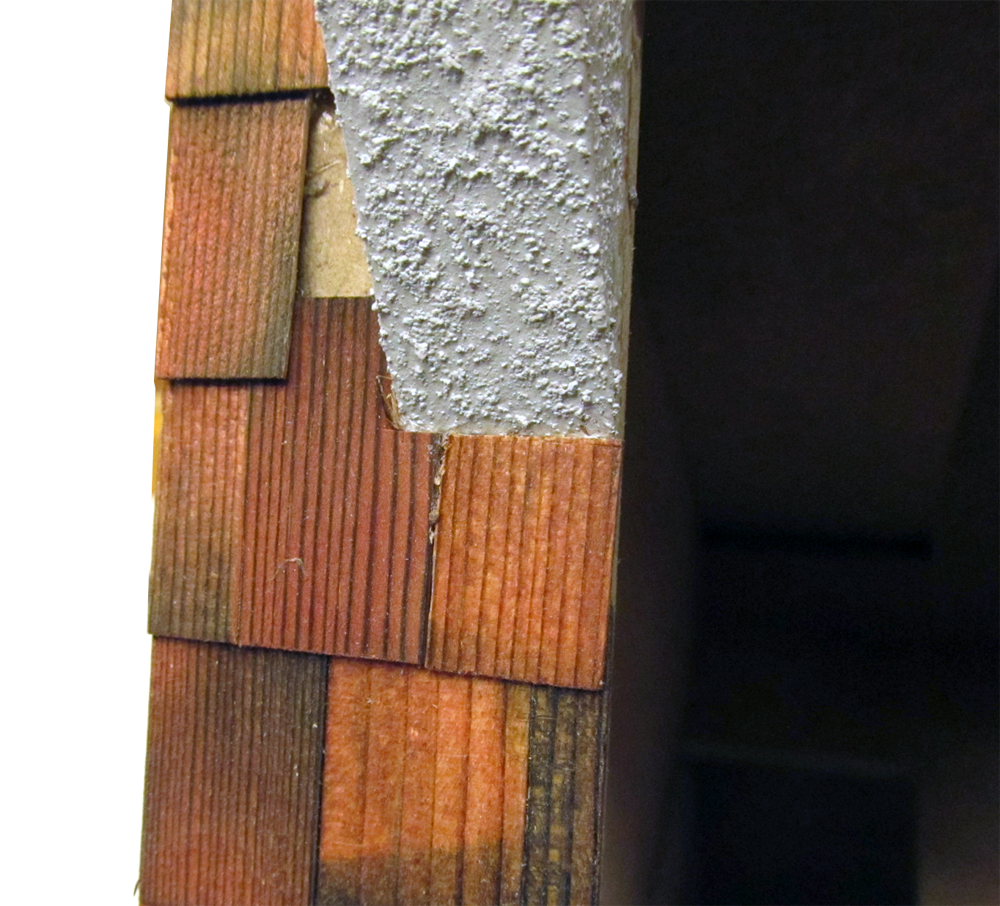
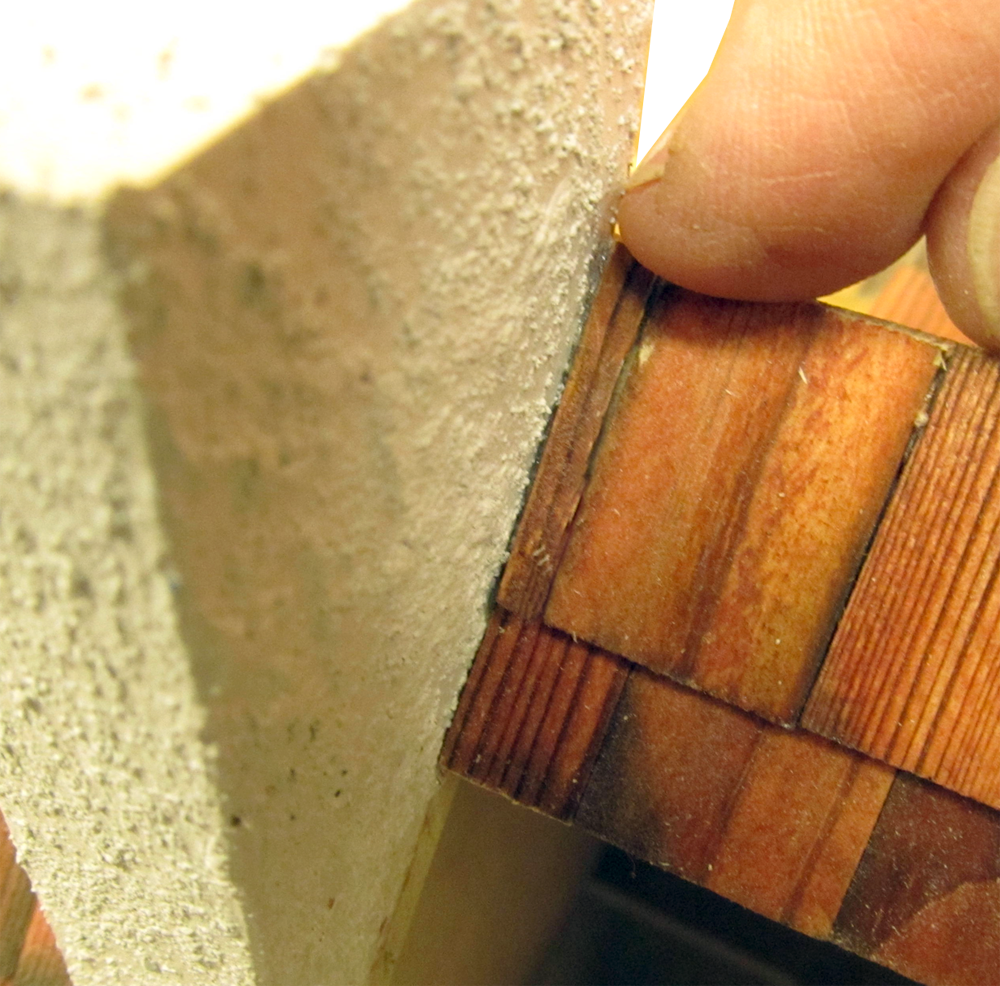
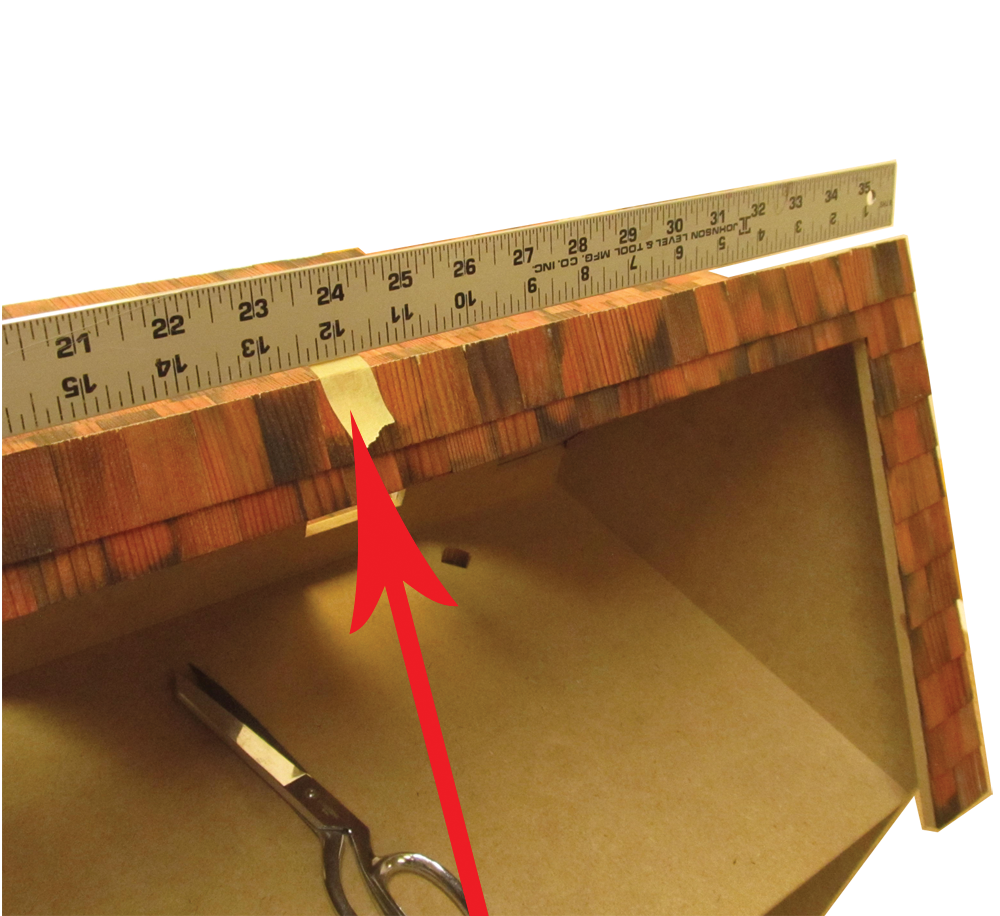
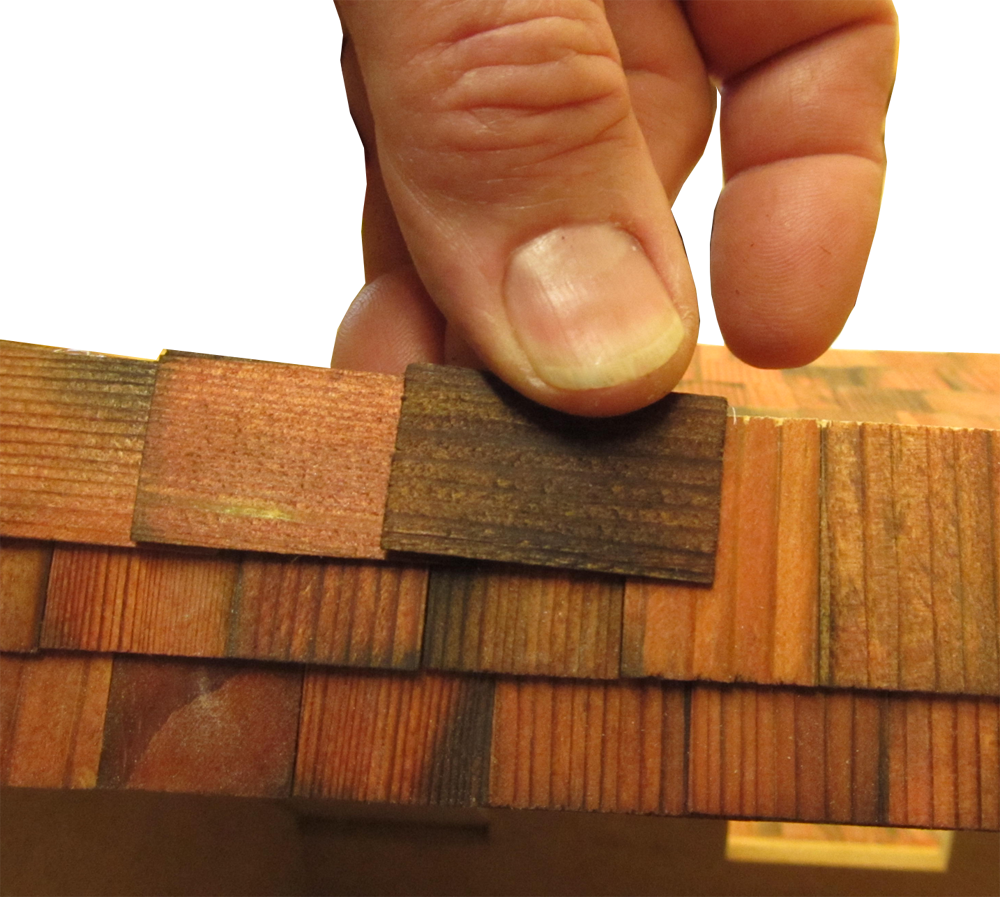
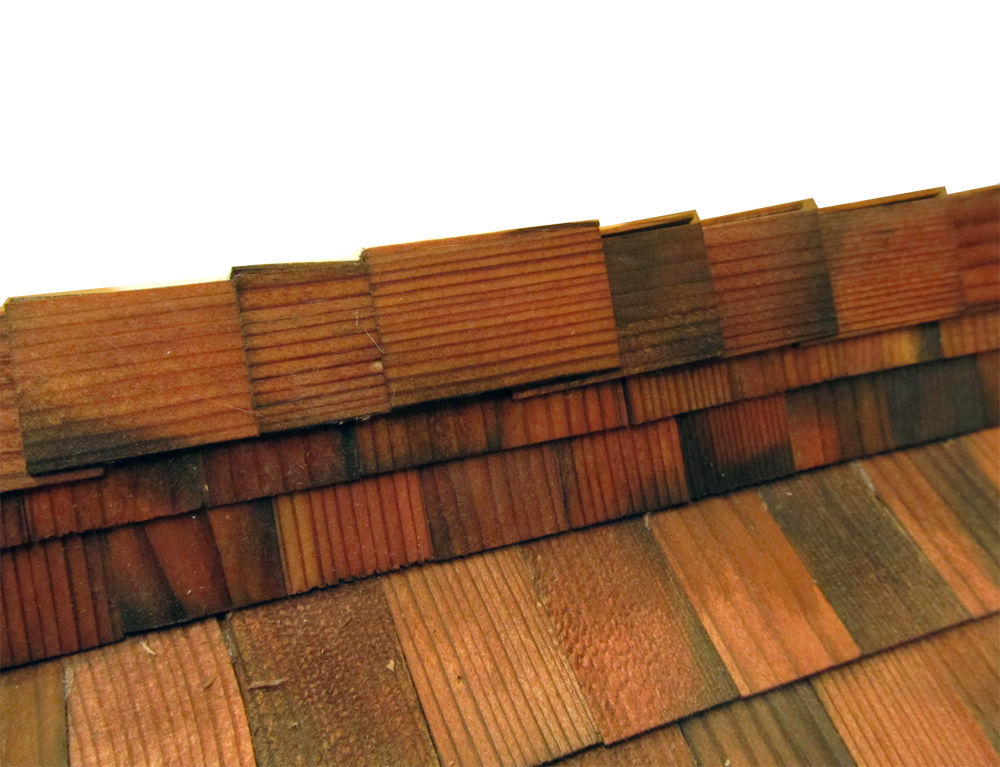
 Now do the other side, starting from the other edge of the roof
ShingleSlideshow/129D.png
Now do the other side, starting from the other edge of the roof
ShingleSlideshow/129D.png
Now do the other side, starting from the other edge of the roof
ShingleSlideshow/129D.png


