![]()
![]()
![]()
![]() Assembly 01 (here)
Assembly 01 (here)
Assembly 02
* the star on any part or assembly indicates that the parts have been modified over the years, and early versions may be slightly different. This doesn't change the step, but you should confirm your parts in the instructions.
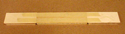
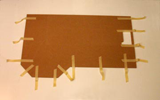
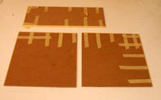
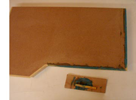
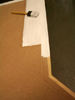
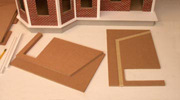
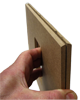
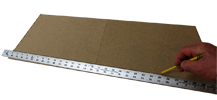
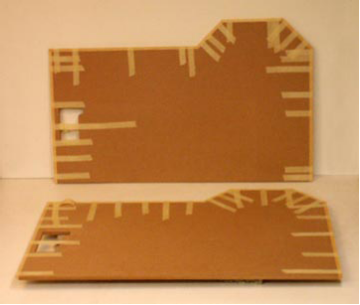
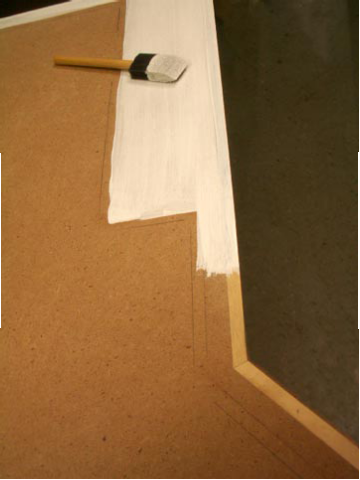
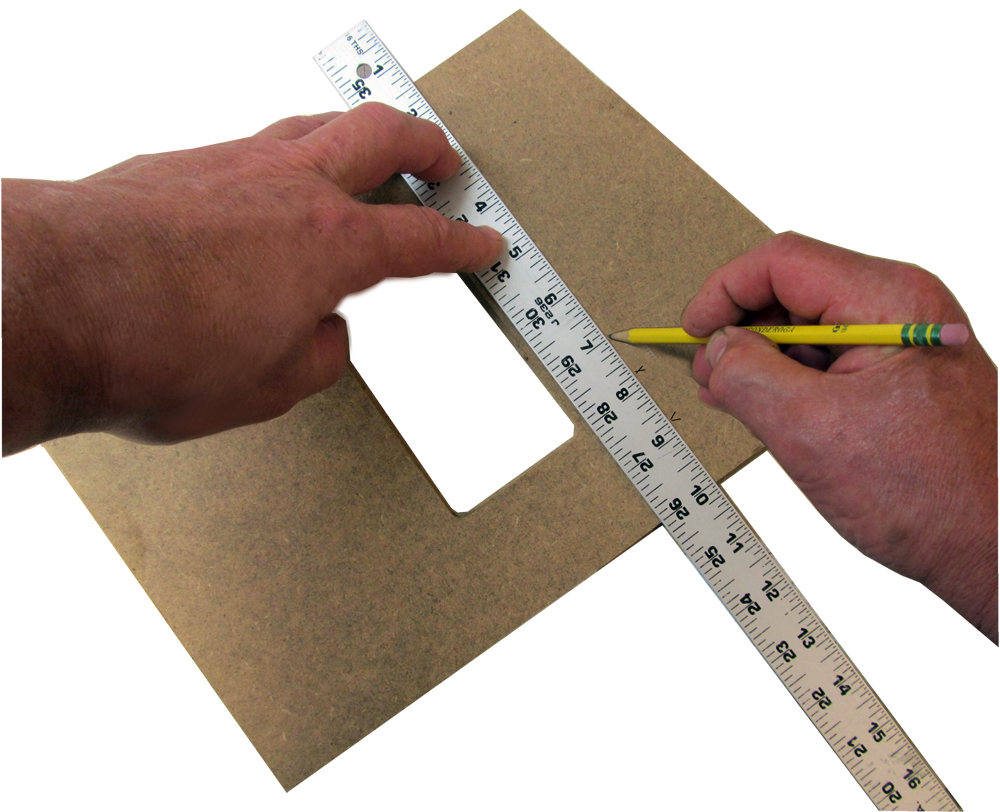
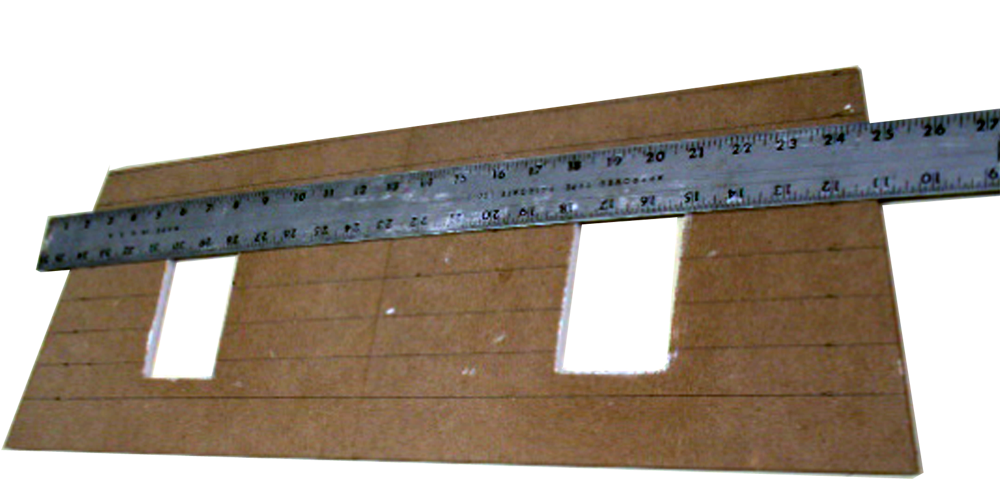
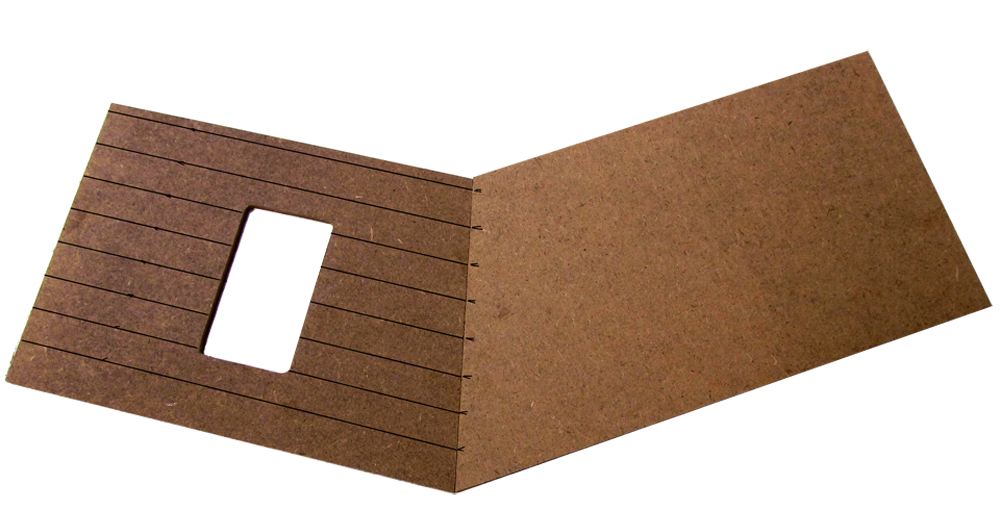
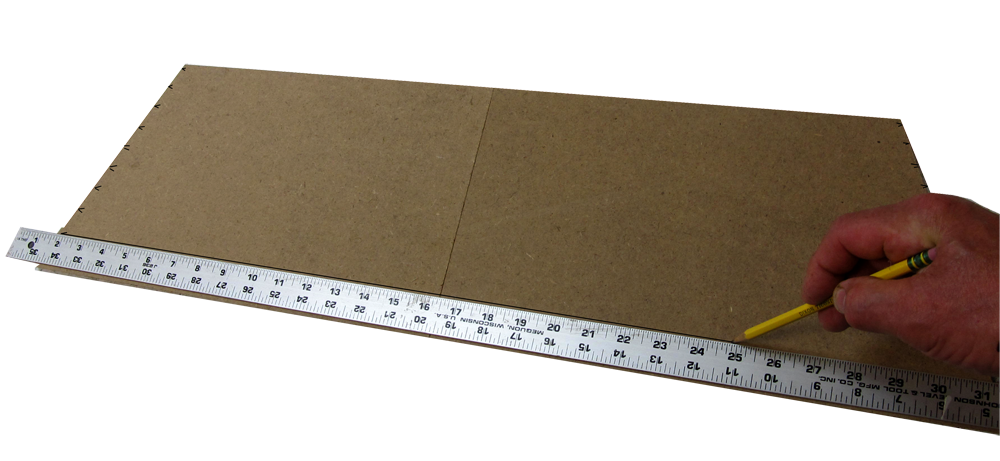
Slide 18: Depending on your intended floor finish, paint or faux-wood your floors to just barely cover the inside tracing.
Applied floor finishes
like wood or carpet
are applied after construction.
Just Barely covering the outside tracing and the inside tracing still leaves a bare wood area between the tracings for the glue to grab (glue doesn't stick well to paint)
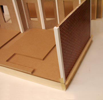
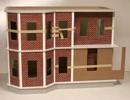
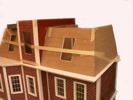
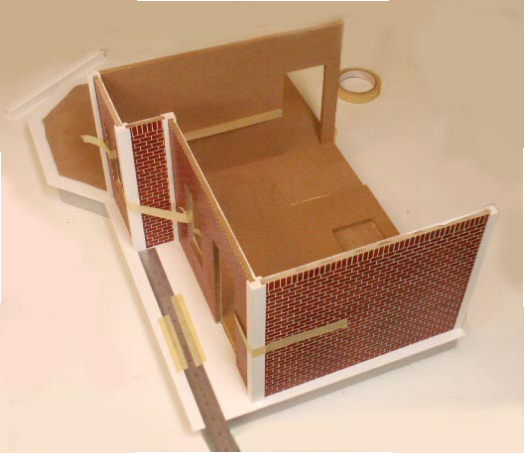
DHTMLGoodies.com 00. Once the walls are prepared, all versions of the Newport go together like this*
../../RGT_Website_assets/ajax-loader.gif
00. Once the walls are prepared, all versions of the Newport go together like this*
../../RGT_Website_assets/ajax-loader.gif
00. Once the walls are prepared, all versions of the Newport go together like this*
../../RGT_Website_assets/ajax-loader.gif
DHTMLGoodies.com
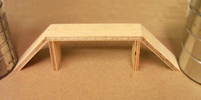
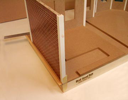
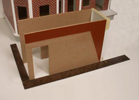
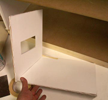
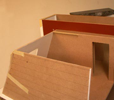
 05. Line up the face of the Bay Foundation with the beveled corner of the House Foundation
05D.png
05. Line up the face of the Bay Foundation with the beveled corner of the House Foundation
05D.png
05. Line up the face of the Bay Foundation with the beveled corner of the House Foundation
05D.png
DHTMLGoodies.com
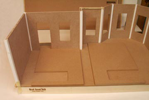
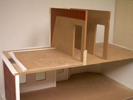
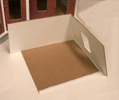
 09. Tape and weight the Base Floor to the Foundation set, lined up in back, centered side-to-side, evenly spaced underneath
09D.png
09. Tape and weight the Base Floor to the Foundation set, lined up in back, centered side-to-side, evenly spaced underneath
09D.png
09. Tape and weight the Base Floor to the Foundation set, lined up in back, centered side-to-side, evenly spaced underneath
09D.png
DHTMLGoodies.com
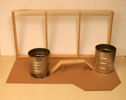
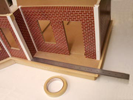
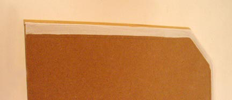
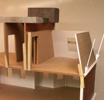
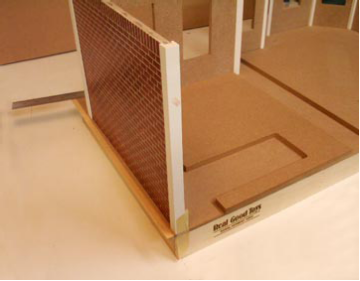
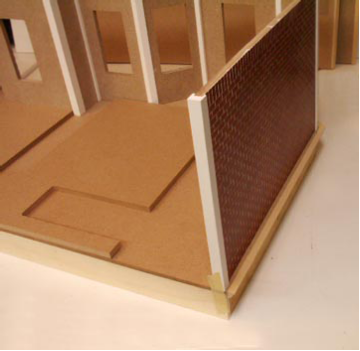
 11. The end cap is lined up in back and spaced ⅛ from the floor's edge (not including the Nosing)
11D.png
11. The end cap is lined up in back and spaced ⅛ from the floor's edge (not including the Nosing)
11D.png
11. The end cap is lined up in back and spaced ⅛ from the floor's edge (not including the Nosing)
11D.png
DHTMLGoodies.com
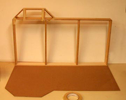
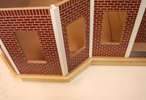
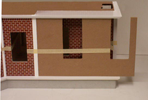
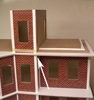
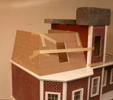
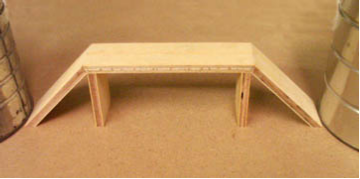
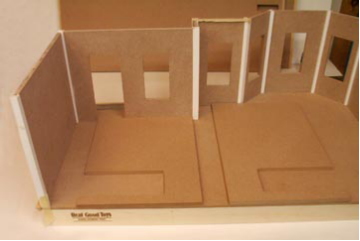
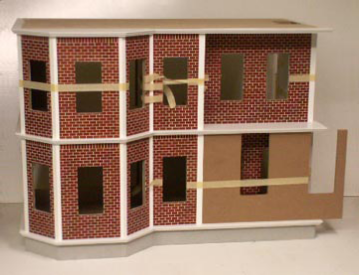
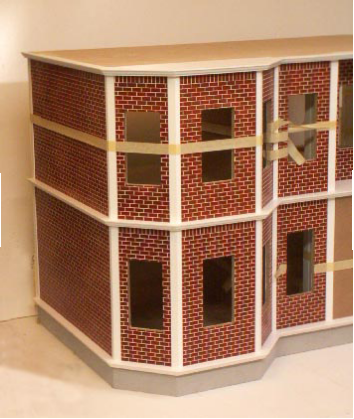
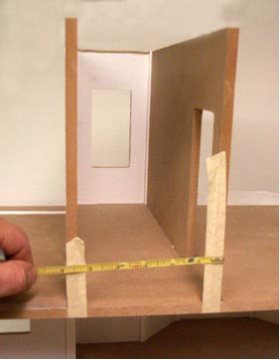
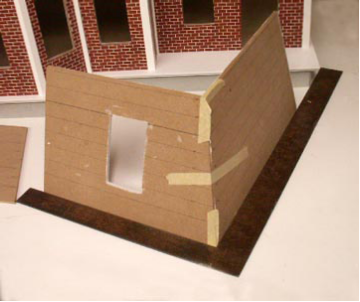
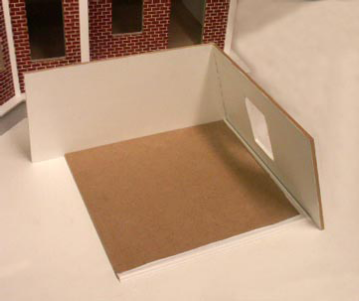
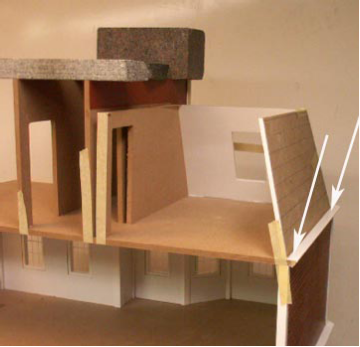
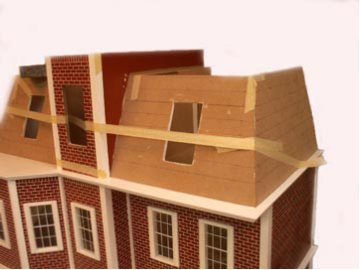
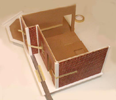 20b. the walls are straight, lined up in back, parallel, spacers in place...
20D.png
20b. the walls are straight, lined up in back, parallel, spacers in place...
20D.png
20b. the walls are straight, lined up in back, parallel, spacers in place...
20D.png
DHTMLGoodies.com
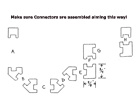
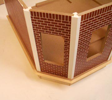
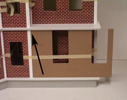
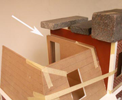
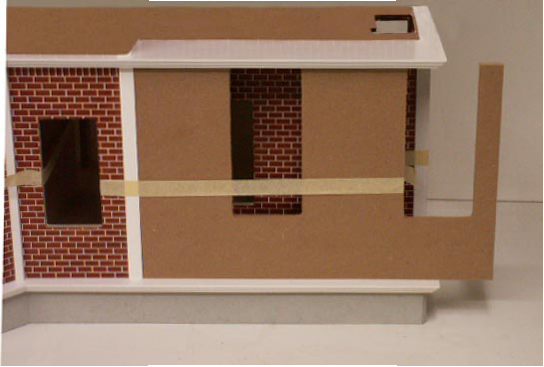
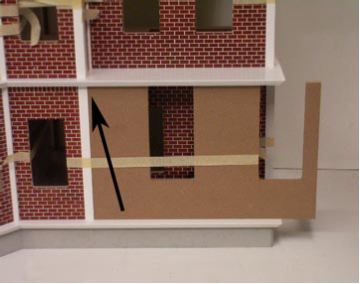
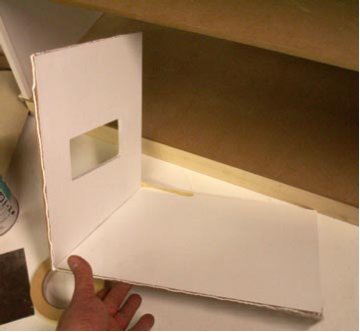
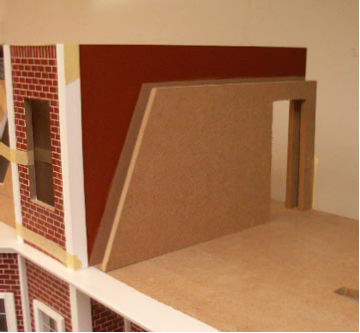
 21. This connector is a focal point to keep straight and lined up floor-to-floor
21D.png
21. This connector is a focal point to keep straight and lined up floor-to-floor
21D.png
21. This connector is a focal point to keep straight and lined up floor-to-floor
21D.png

DHTMLGoodies.com
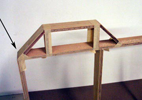
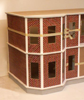
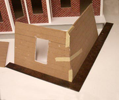
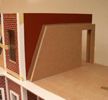
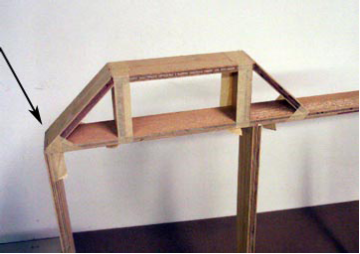
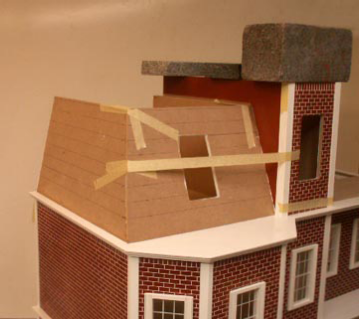
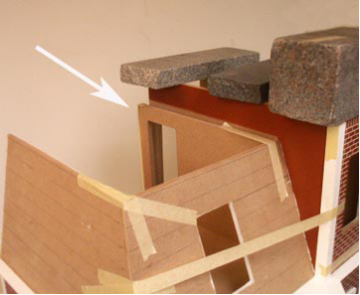
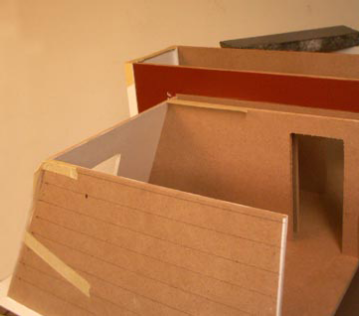
 30. Hold the roofs with the bevel points in - now the 'outsides' are outside
30D.png
30. Hold the roofs with the bevel points in - now the 'outsides' are outside
30D.png
30. Hold the roofs with the bevel points in - now the 'outsides' are outside
30D.png
