


Bruce's Princess Anne:
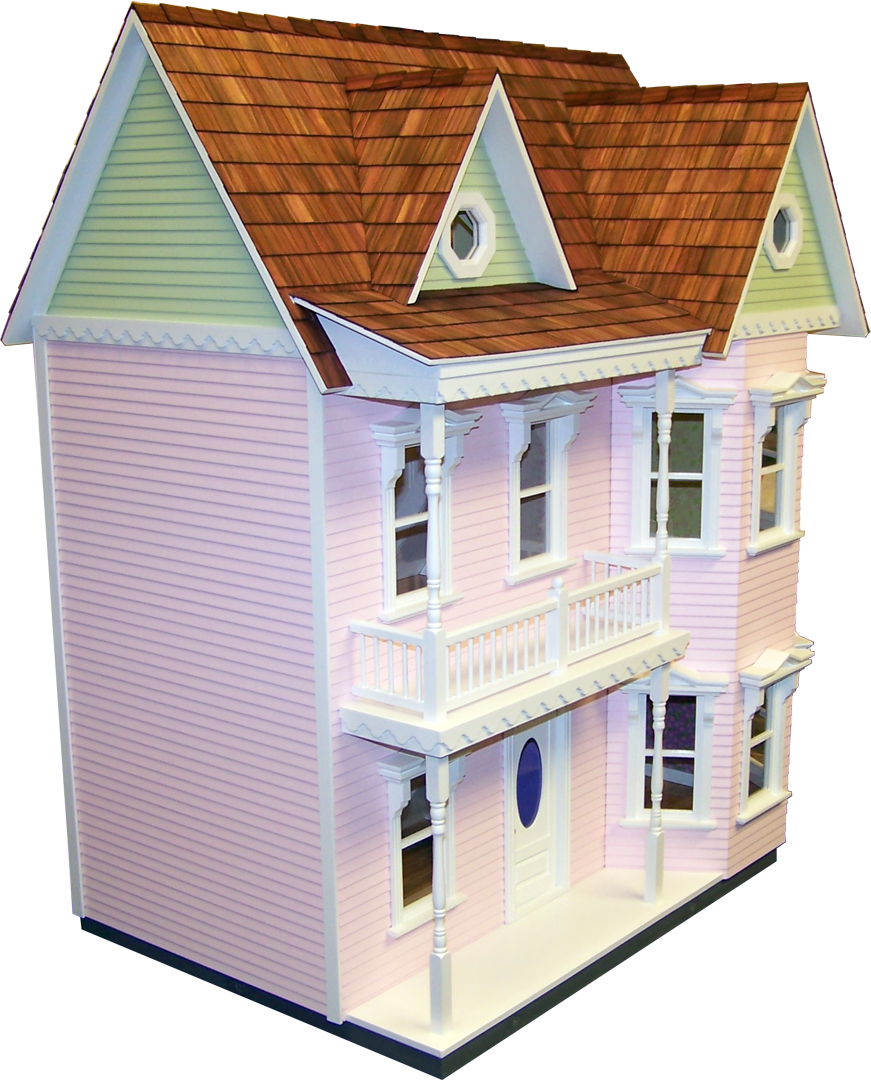
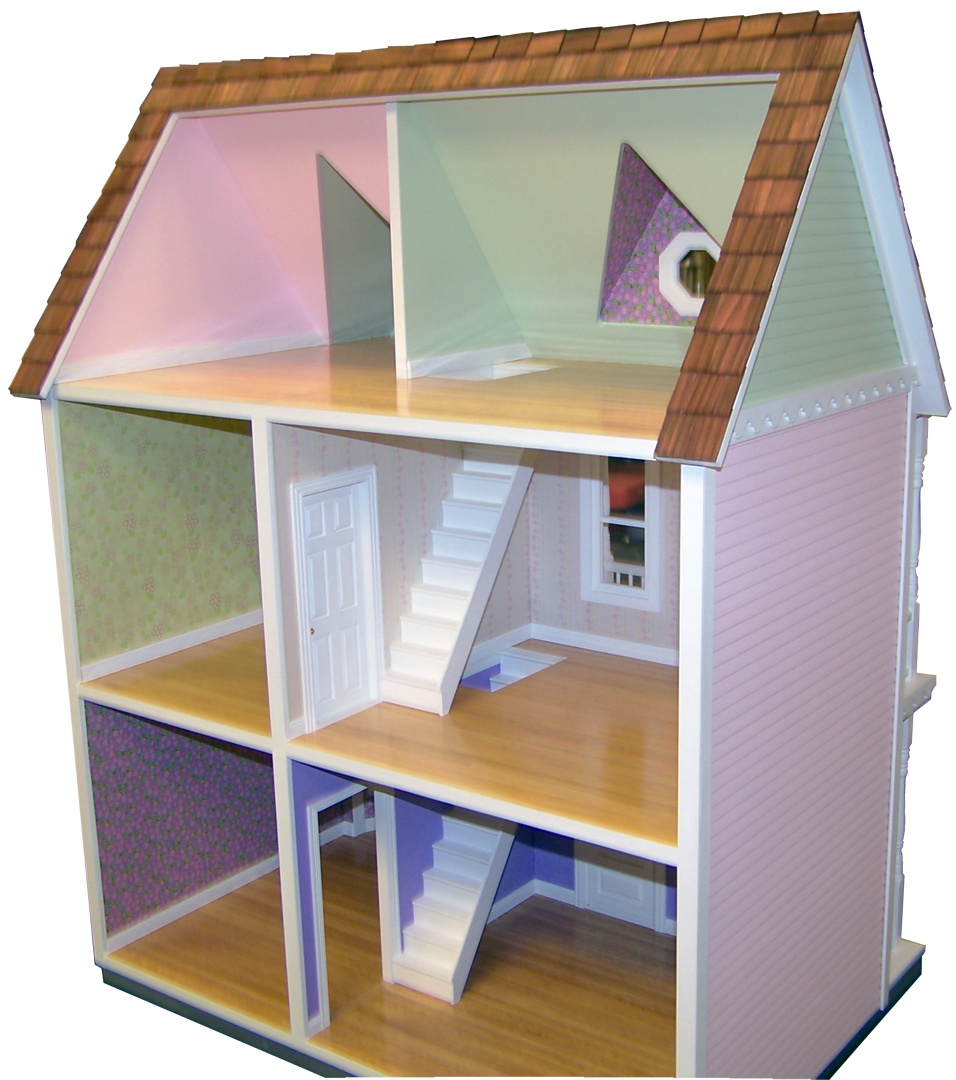
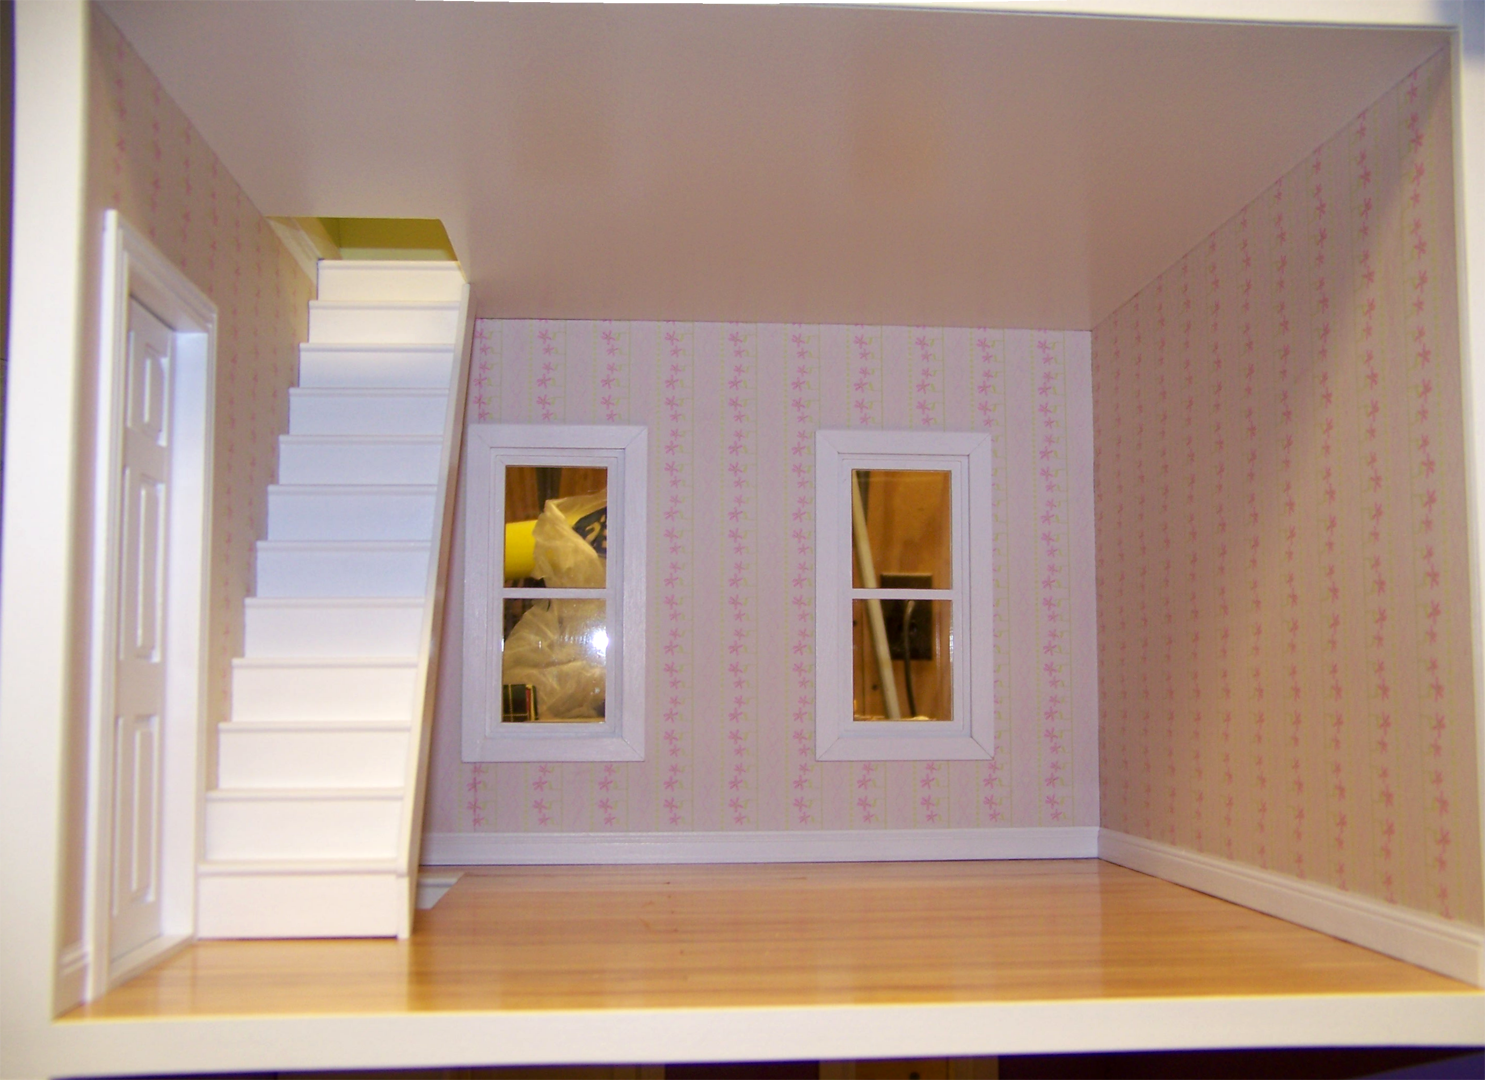
The dollhouse kit and virtually all my supplies came from a local store. The baseboard, the extra door, scallop trim and the case molding around the extra door are Mayberry Street Miniature products. I used Aleene's Tacky glue as recommended in the instructions and Real Good Toys shingle stain. Every single item from the walls to the steps, to the handrails on the front porch took three coats of paint with sanding between all coats. I of course removed the 'glass' from the windows and doors prior to painting and was careful not to fill the channel with paint. The foundation paint is FolkArt acrylic color Medium gray and the purple room is Americana acrylic color Purple Cow. I used MiniGraphics Wallpaper Mucilage for attaching the wallpaper (scrapbook paper) and I tested a sample of each for soak through. The scrapbook paper used was fairly heavy weight similar to photo paper. I also used the same mucilage to attach the hardwood floors. I used a putty knife to apply it to the floor and then I used a scrap piece of wood to spread it thinly over the entire surface. If you put the mucilage on too heavy the hardwood panels will slip and slide a lot. I clamped and weighted the flooring and let it sit for 24 hours before working in that area again. I used Minwax Pecan stain and Minwax Satin Poly Urethane on the floor. One coat of stain was the desired color and as with the paints I put on three coats of poly urethane and sanded between coats. Two would've worked, but I thought three looked better. A couple of notes here; I cut and shaped the flooring before finishing and I finished it before installation. I believe if I made another one though I would glue the floor down prior to finishing. I finished it first because I had already finished the walls and didn't want to risk damaging them. However, the flooring had a tendency to warp which made it a little harder to put down. Fortunately I have a variety a clamps, but most people may not have many if any clamps
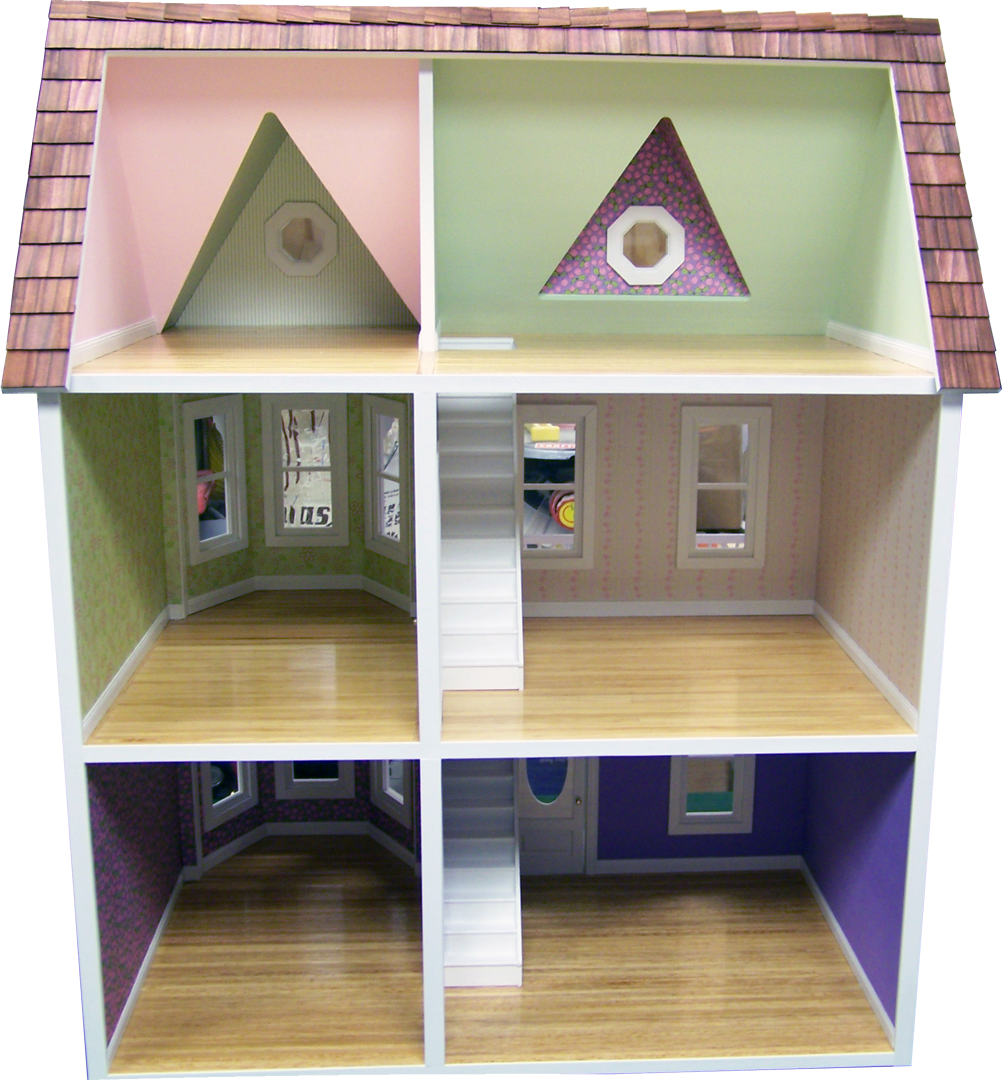
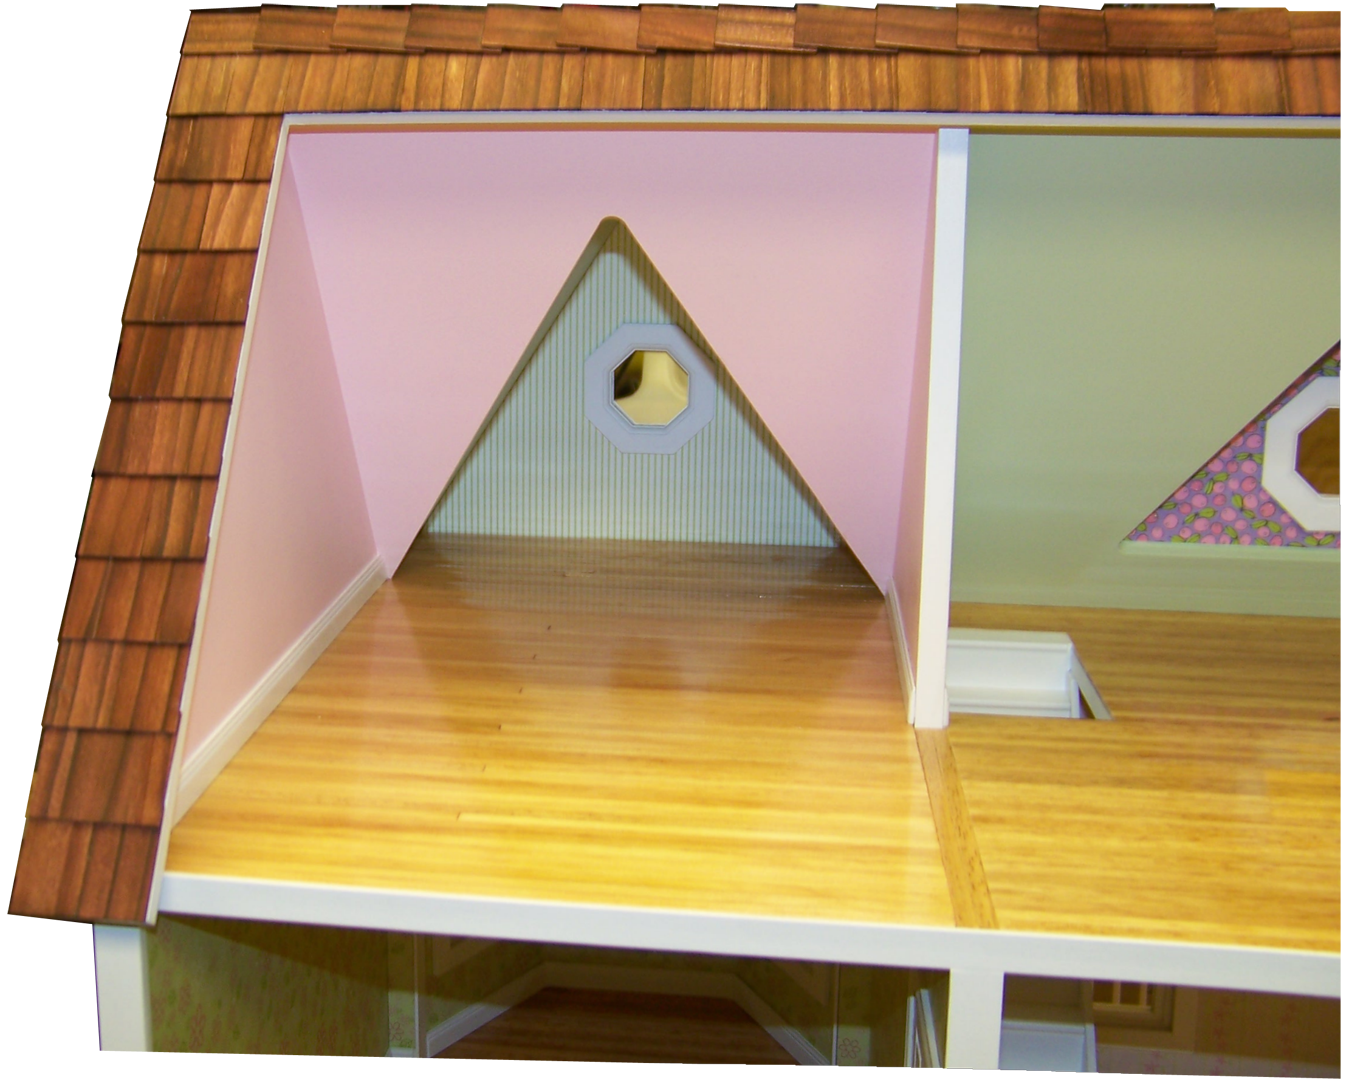
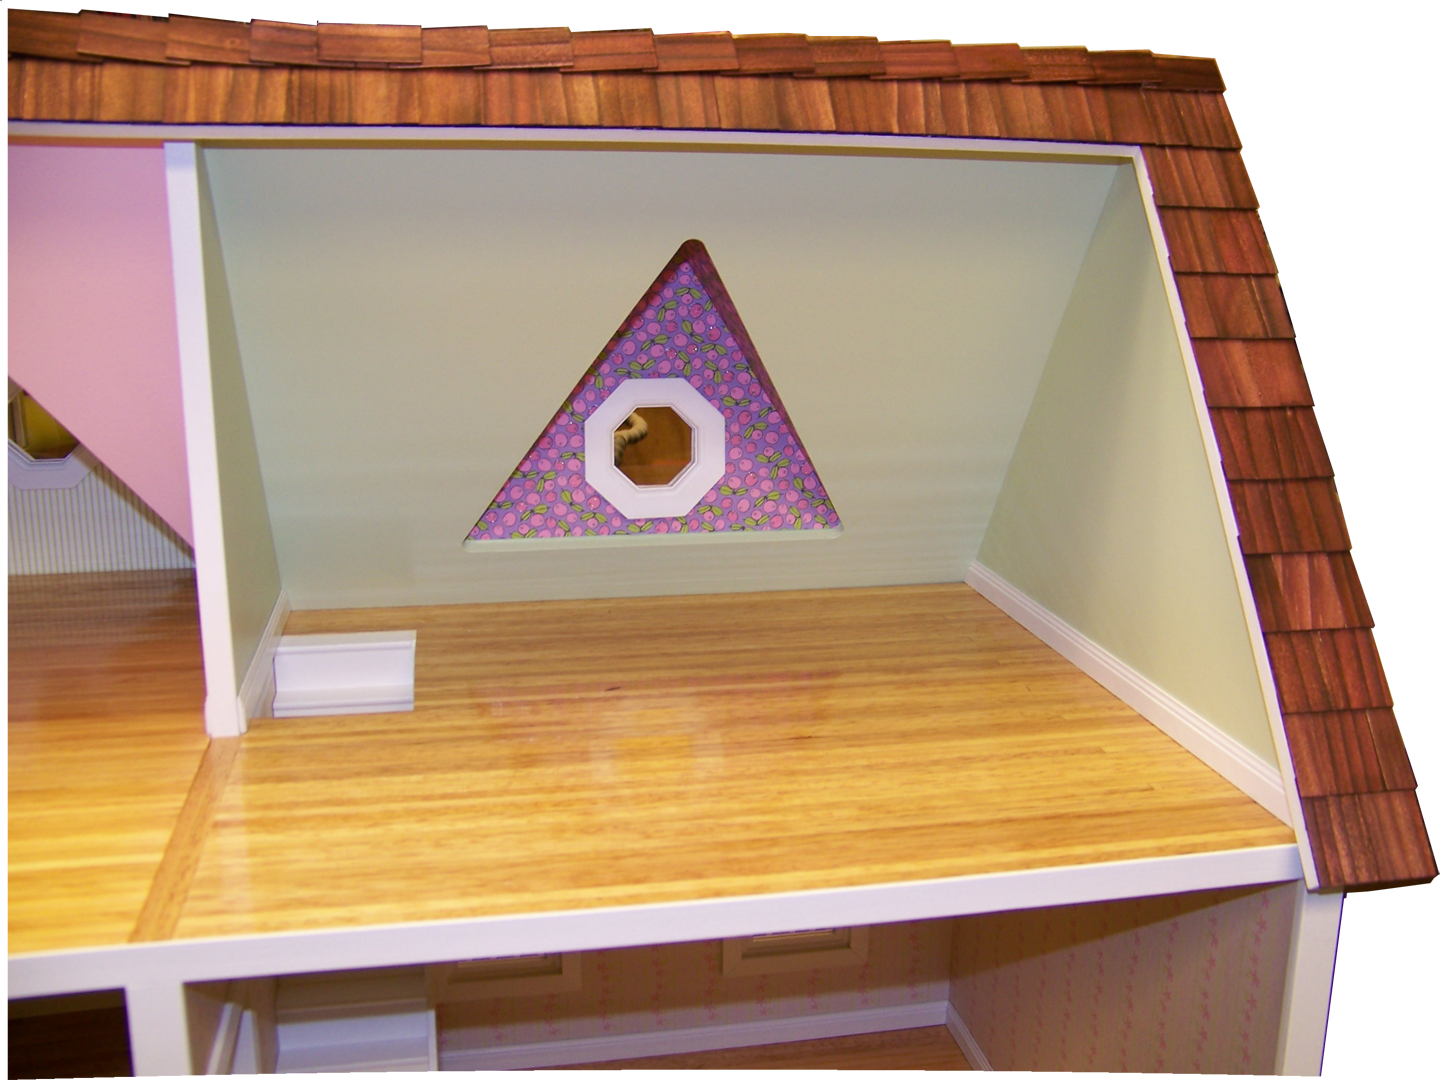
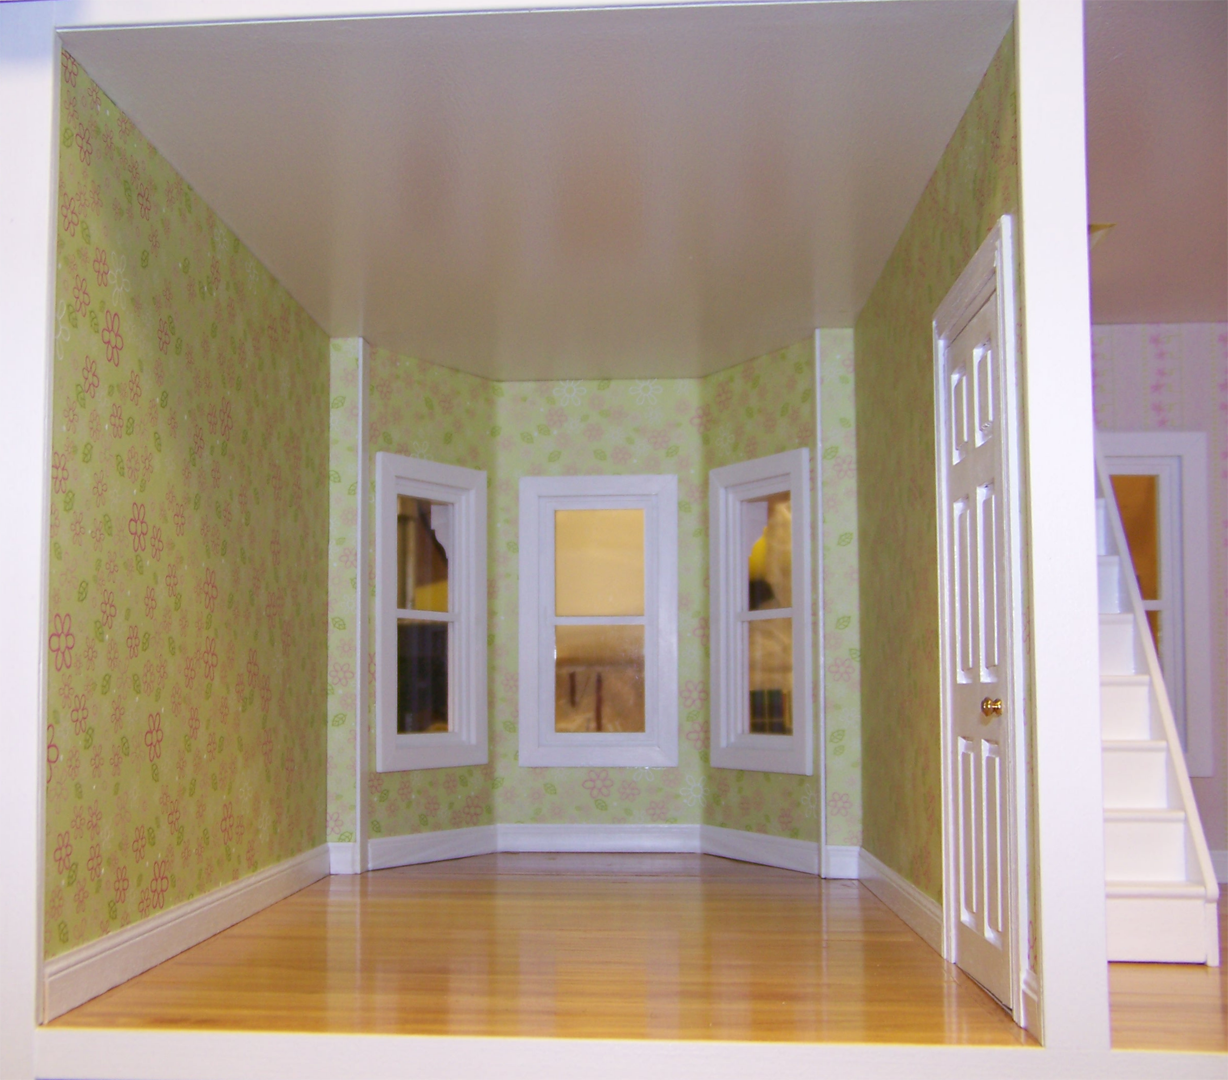
As you can see I turned some pieces of flooring 90 degrees which provided a demarc between rooms plus gave the room a different look. I made a template of the bay offset prior to assembly so I could cut and shape the flooring and the baseboard more easily in the later stages. I custom made a few pieces here and there to fill in some holes (dormer exterior corners where the wall joins the roof and I made flat pieces of trim to hide the joint between the bay window pieces and the front of the house).
At another hobby shop I found some 2'X3" panels of 1/16" basswood that I cut and shaped to make the white trim on the rear edges of the dollhouse. I though it dressed it up, plus it will protect the edge of the wallpaper from little arms reaching in and out.
I deviated from the instructions in a couple of places. I left the front porch assembly off until I had reached a point where I no longer needed to turn the dollhouse a lot. I didn't want to risk breaking something. And I didn't put the rear roof piece on until I was nearly finished for the same reason.