![]()
![]()

DHTMLGoodies.com
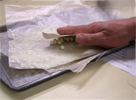
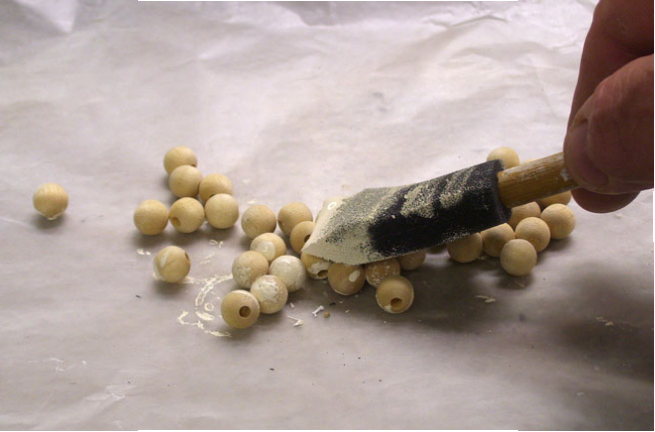
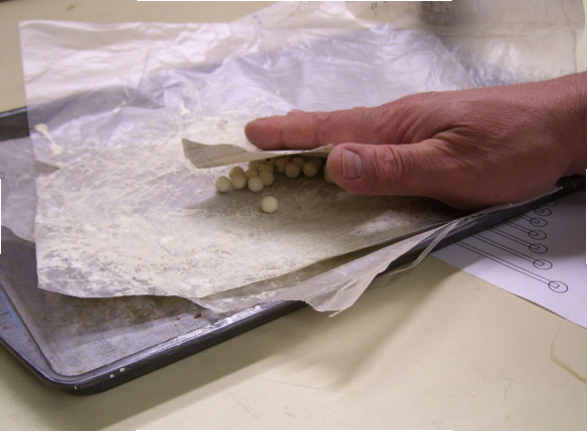
 01. On a sheet of waxed paper, I dab and roll the balls around with a sponge brush and not-much paint. Move them every few minutes while the paint is drying so they don't stick.
01D.png
01. On a sheet of waxed paper, I dab and roll the balls around with a sponge brush and not-much paint. Move them every few minutes while the paint is drying so they don't stick.
01D.png
01. On a sheet of waxed paper, I dab and roll the balls around with a sponge brush and not-much paint. Move them every few minutes while the paint is drying so they don't stick.
01D.png
DHTMLGoodies.com
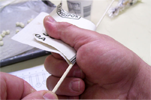 03. The dowel has been painted (one coat only!) - I'm sanding it with 320 grit sandpaper by pulling the dowel thru the sandpaper - not back and forth... it will break the dowel
02D.png
03. The dowel has been painted (one coat only!) - I'm sanding it with 320 grit sandpaper by pulling the dowel thru the sandpaper - not back and forth... it will break the dowel
02D.png
03. The dowel has been painted (one coat only!) - I'm sanding it with 320 grit sandpaper by pulling the dowel thru the sandpaper - not back and forth... it will break the dowel
02D.png
DHTMLGoodies.com
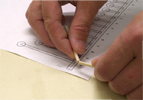
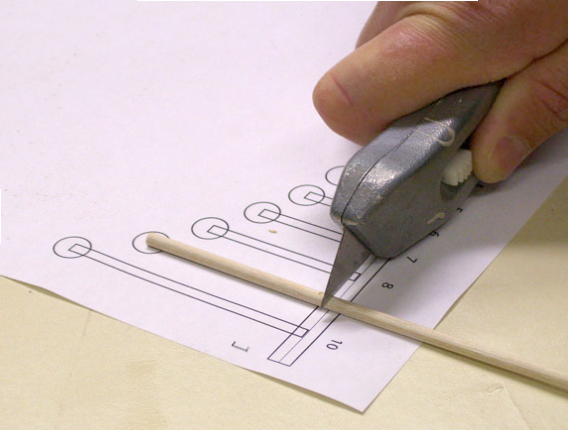
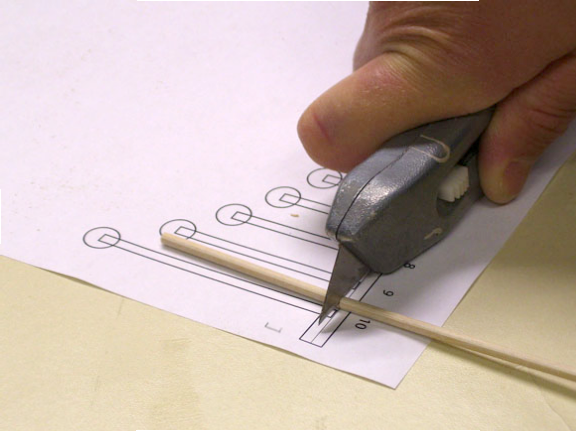
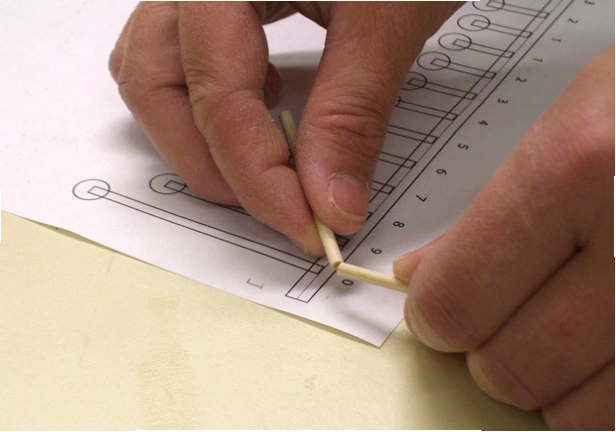
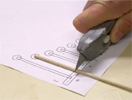 04. Line up the dowel with the graphic carefully!... the small sizes especially are very close.
04D.png
04. Line up the dowel with the graphic carefully!... the small sizes especially are very close.
04D.png
04. Line up the dowel with the graphic carefully!... the small sizes especially are very close.
04D.png
DHTMLGoodies.com
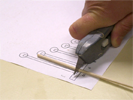
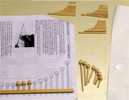
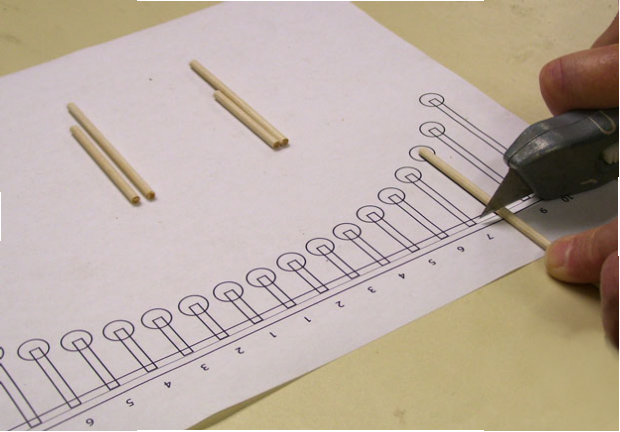
 07. Then the next size... 4 of each size. Keep the cutoffs in order and carefully organized
07D.png
07. Then the next size... 4 of each size. Keep the cutoffs in order and carefully organized
07D.png
07. Then the next size... 4 of each size. Keep the cutoffs in order and carefully organized
07D.png
DHTMLGoodies.com
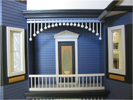
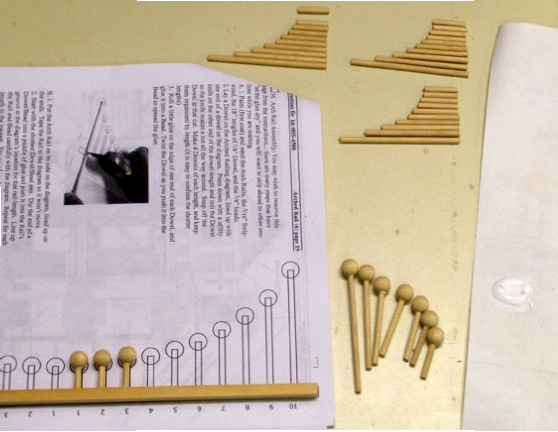
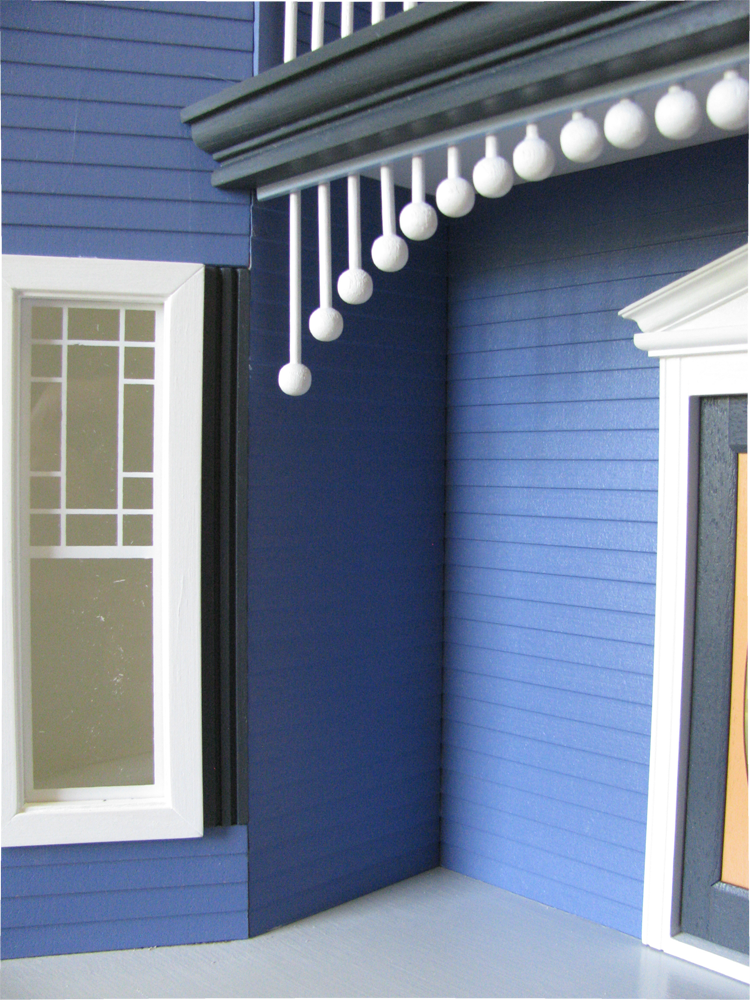
 08. The Rail is painted (one coat) and sanded. Glue a ball onto each dowel all the way to the bottom of the hole. Glue the dowel/ball into the rail's groove and line it up with the diagram.
08D.png
08. The Rail is painted (one coat) and sanded. Glue a ball onto each dowel all the way to the bottom of the hole. Glue the dowel/ball into the rail's groove and line it up with the diagram.
08D.png
08. The Rail is painted (one coat) and sanded. Glue a ball onto each dowel all the way to the bottom of the hole. Glue the dowel/ball into the rail's groove and line it up with the diagram.
08D.png
