![]()
![]()
![]()
![]()
PreAssembly
Windows (video) (slideshow)
Brackets (slideshow)
Railings (paint and assemble)
Foundation
Painting (first coat)
Start the Wiring
Assembly
Housebody (here)
Painting (second-coat)
Porch
Roof prep. Roof
Dormer
Trim
If your floors are tight in the grooves, scrape them
Click on the thumbnail for a printable copy
 0. Complete the "Painting" page recommendations before assembly
../Buttons/Painting.png"
0. Complete the "Painting" page recommendations before assembly
../Buttons/Painting.png"
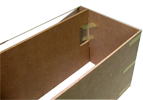
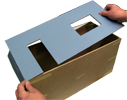
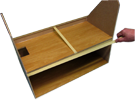
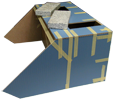
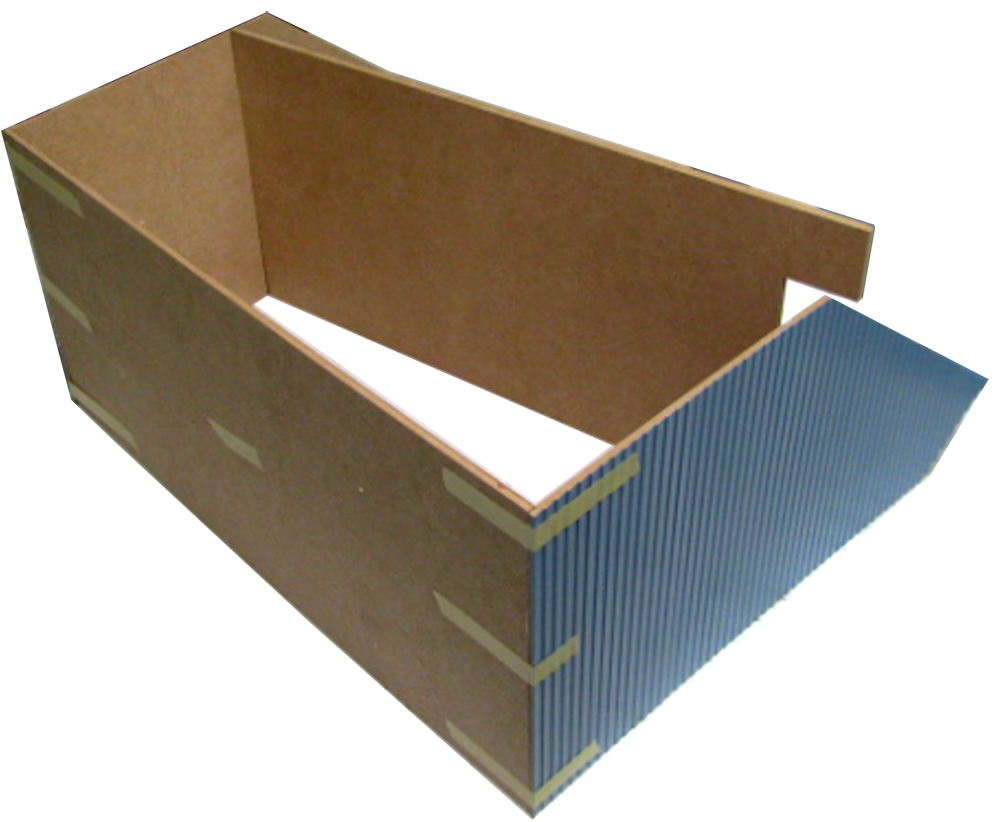
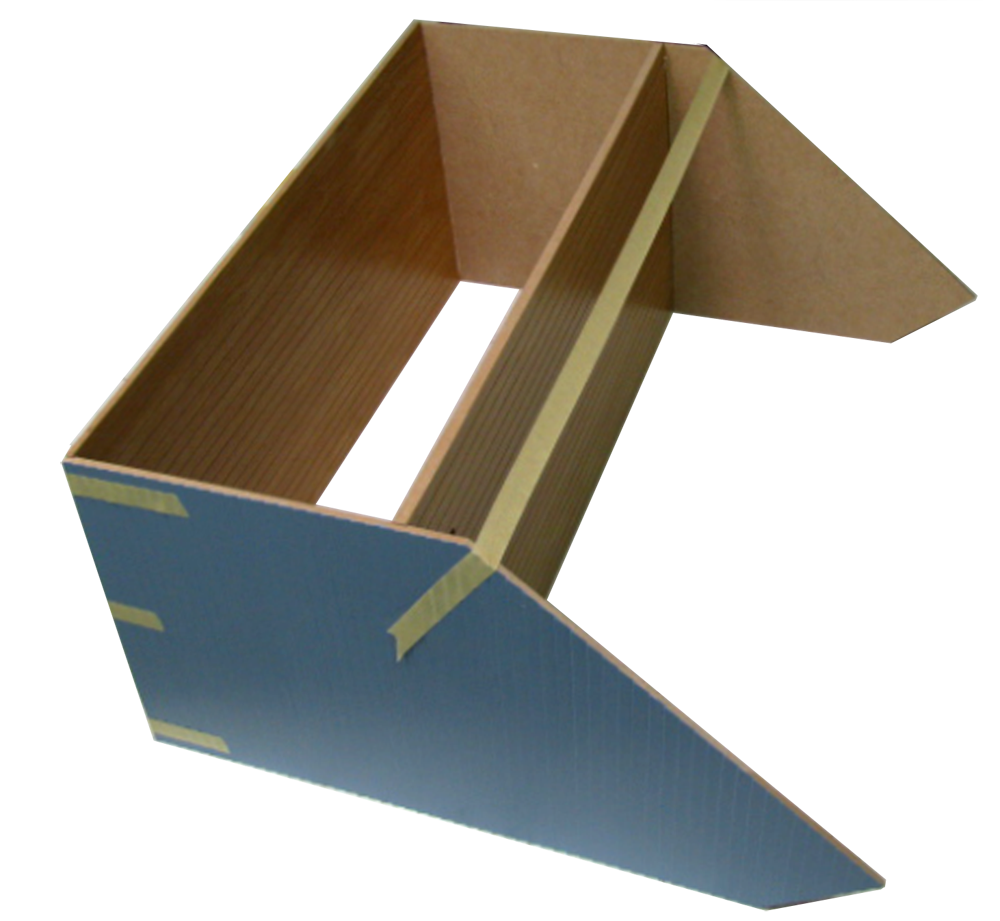
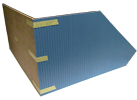 2. The front is 'up', the floors stick out 1/16" in front
Assembly/Housebody/02D.png
2. The front is 'up', the floors stick out 1/16" in front
Assembly/Housebody/02D.png
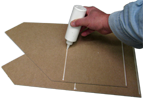
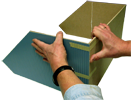
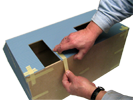
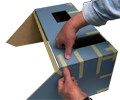
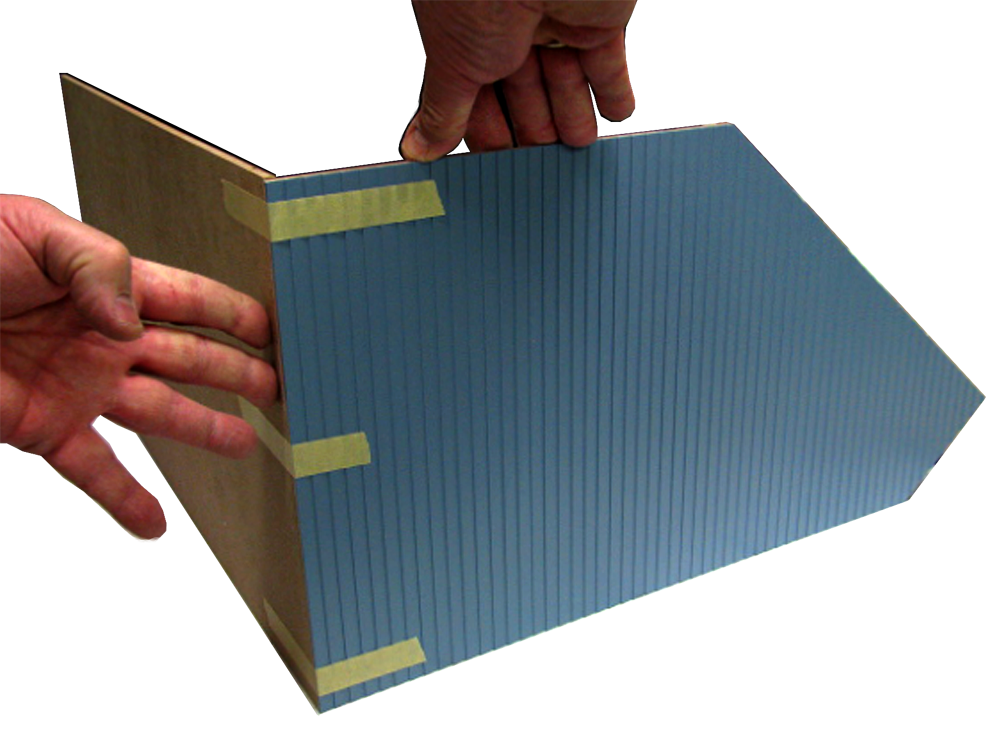
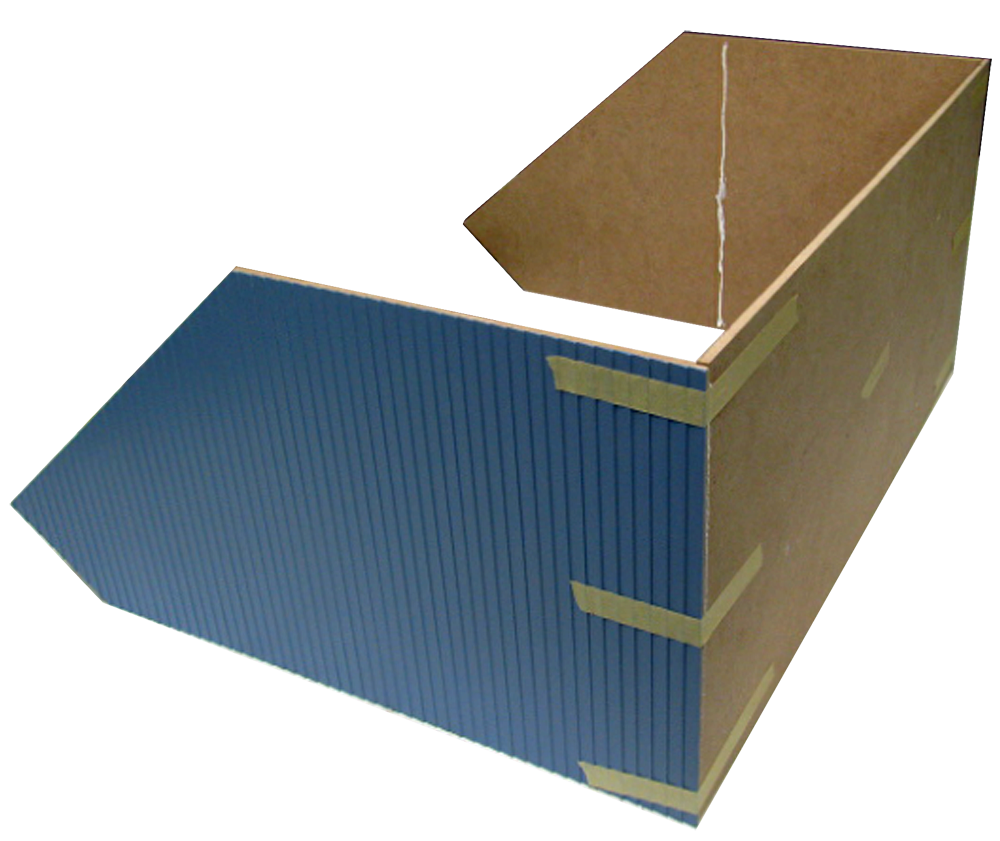
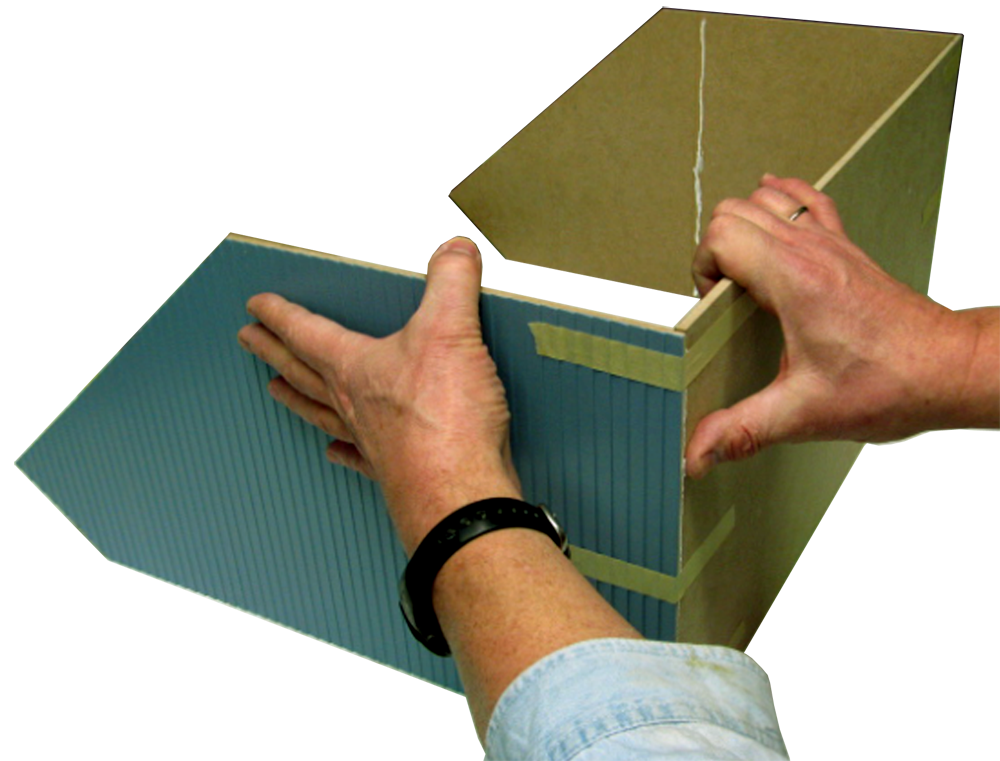
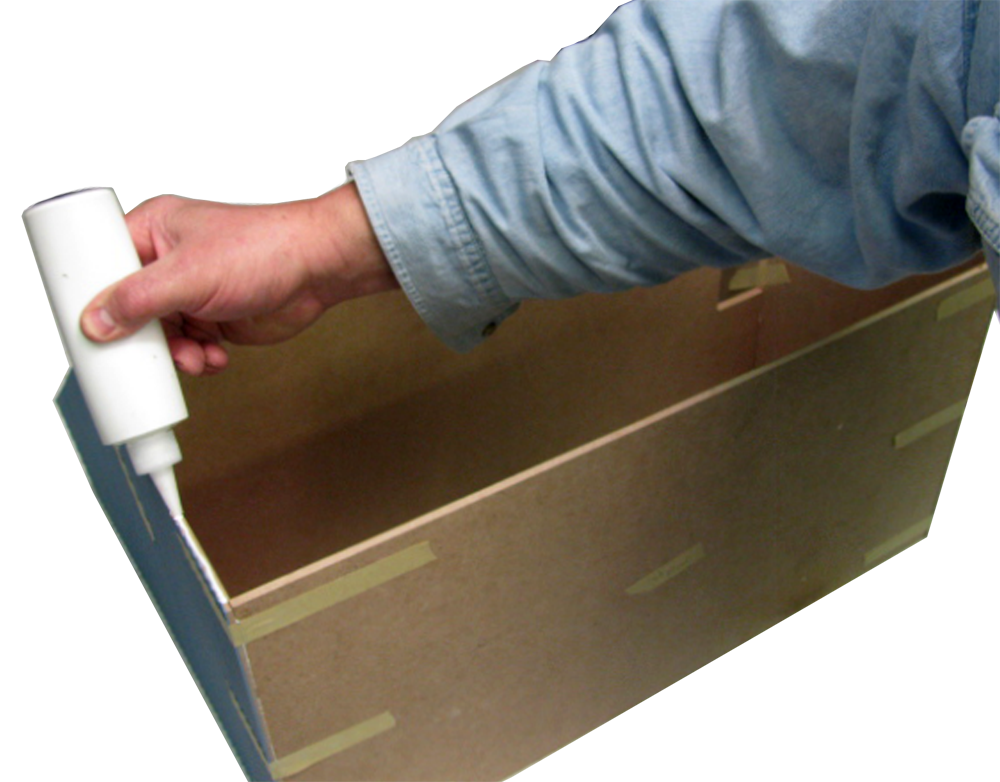
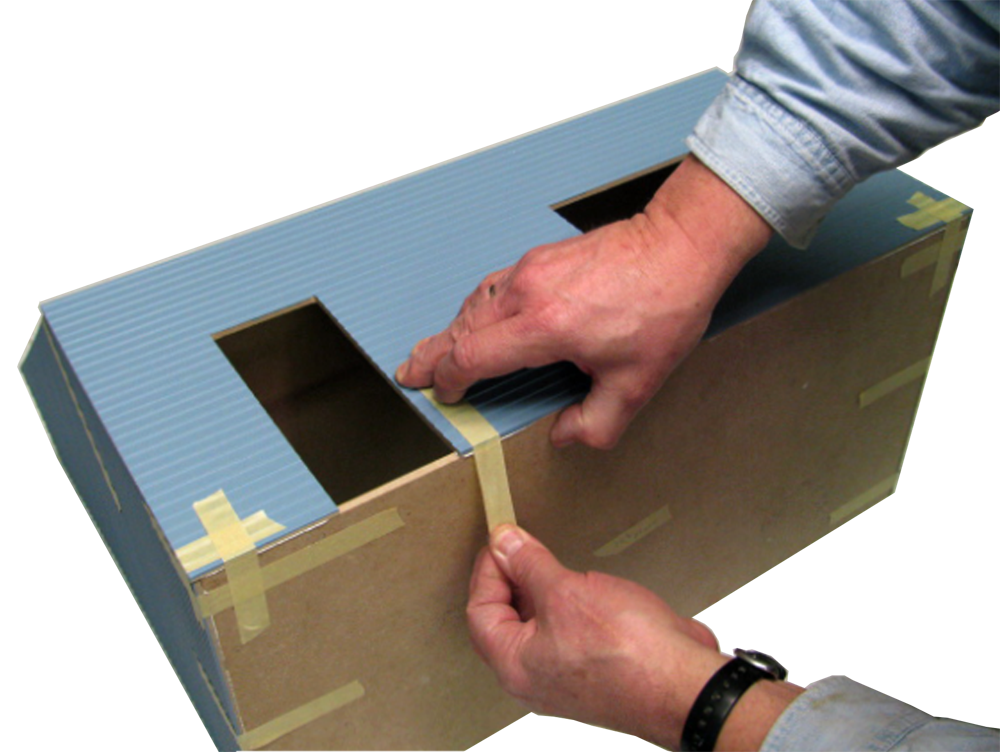
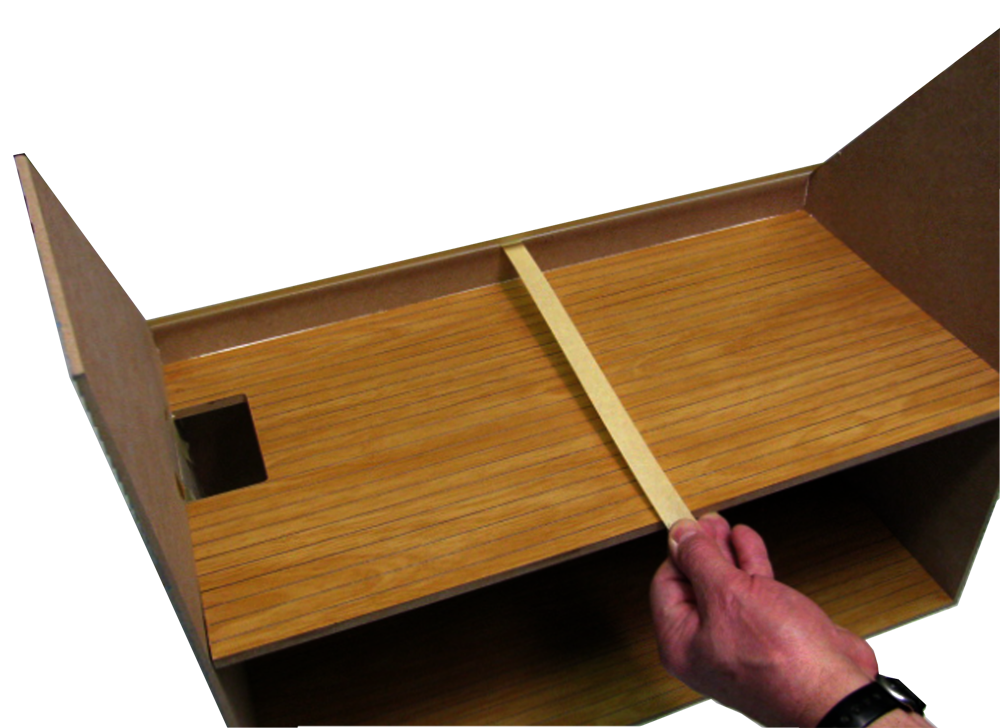
 3. Tape the Base Floor to the Side - stretch the tape for a tight fit
Assembly/Housebody/03D.png
3. Tape the Base Floor to the Side - stretch the tape for a tight fit
Assembly/Housebody/03D.png
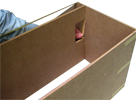
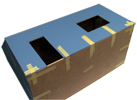
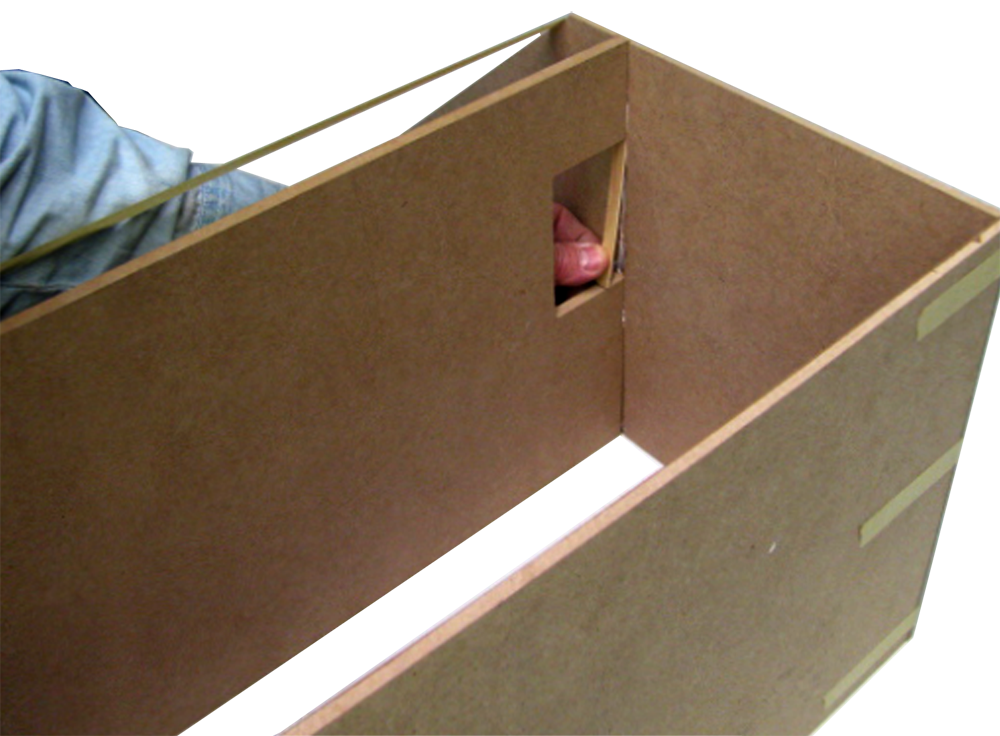
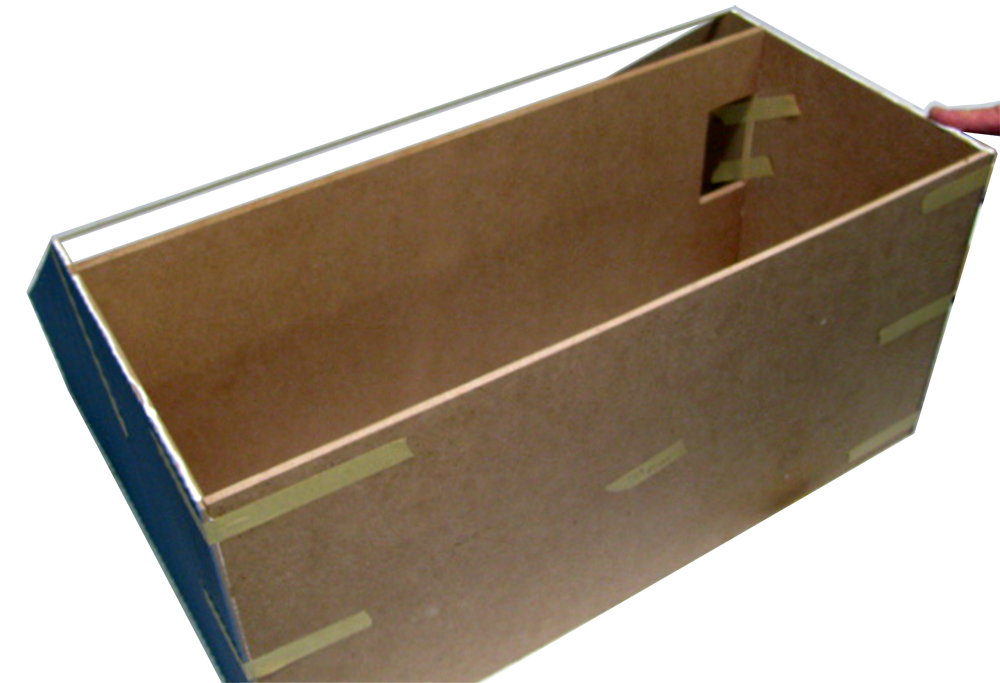
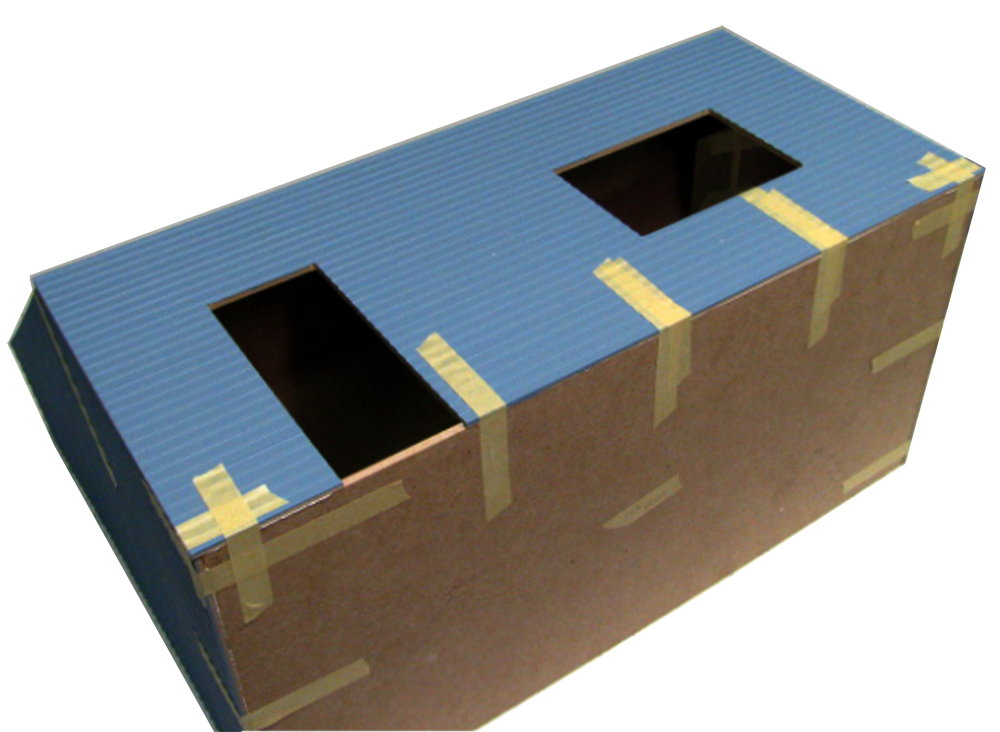
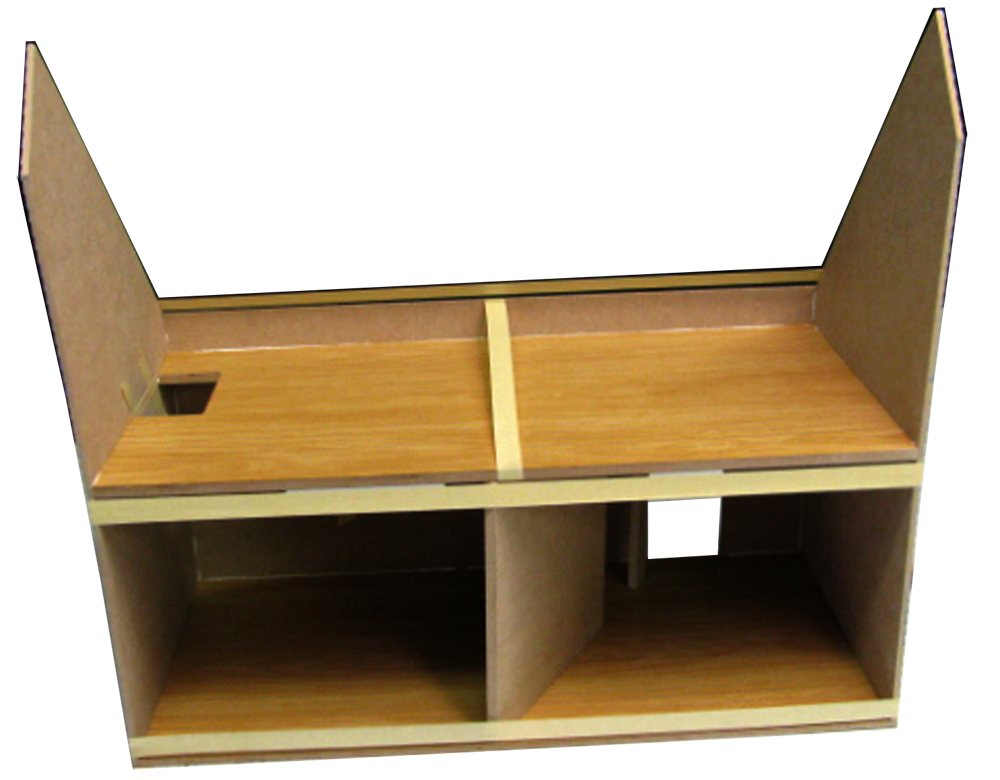
 6. The Mid Floor's stair hole is closer to the front (up)
Assembly/Housebody/06D.png
6. The Mid Floor's stair hole is closer to the front (up)
Assembly/Housebody/06D.png
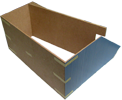
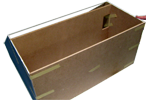
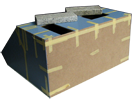
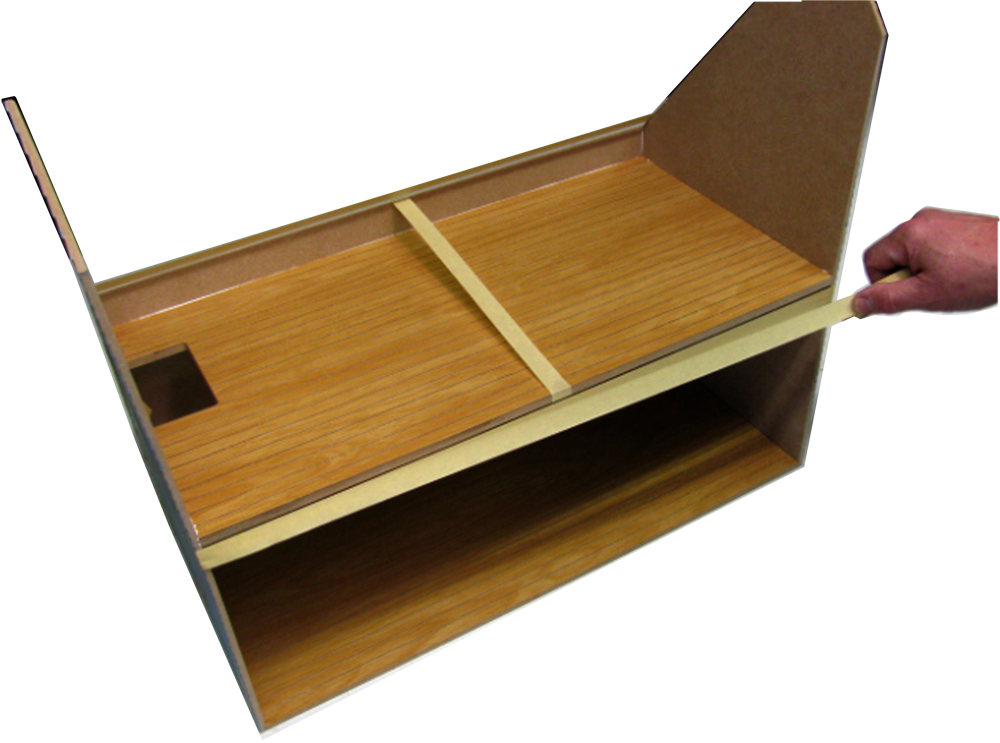
 8. Tape the Sides tight - the tape is above the edges to which the Front will be glued
Assembly/Housebody/08D.png
8. Tape the Sides tight - the tape is above the edges to which the Front will be glued
Assembly/Housebody/08D.png
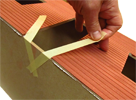
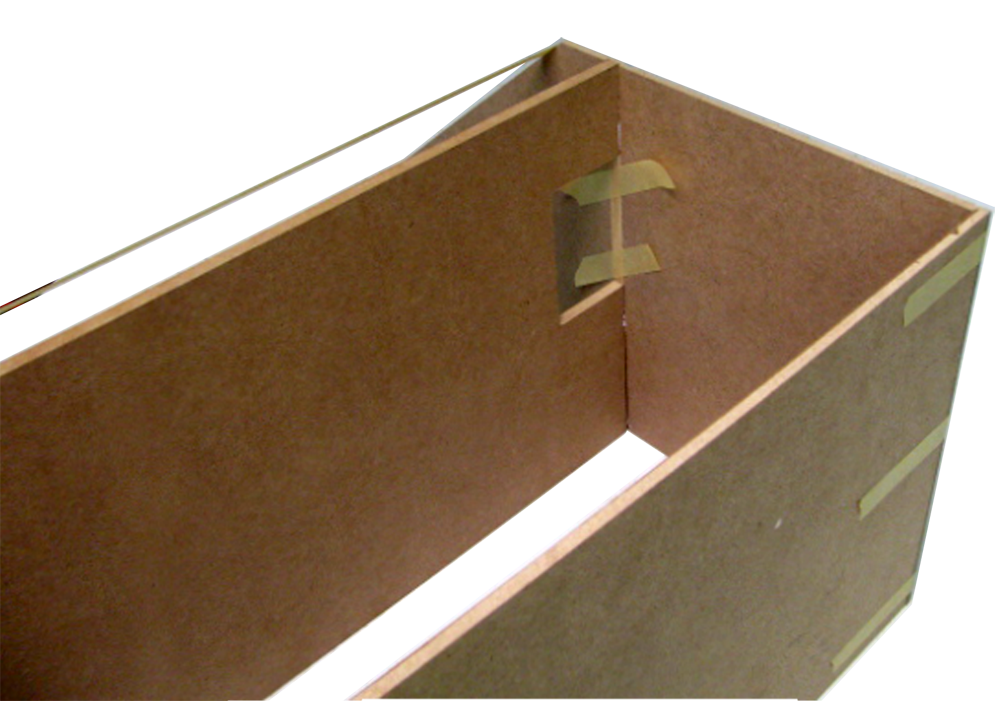
 9. Set the 'Groove Fill' into the exposed groove within the stair hole
Assembly/Housebody/09D.png
9. Set the 'Groove Fill' into the exposed groove within the stair hole
Assembly/Housebody/09D.png
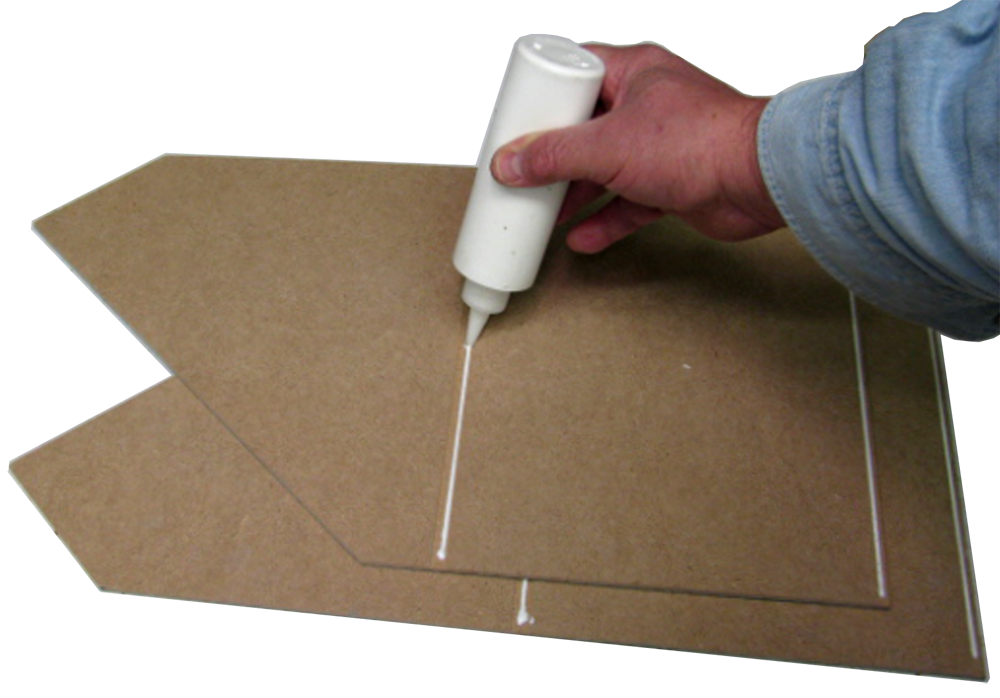
 13. Dress the glue if necessary to the center of the joint
Assembly/Housebody/13D.png
13. Dress the glue if necessary to the center of the joint
Assembly/Housebody/13D.png
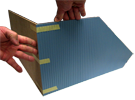
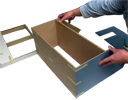
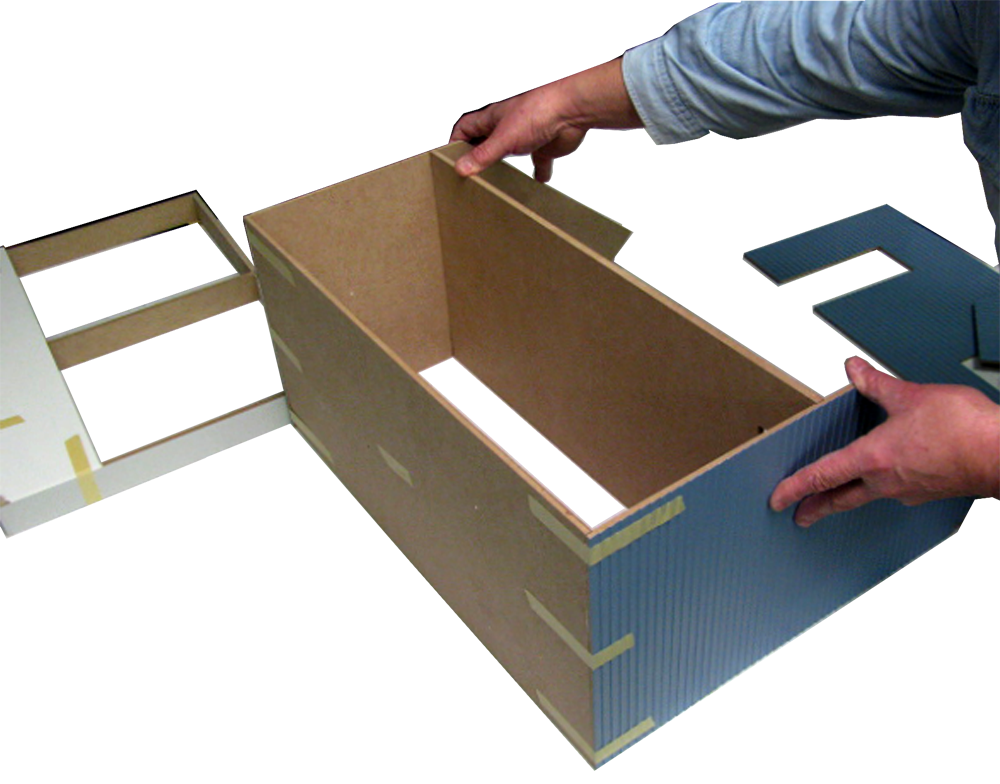
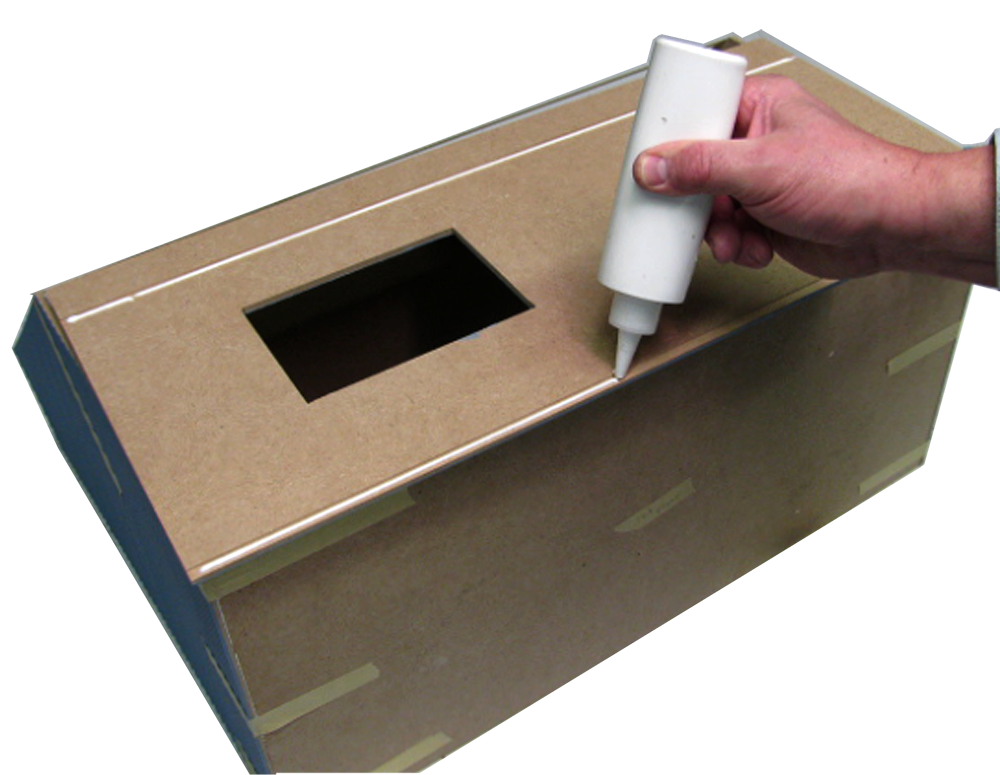
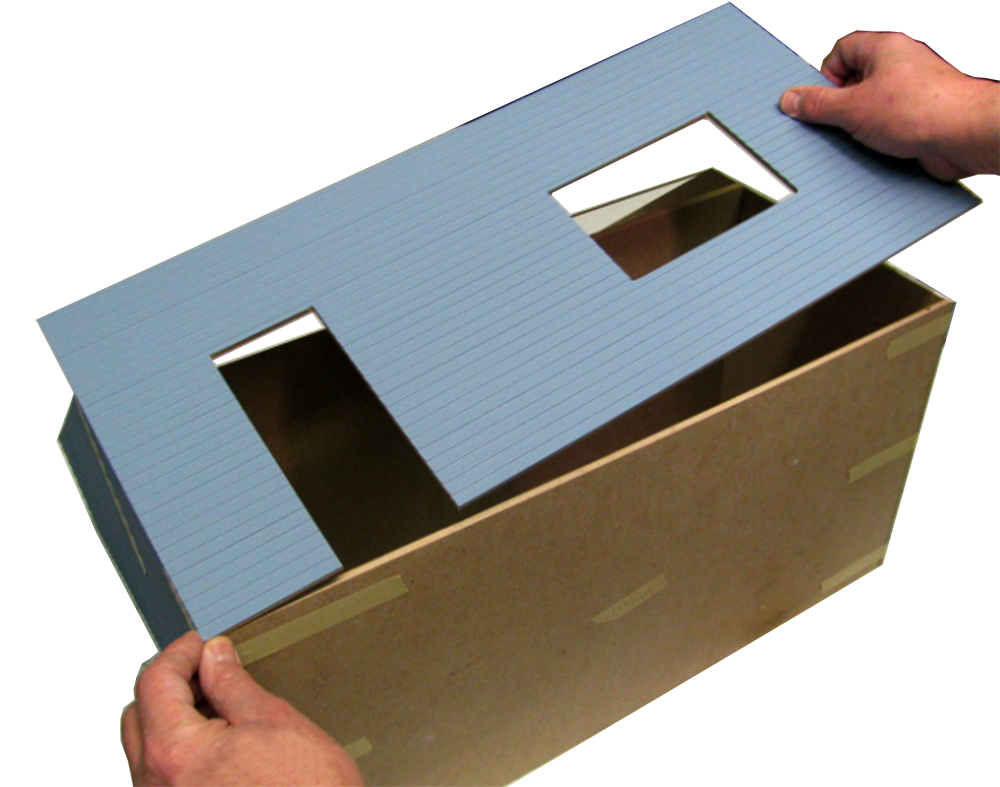
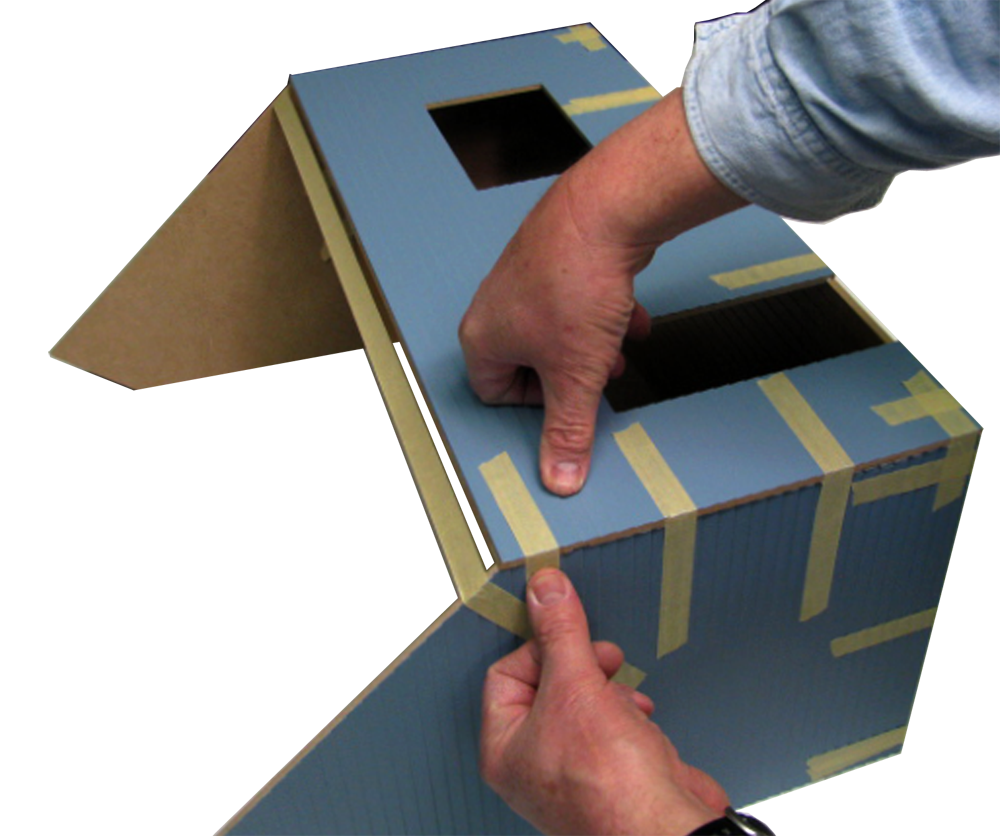
 14. Position the Front - line it up side-to-side at the Base
Assembly/Housebody/14D.png
14. Position the Front - line it up side-to-side at the Base
Assembly/Housebody/14D.png

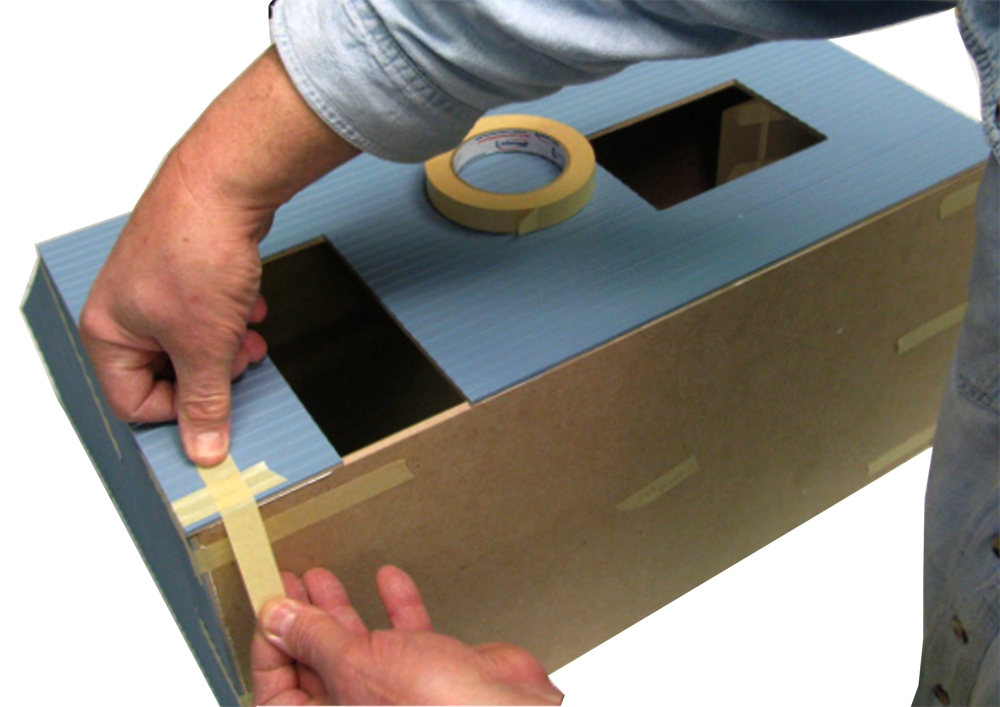
 17. Tape the corners in both directions so the joint won't slip
Assembly/Housebody/17D.png
17. Tape the corners in both directions so the joint won't slip
Assembly/Housebody/17D.png
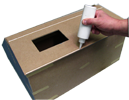
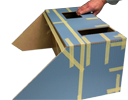
 18. Tape in the Door so the floor is pulled tight to the top of the groove
Assembly/Housebody/18D.png
18. Tape in the Door so the floor is pulled tight to the top of the groove
Assembly/Housebody/18D.png
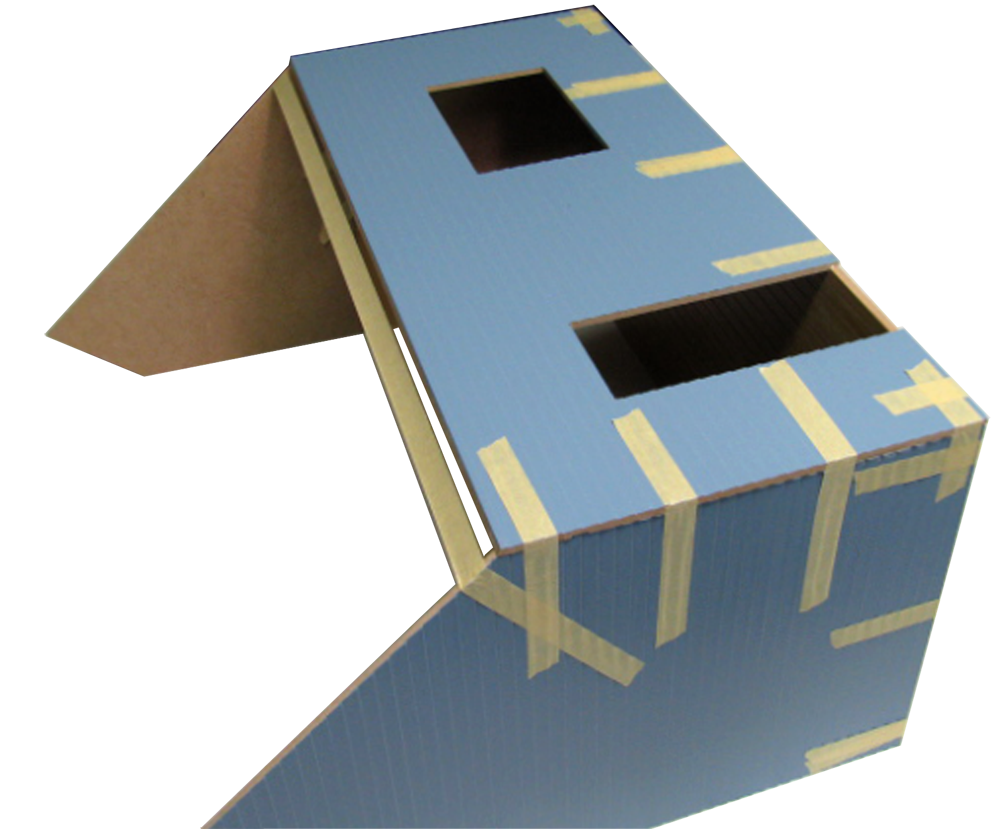
 19. Push the house side-to-side as necessary to line it up with the Front
Assembly/Housebody/19D.png
19. Push the house side-to-side as necessary to line it up with the Front
Assembly/Housebody/19D.png
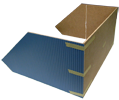
 20. the Front squares the Housebody... lined-up, taped tightly.
Assembly/Housebody/20D.png
20. the Front squares the Housebody... lined-up, taped tightly.
Assembly/Housebody/20D.png
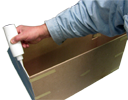
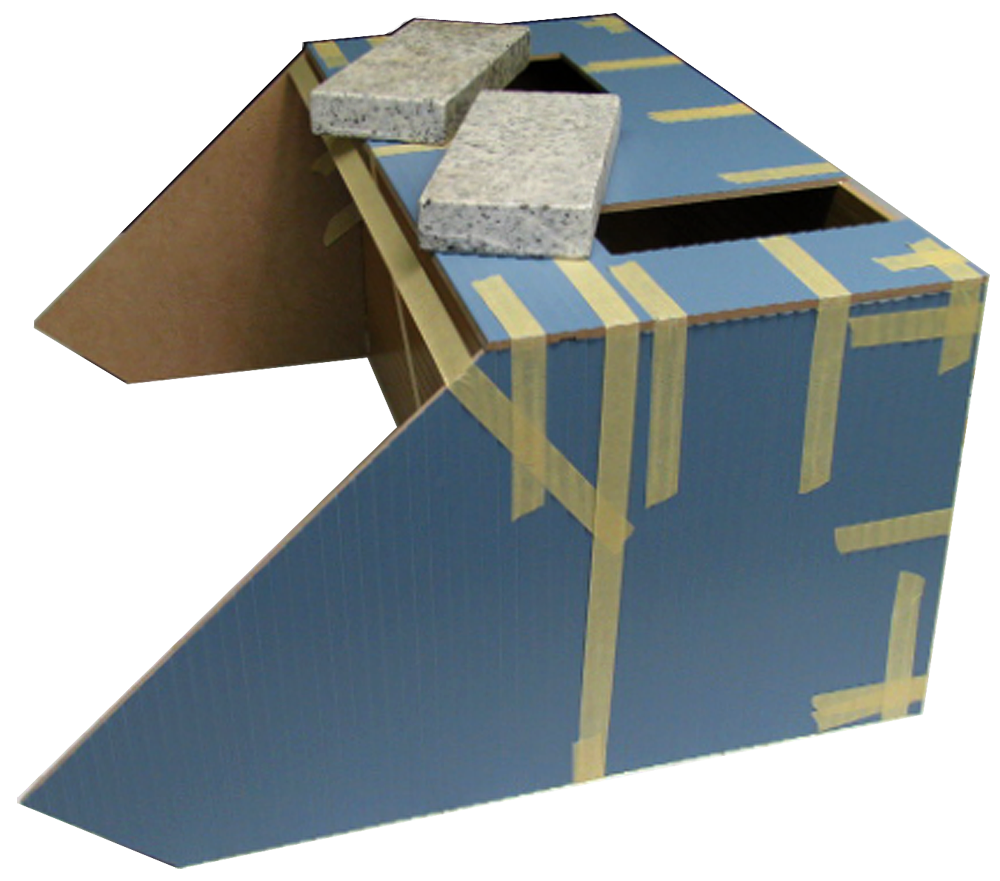
 21. Tape around the back then back to the front thru the door
Assembly/Housebody/21D.png
21. Tape around the back then back to the front thru the door
Assembly/Housebody/21D.png
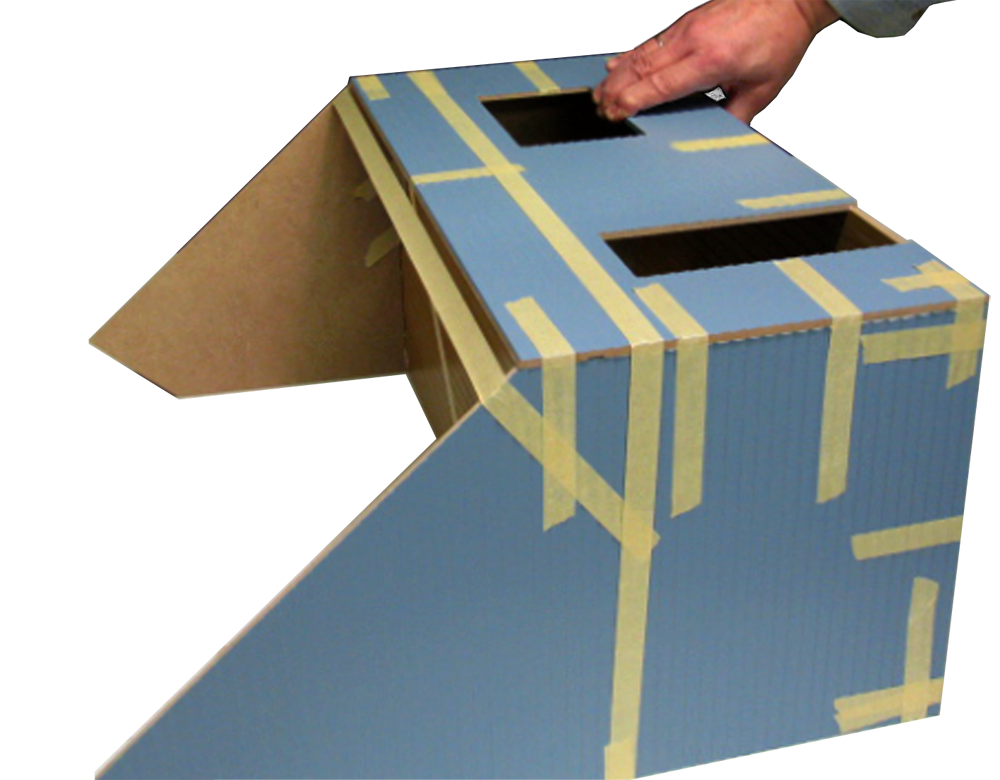
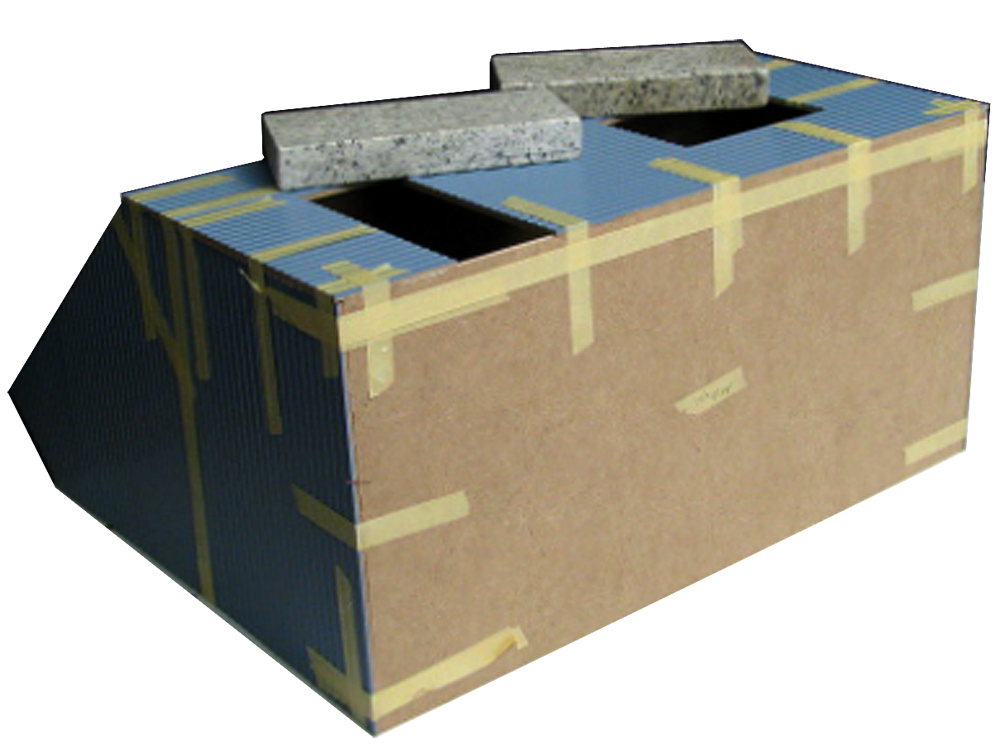
 22. One or more bands of tape all the way around the house holds it tight
Assembly/Housebody/22D.png
22. One or more bands of tape all the way around the house holds it tight
Assembly/Housebody/22D.png
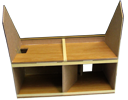
 25. Check the Base Floor - tight to the top of the groove
Assembly/Housebody/25D.png
25. Check the Base Floor - tight to the top of the groove
Assembly/Housebody/25D.png