![]()
![]()
Slideshows support but do not replace the instructions
Pre-Assembly:
Parts Identification: Packs
Parts Identification: Panels
PreAssemble
Stain and Paint
Assembly:
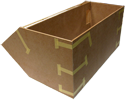
Housebody
Logs
Attic Logs
Dormer
Nubs
Dormer Roof
Carve
Foundation
Porch 1 Porch 2
Exterior Finishing
Trim
Windows and Shutters
Interior Finishing
Window Trim and Stairs
![]()
![]()
2024 instructions
![]()
DHTMLGoodies.com
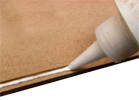
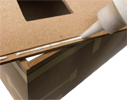
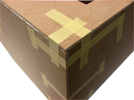
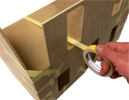
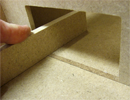
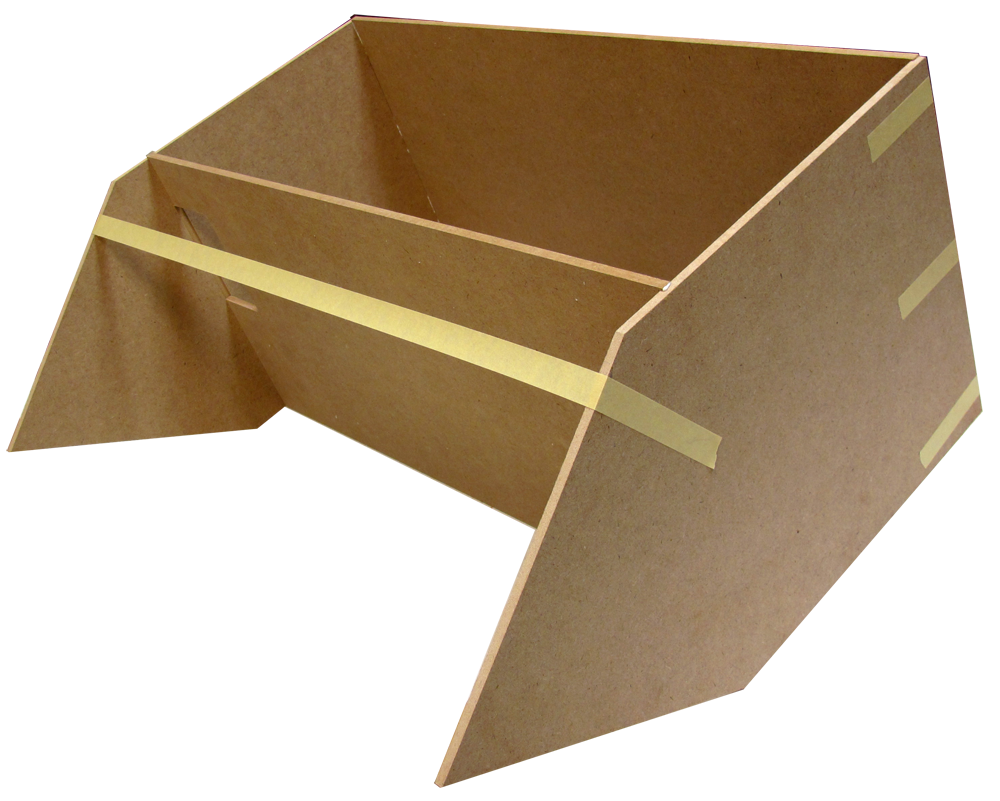
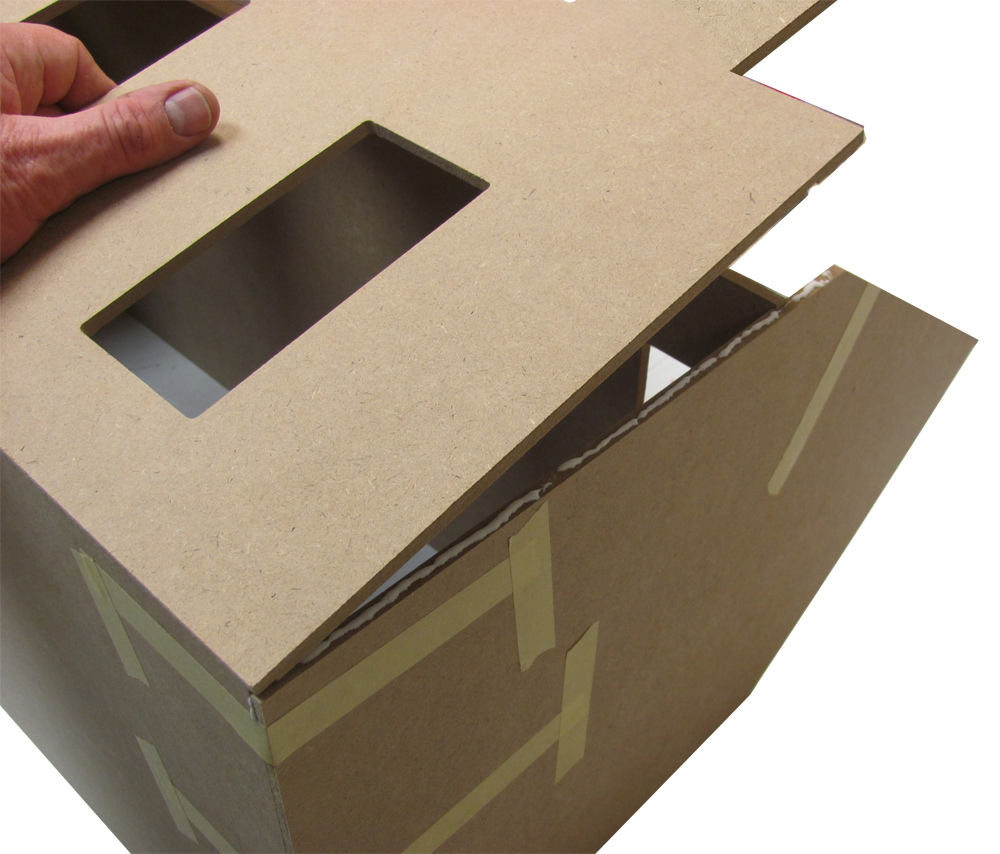
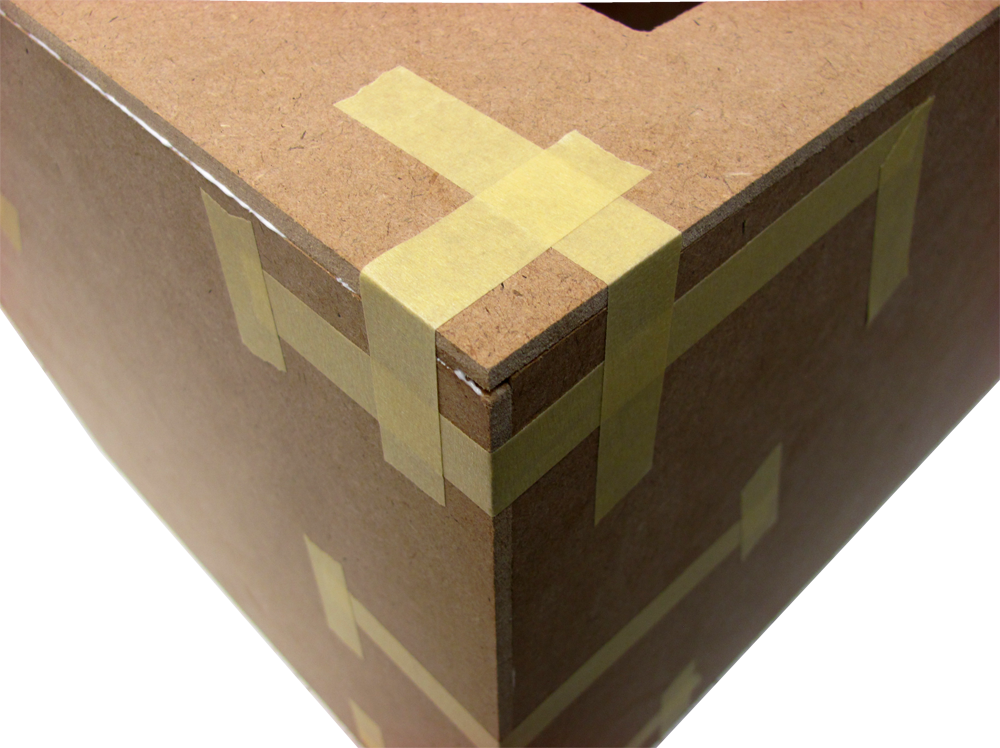
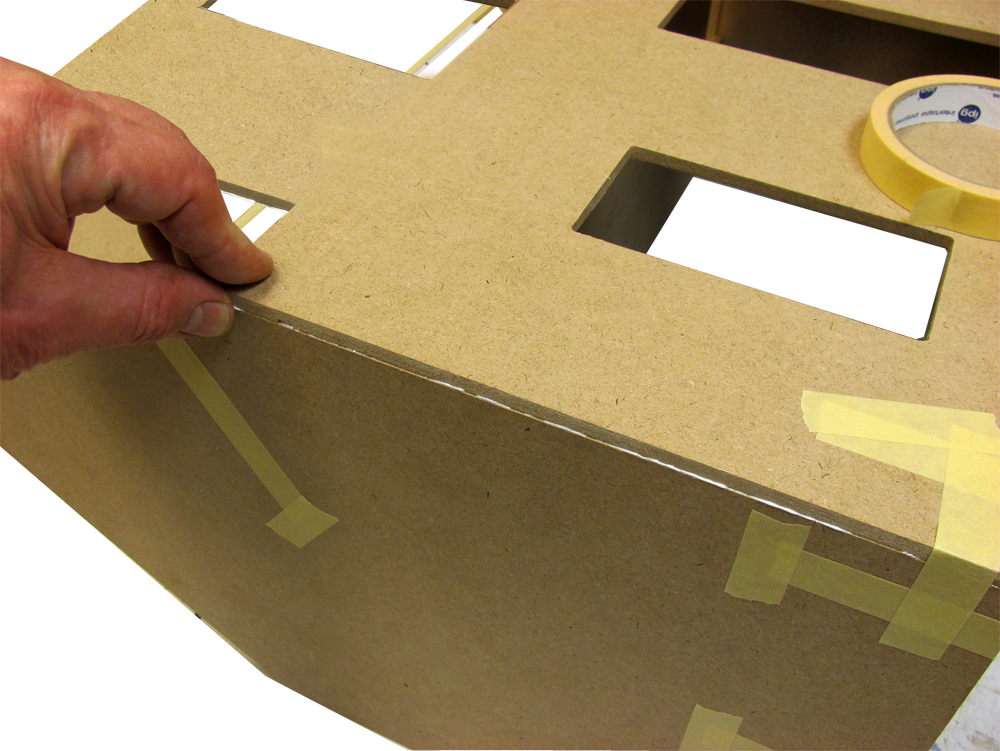
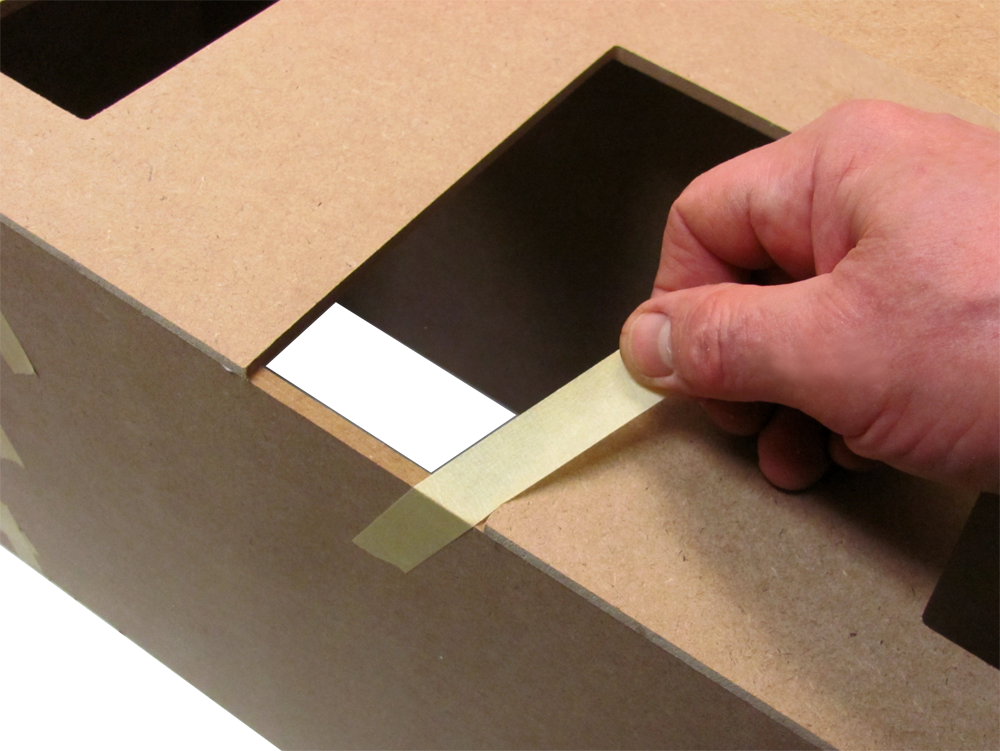
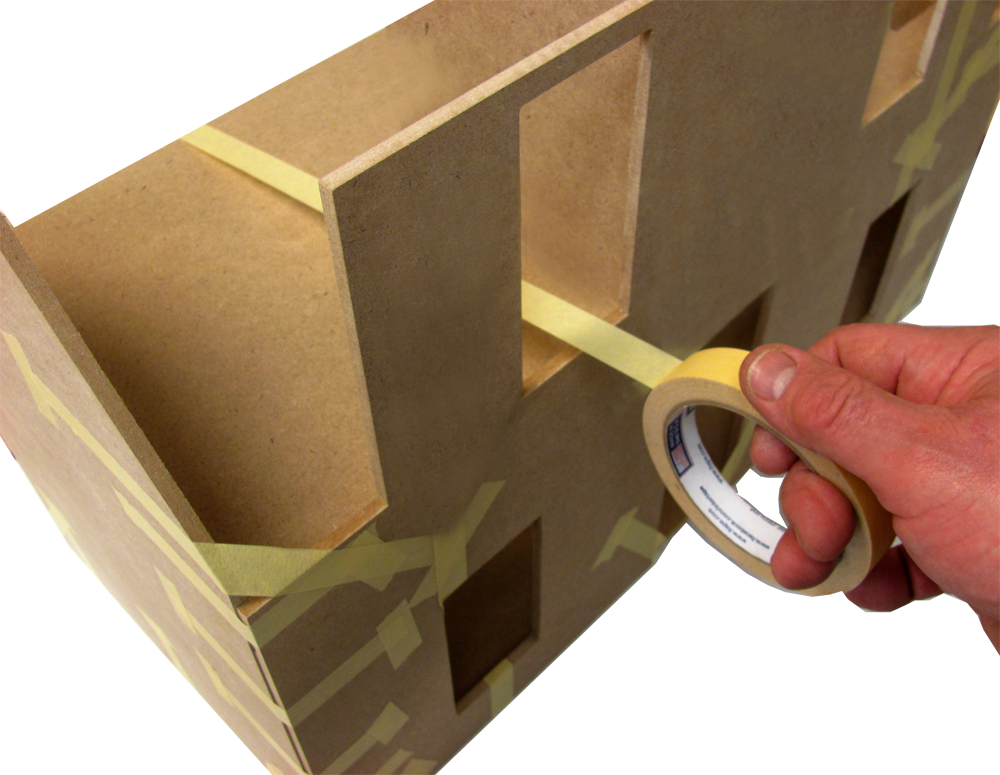
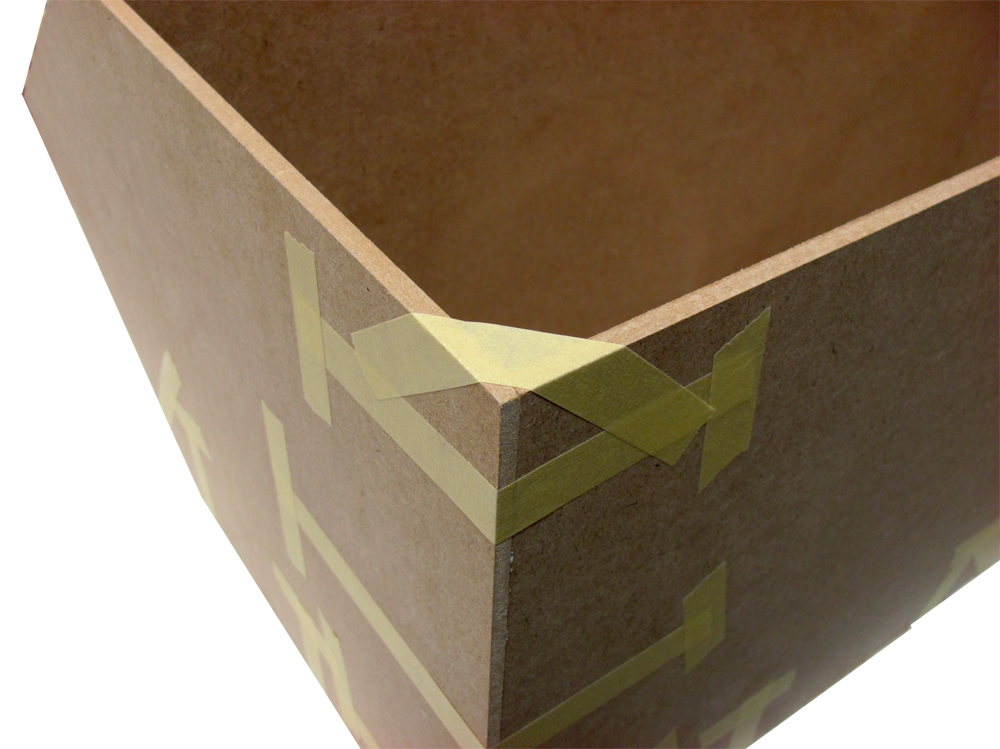
 00. use 'high tack' tape, not 'painter's tape'
../../RGT_Website_assets/ajax-loader.gif
00. use 'high tack' tape, not 'painter's tape'
../../RGT_Website_assets/ajax-loader.gif
00. use 'high tack' tape, not 'painter's tape'
../../RGT_Website_assets/ajax-loader.gif
DHTMLGoodies.com
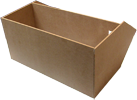
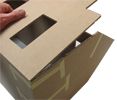
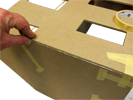
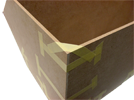
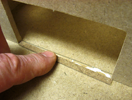
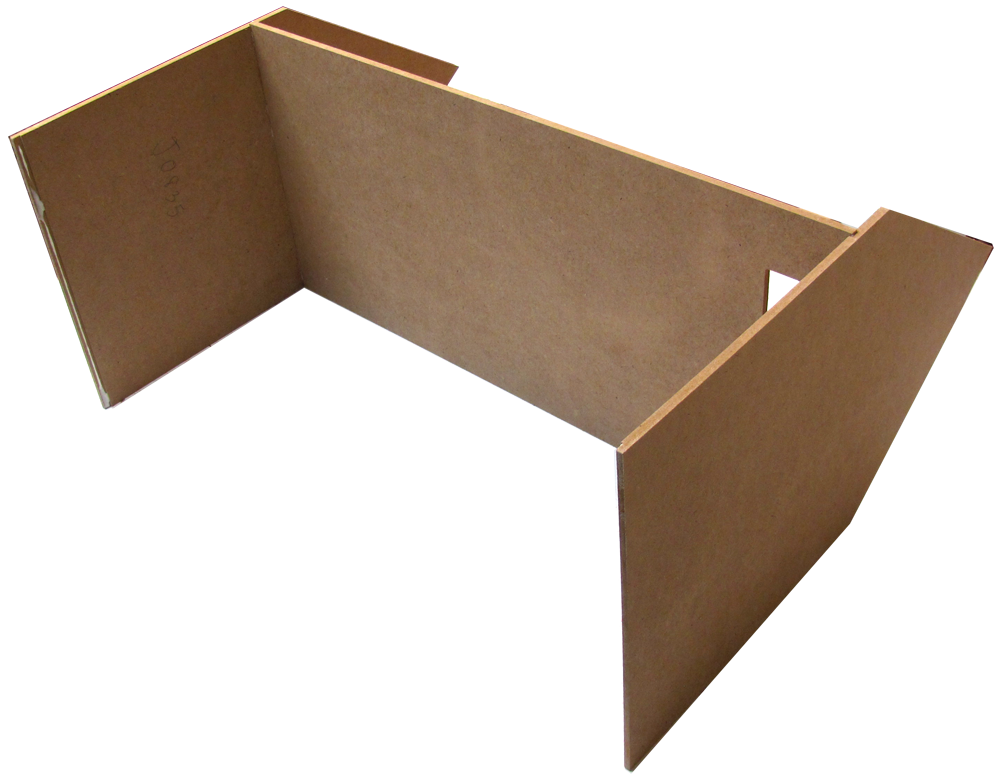
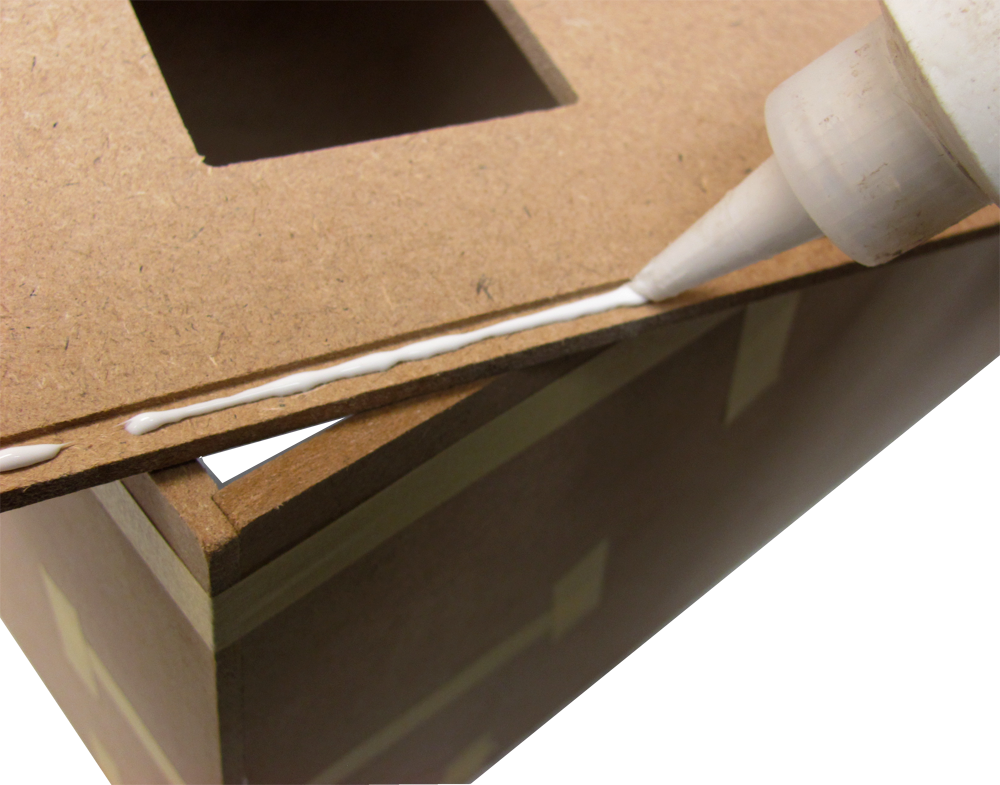
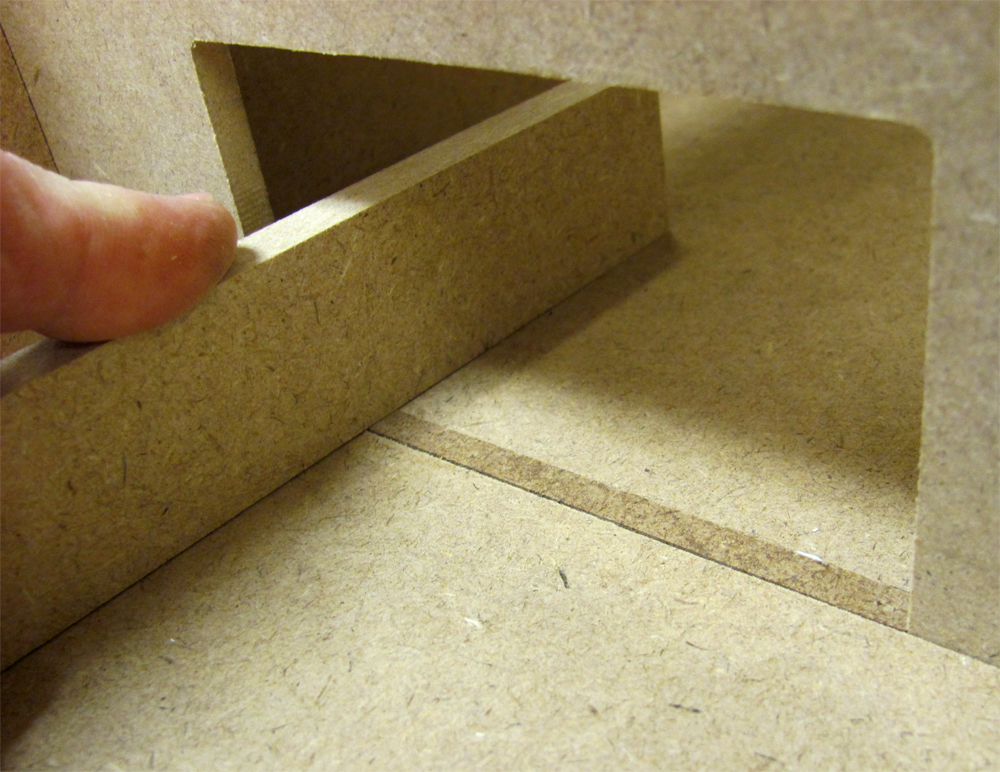
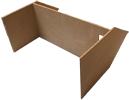 02. The stair hole can go on either side but must be closer to the front (up)
02D.png
02. The stair hole can go on either side but must be closer to the front (up)
02D.png
02. The stair hole can go on either side but must be closer to the front (up)
02D.png
DHTMLGoodies.com
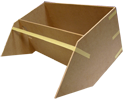
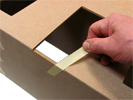
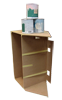
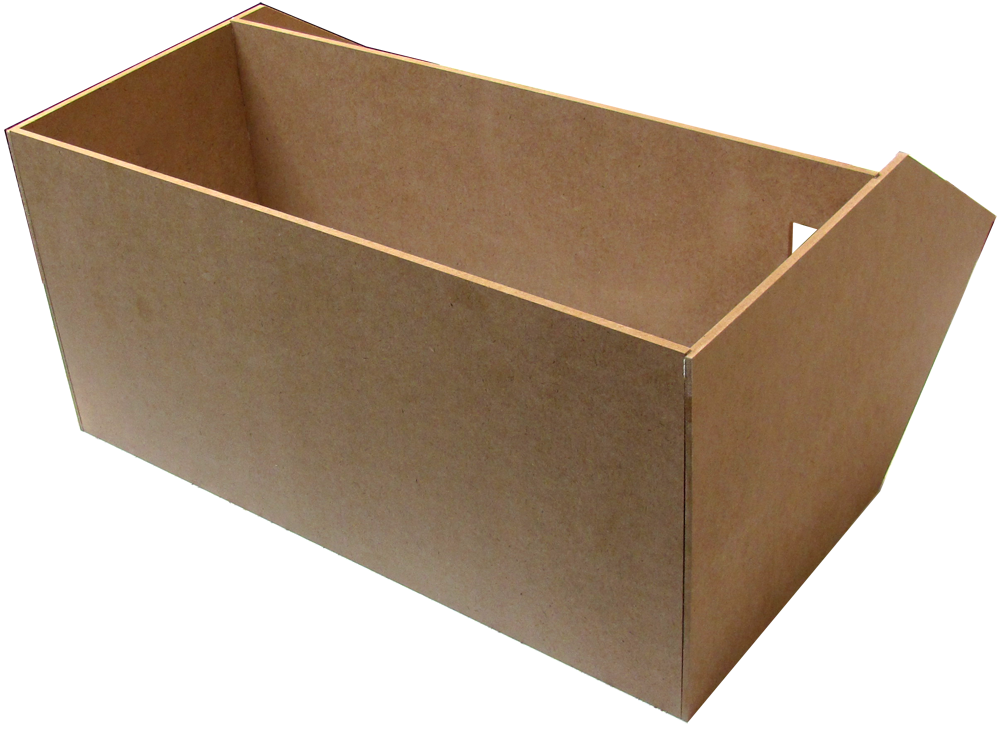
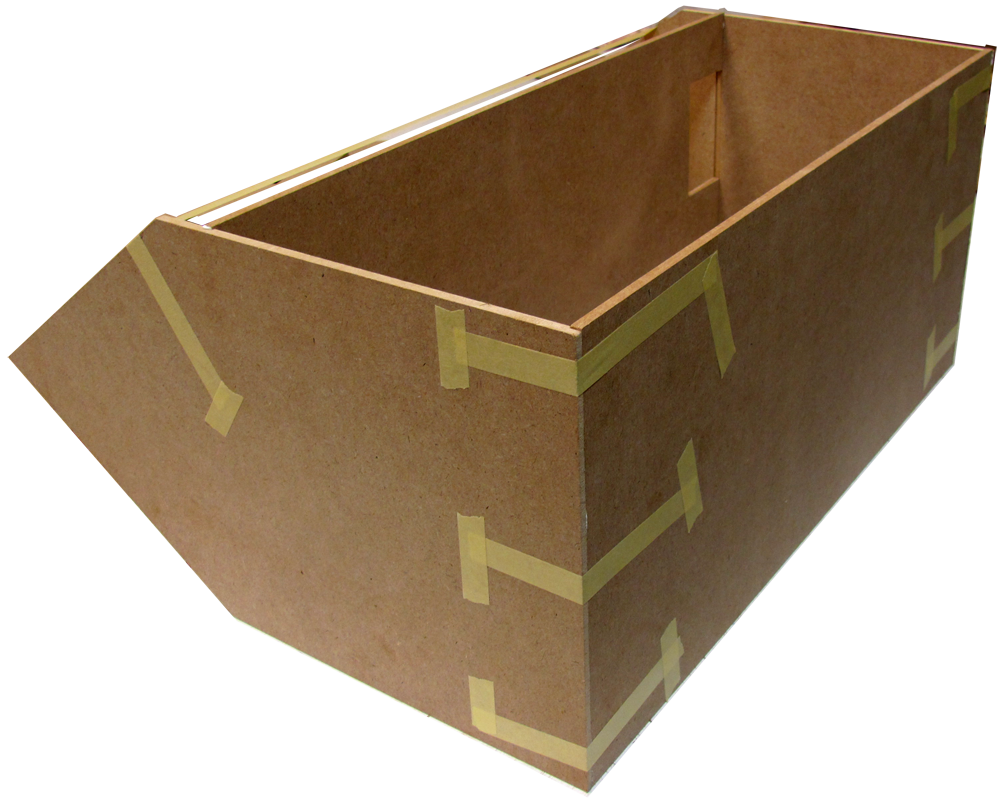
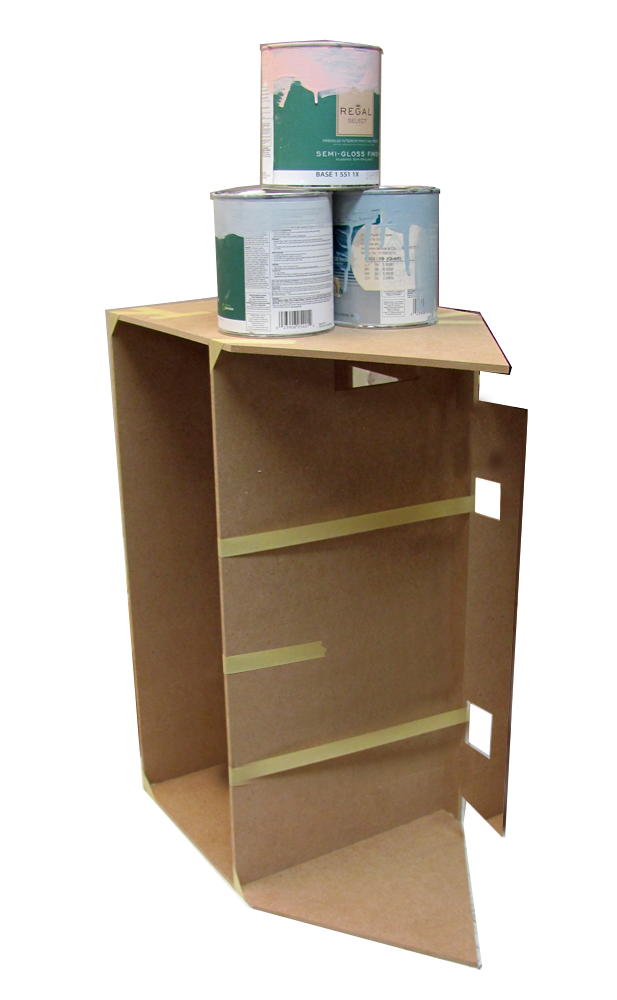
 10. Push the Side as necessary to make it line up with the Front at the top
10D.png
10. Push the Side as necessary to make it line up with the Front at the top
10D.png
10. Push the Side as necessary to make it line up with the Front at the top
10D.png
DHTMLGoodies.com
 00. Next slideshow (Logs): Click the "Click" button (above)
../../Buttons/ClickHere.png
00. Next slideshow (Logs): Click the "Click" button (above)
../../Buttons/ClickHere.png
00. Next slideshow (Logs): Click the "Click" button (above)
../../Buttons/ClickHere.png