![]()
![]()
Slideshows support but do not replace the instructions
Pre-Assembly:
Parts Identification: Packs
Parts Identification: Panels
PreAssemble
Stain and Paint
Assembly:
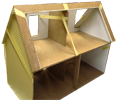
Housebody
Logs
Attic Logs
Dormer
Nubs
Dormer Roof
Carve
Foundation
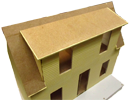
Porch 1 Porch 2
Exterior Finishing
Trim
Windows and Shutters
Interior Finishing
Window Trim and Stairs
![]()
![]()
2024 instructions
![]()
DHTMLGoodies.com
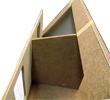
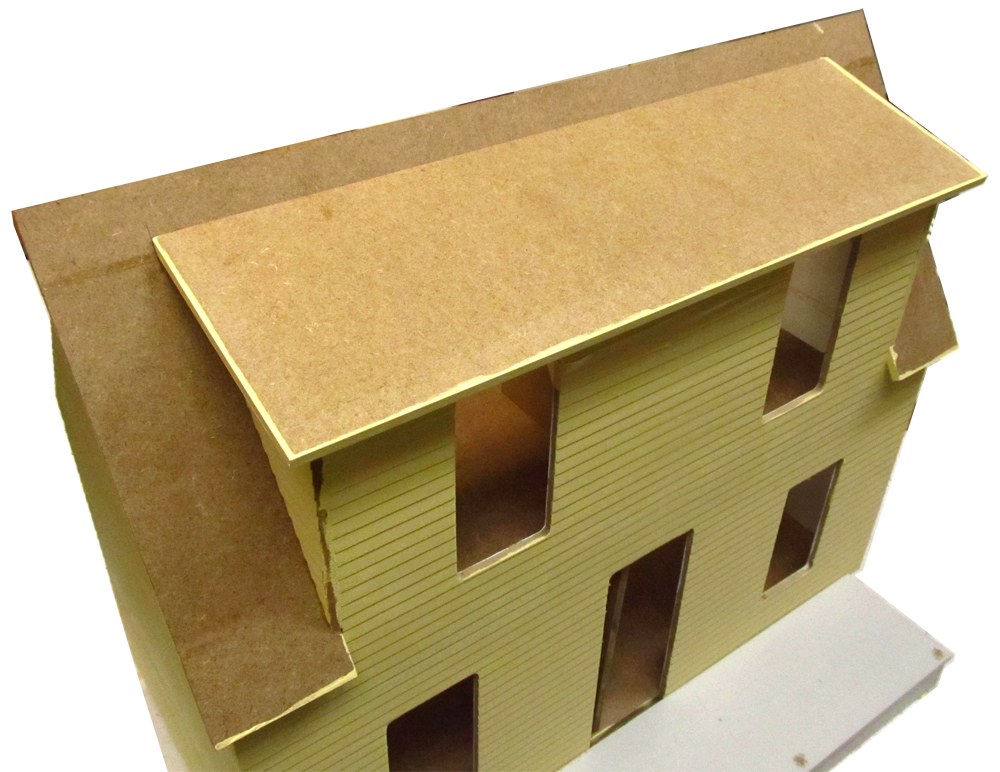
 00. The Dormer Roof is the same on kits J535, J540, and J545
../../RGT_Website_assets/ajax-loader.gif
00. The Dormer Roof is the same on kits J535, J540, and J545
../../RGT_Website_assets/ajax-loader.gif
00. The Dormer Roof is the same on kits J535, J540, and J545
../../RGT_Website_assets/ajax-loader.gif
DHTMLGoodies.com
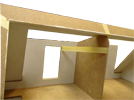
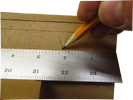
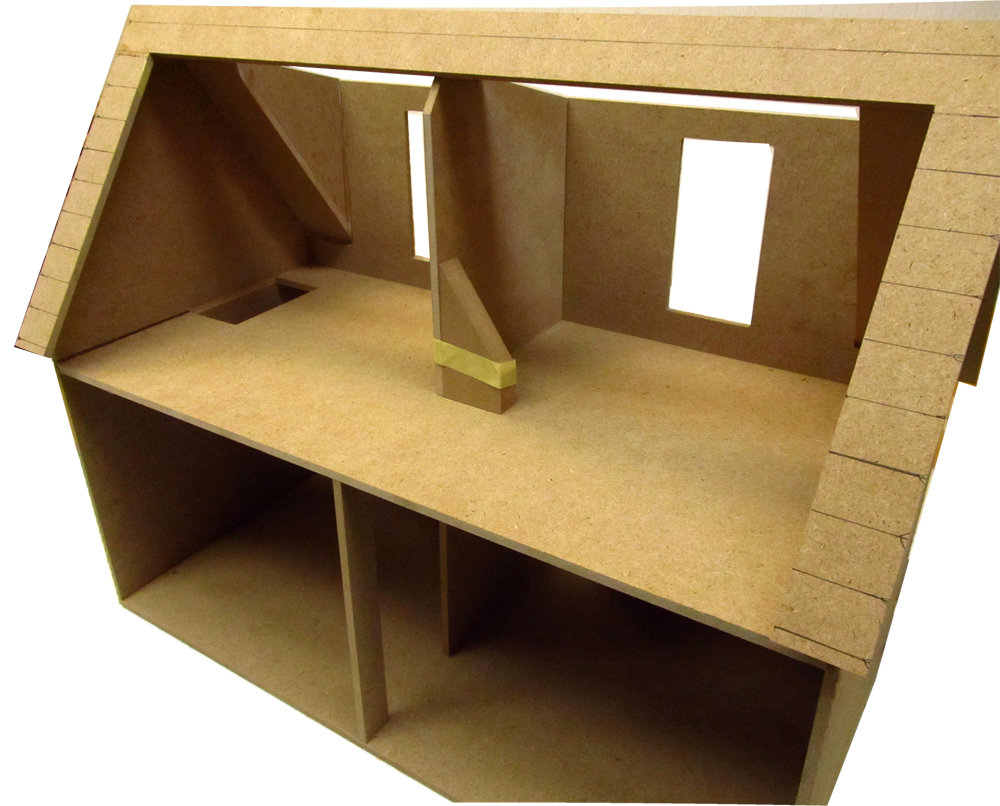
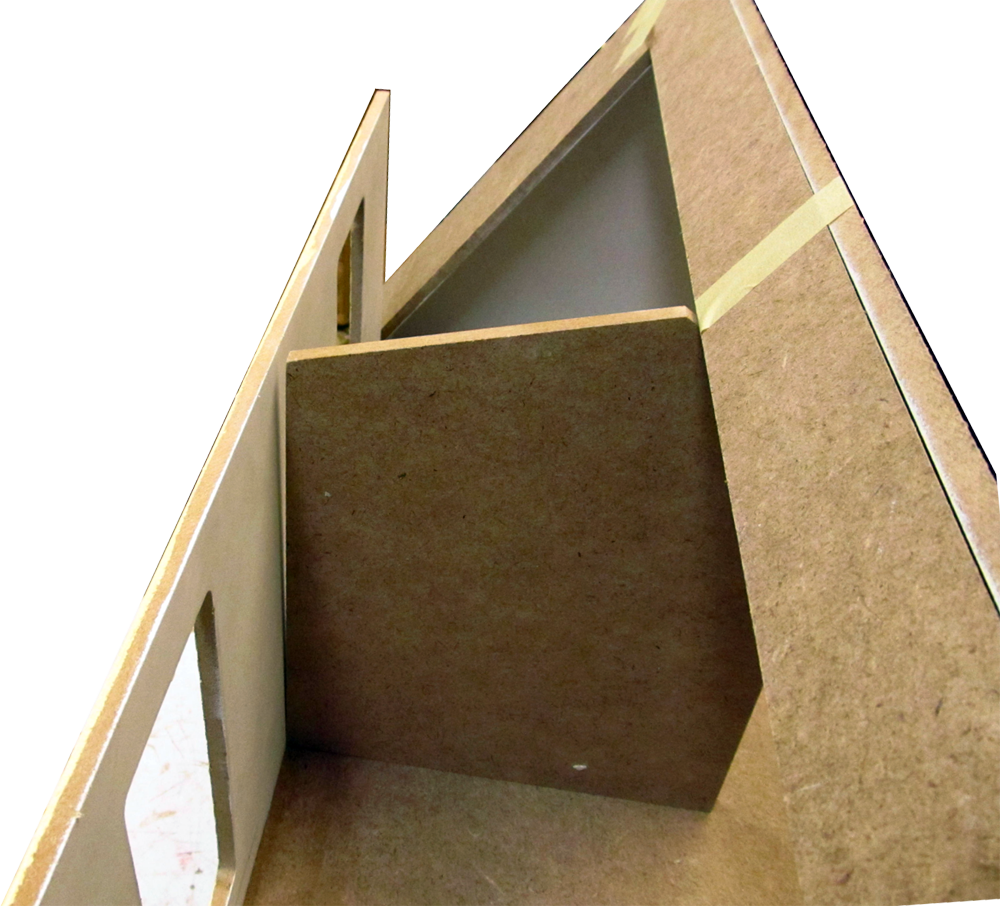
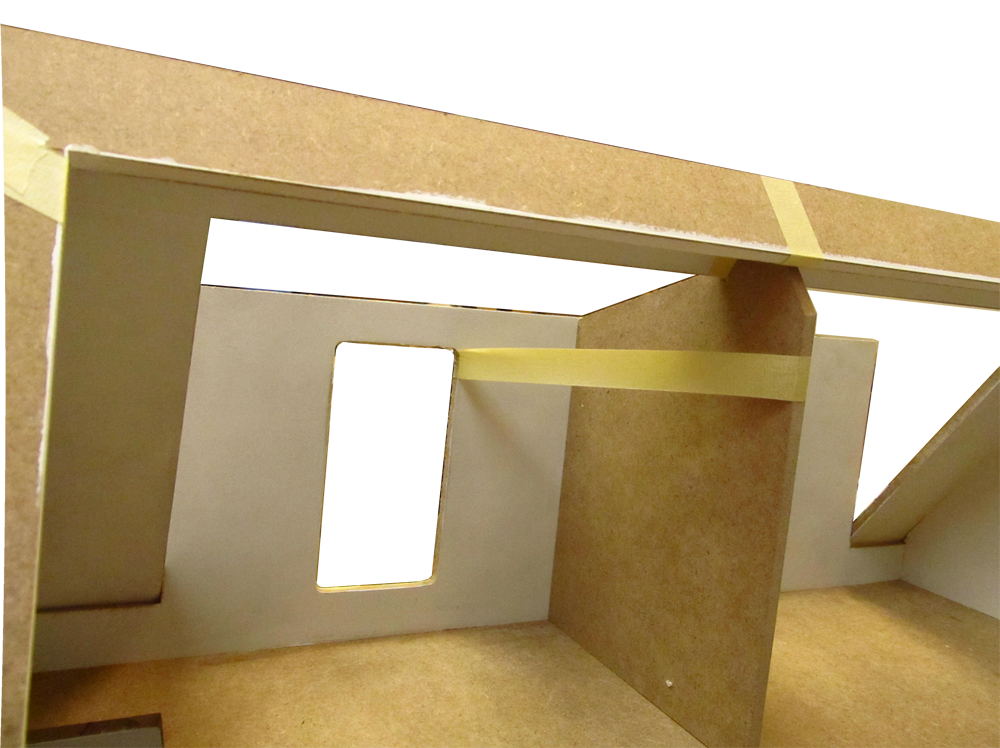
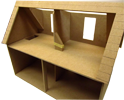 01. Stand a Divider in the 1st floor and the Attic Partition in the 2nd floor
01D.png
01. Stand a Divider in the 1st floor and the Attic Partition in the 2nd floor
01D.png
01. Stand a Divider in the 1st floor and the Attic Partition in the 2nd floor
01D.png
DHTMLGoodies.com
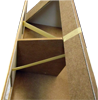
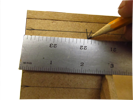
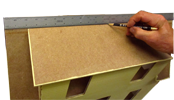
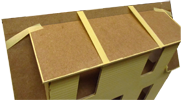
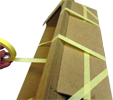
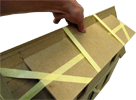
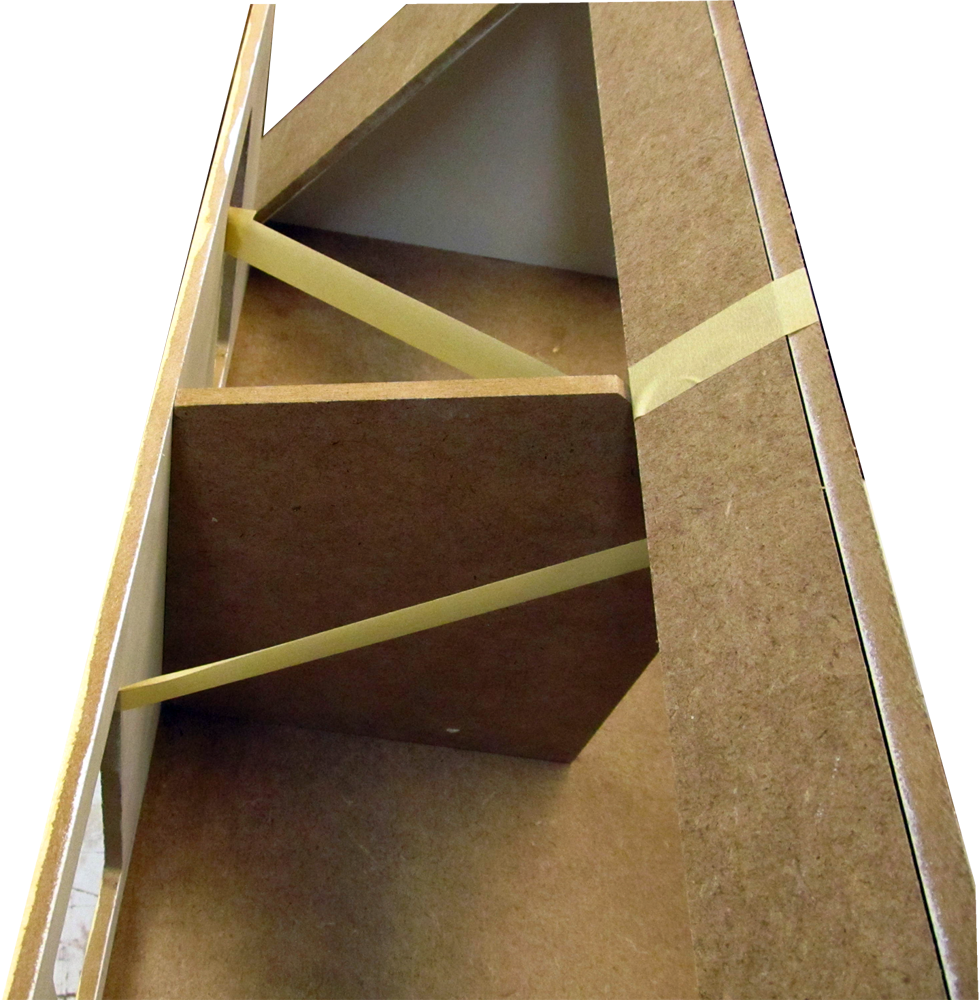
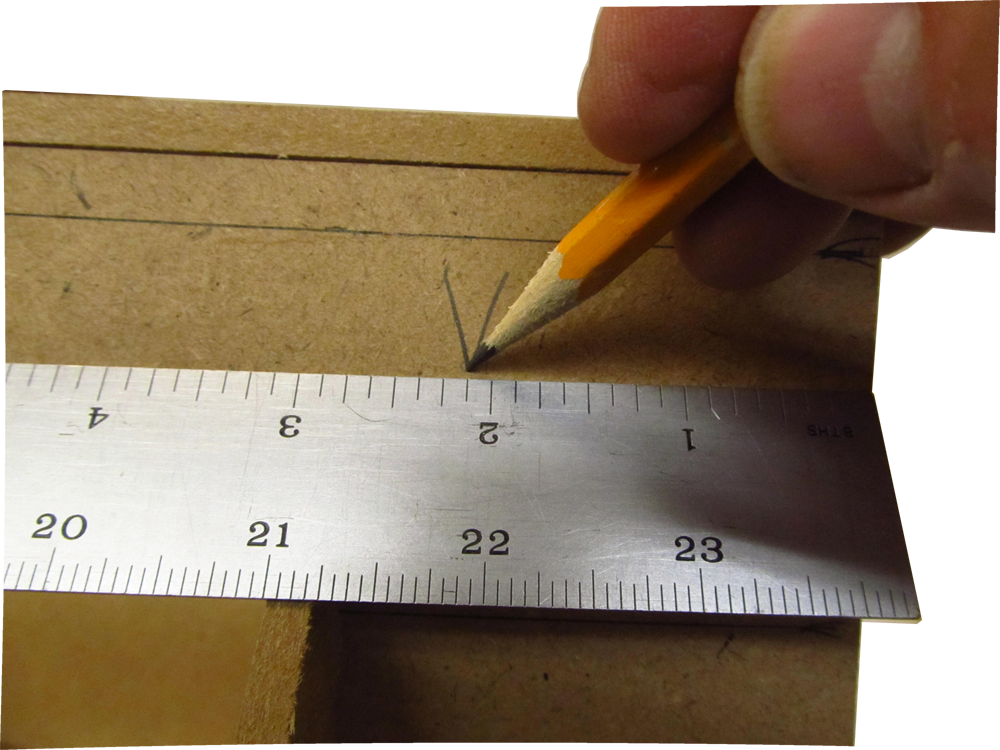
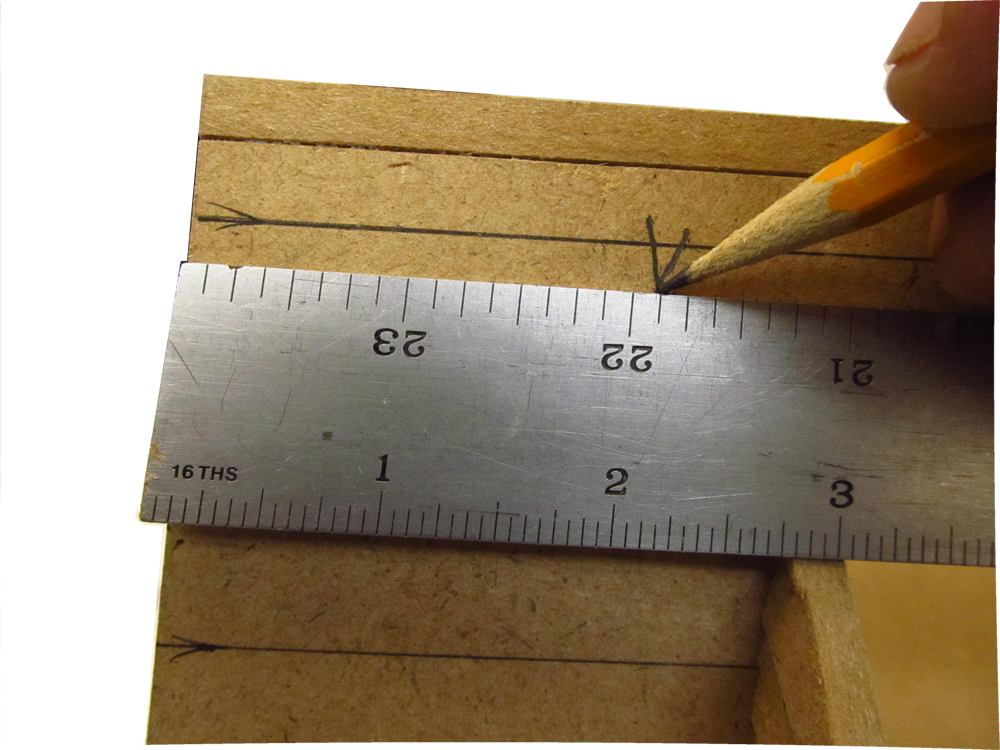
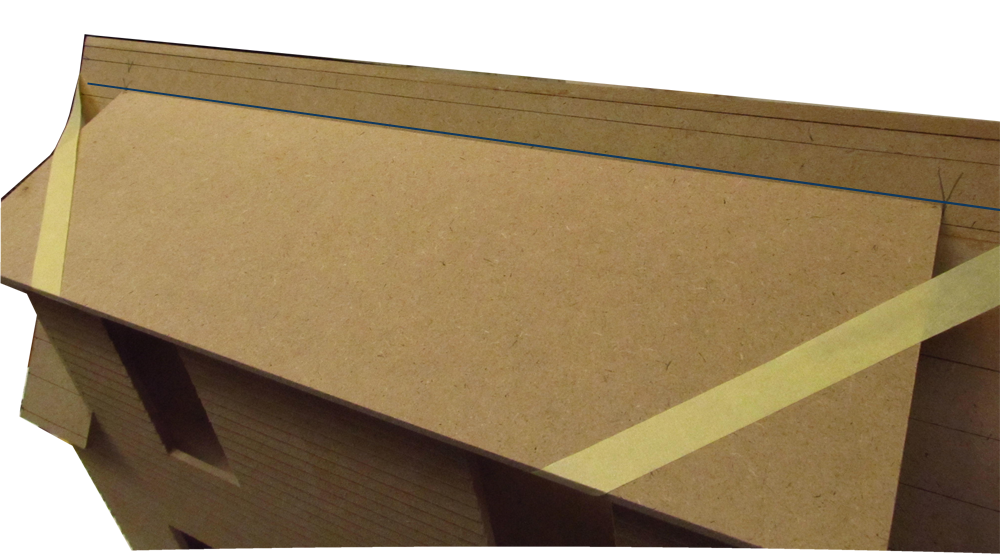
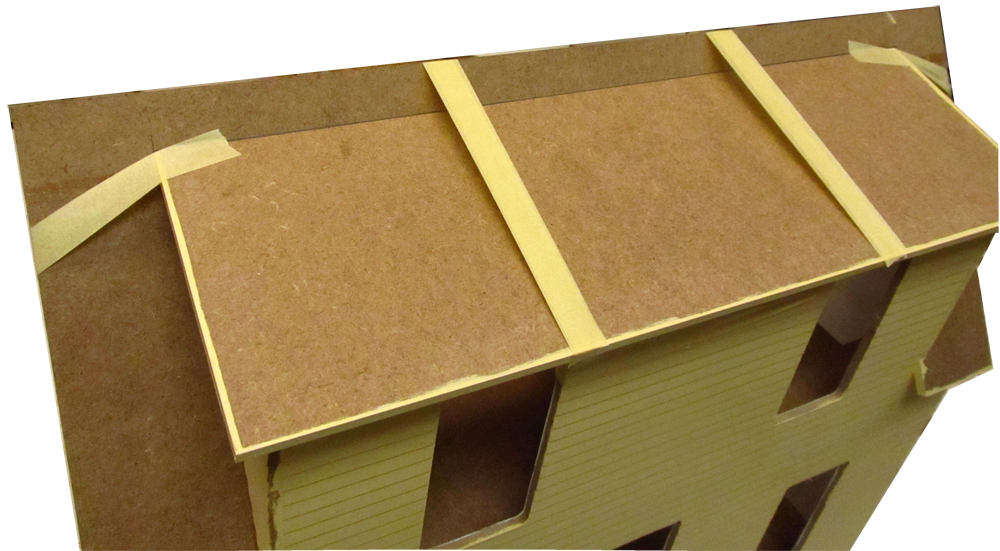
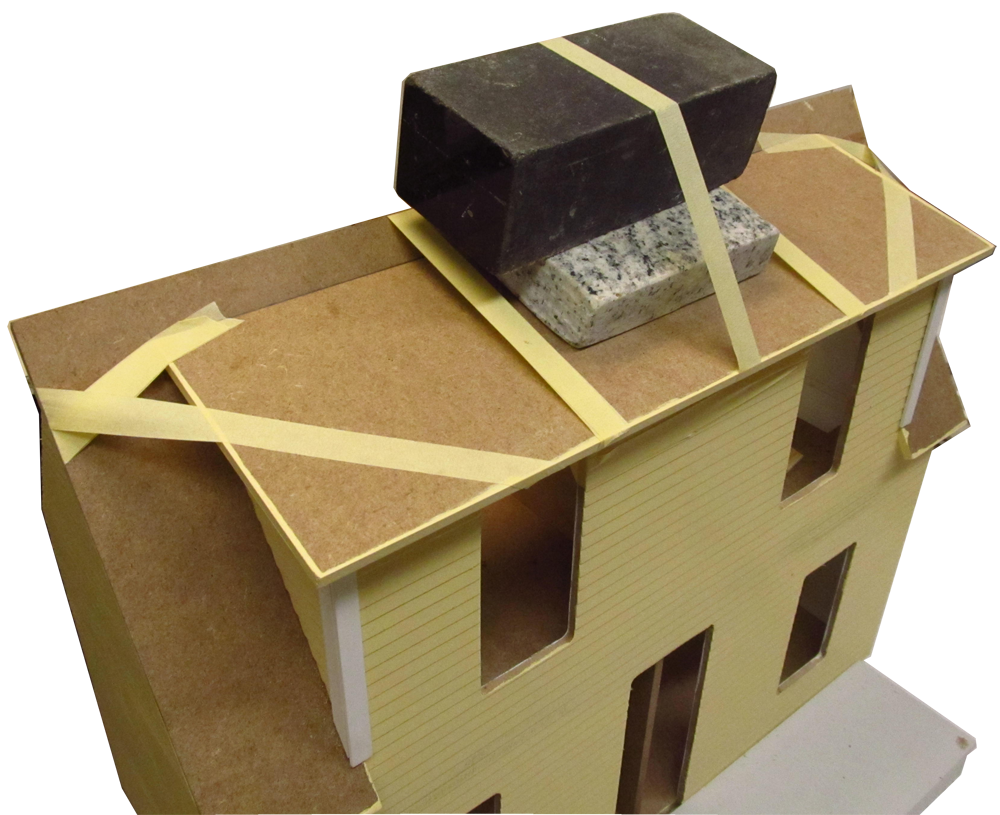
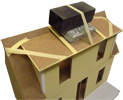 15. Adjust the tape and weights so the top of the Dormer Roof follows the line.
15D.png
15. Adjust the tape and weights so the top of the Dormer Roof follows the line.
15D.png
15. Adjust the tape and weights so the top of the Dormer Roof follows the line.
15D.png
