![]()
Slideshows support but do not replace the instructions
Parts
PreAssembly
Floors, Foundations, Roofs (here)
Mark the Floors for painting
Paint
Assembly:
Housebody 1: First floor
Housebody 2: Second floor
Top Floor - mark and paint
Tower and Roof
Exterior Frinishing
Index
Corner Trim
Windows
Shingles and Dormers
Rails Assemble Install Addendum
Interior Frinishing
Interiors Home
Interior Window Trim
Dividers
Stairs, Banister & Landing
DHTMLGoodies.com
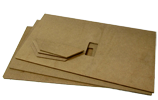
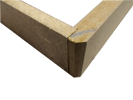
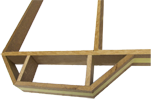
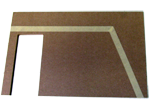
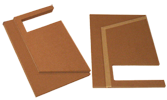
 02. The angled edge of the Floor lines up with the angled edge of the Extension
02D.png
 02. The angled edge of the Floor lines up with the angled edge of the Extension
02D.png
DHTMLGoodies.com
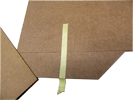
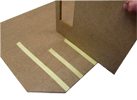
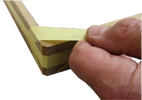 12. Stretch the tape - one over, one under, and one around keeps everything tight
12D.png
 12. Stretch the tape - one over, one under, and one around keeps everything tight
12D.png
DHTMLGoodies.com
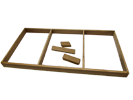
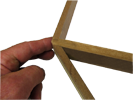
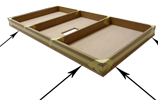 13b. Without glue, line up two edges with a floor to hold the Foundation square as the glue dries
13bD.png
 13b. Without glue, line up two edges with a floor to hold the Foundation square as the glue dries
13bD.png
DHTMLGoodies.com
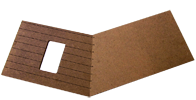
 20. In this photo, the outside faces are outward, the inside faces are touching
20D.png
 20. In this photo, the outside faces are outward, the inside faces are touching
20D.png
DHTMLGoodies.com
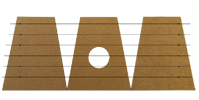
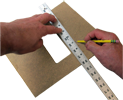 21. Front Roofs: Mark the spacing on the outside 1 1/4 from the bottom, then 1"
21D.png
 21. Front Roofs: Mark the spacing on the outside 1 1/4 from the bottom, then 1"
21D.png
DHTMLGoodies.com
 28. Trace the Attic Partitions on the Tower Sides, then add 1/4" (the thickness of a roof panel) and trace again.
28D.png
 28. Trace the Attic Partitions on the Tower Sides, then add 1/4" (the thickness of a roof panel) and trace again.
28D.png

