![]()
![]()
Slideshows support but do not replace the instructions
Parts
PreAssembly
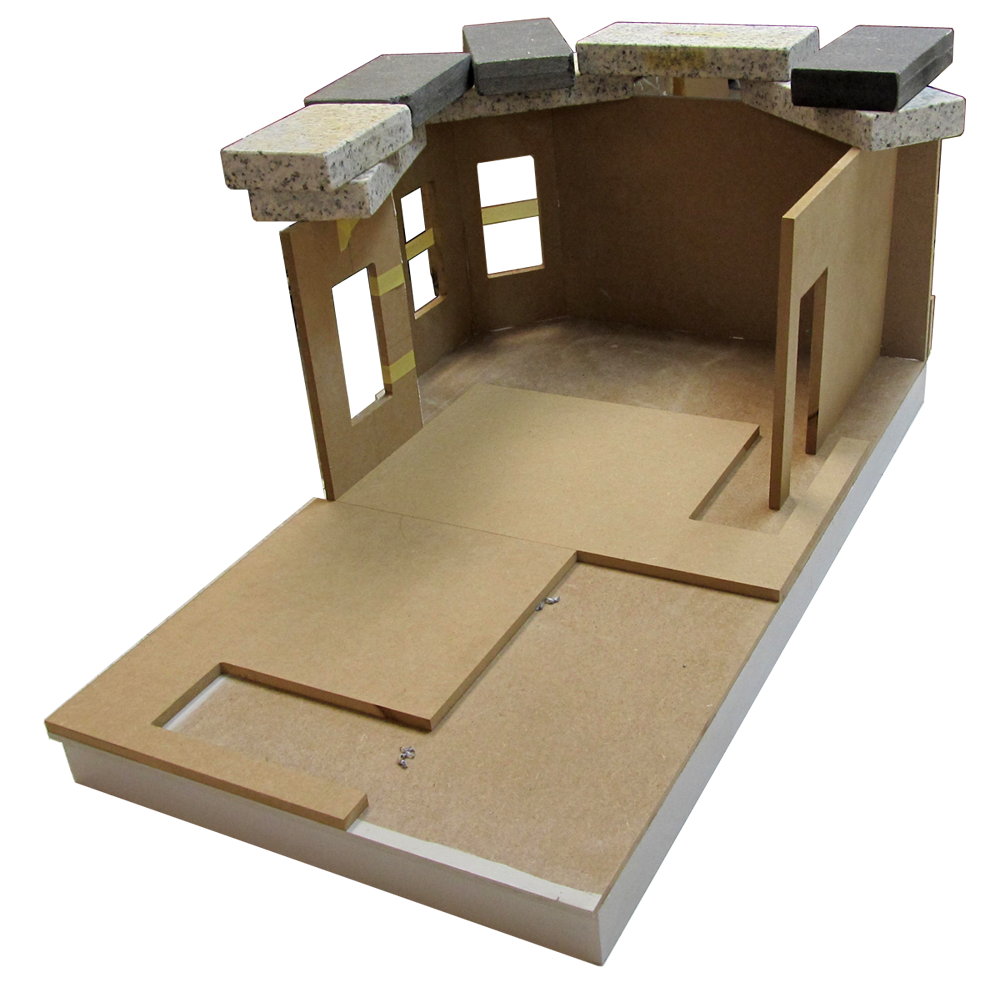
Floors, Foundations, and Roofs
Mark the Floors for painting
Paint
Assembly:
Housebody 1: First floor (here)
Housebody 2: Second floor
Top Floor - mark and paint
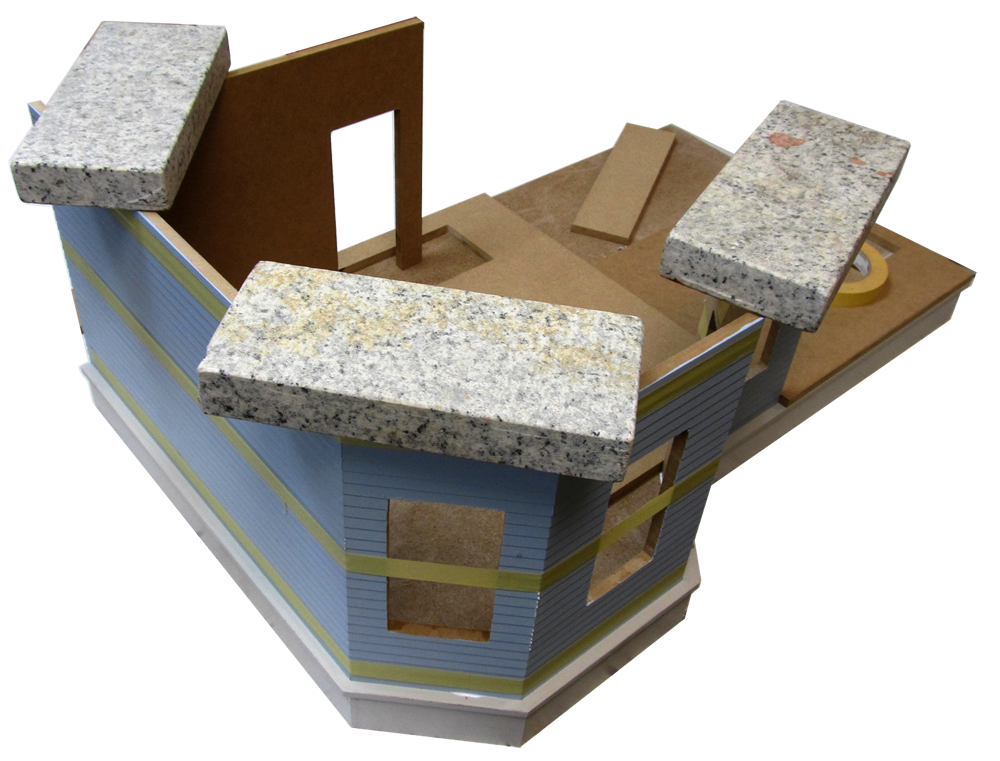
Tower and Roof
Exterior Frinishing
Index
Corner Trim
Windows
Shingles and Dormers
Rails Assemble Install Addendum
Interior Frinishing
Interiors Home
Interior Window Trim
Dividers
Stairs, Banister & Landing

DHTMLGoodies.com
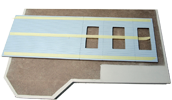
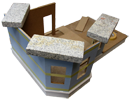
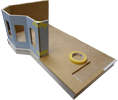
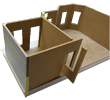
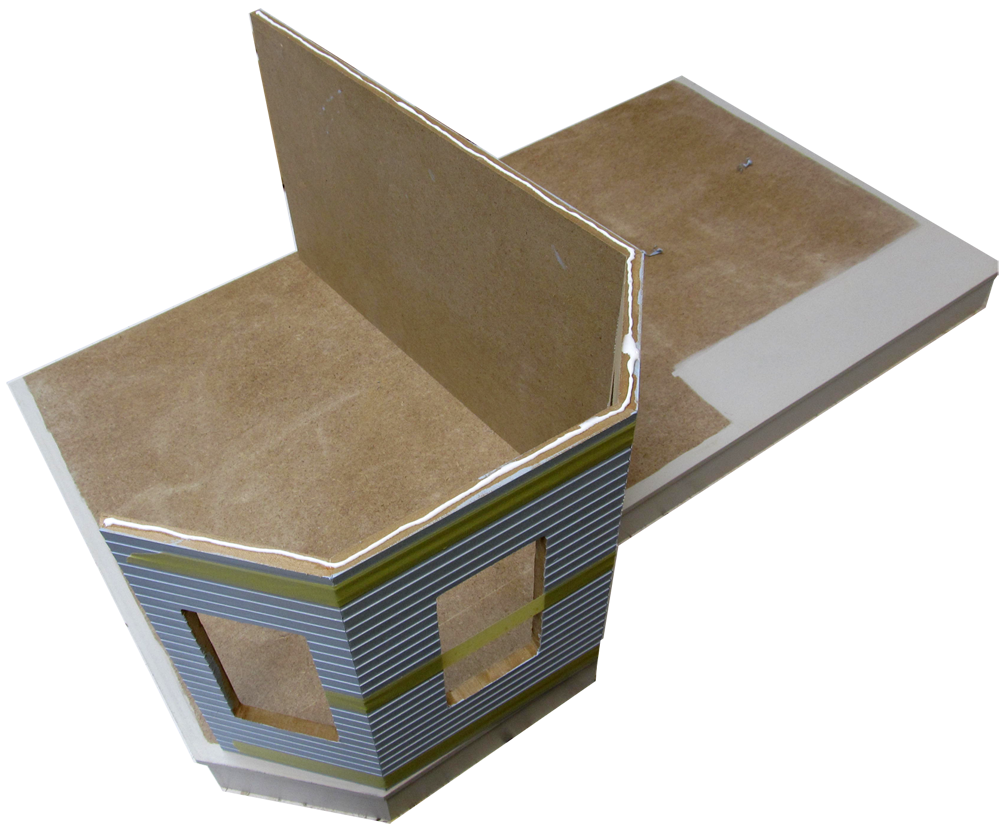
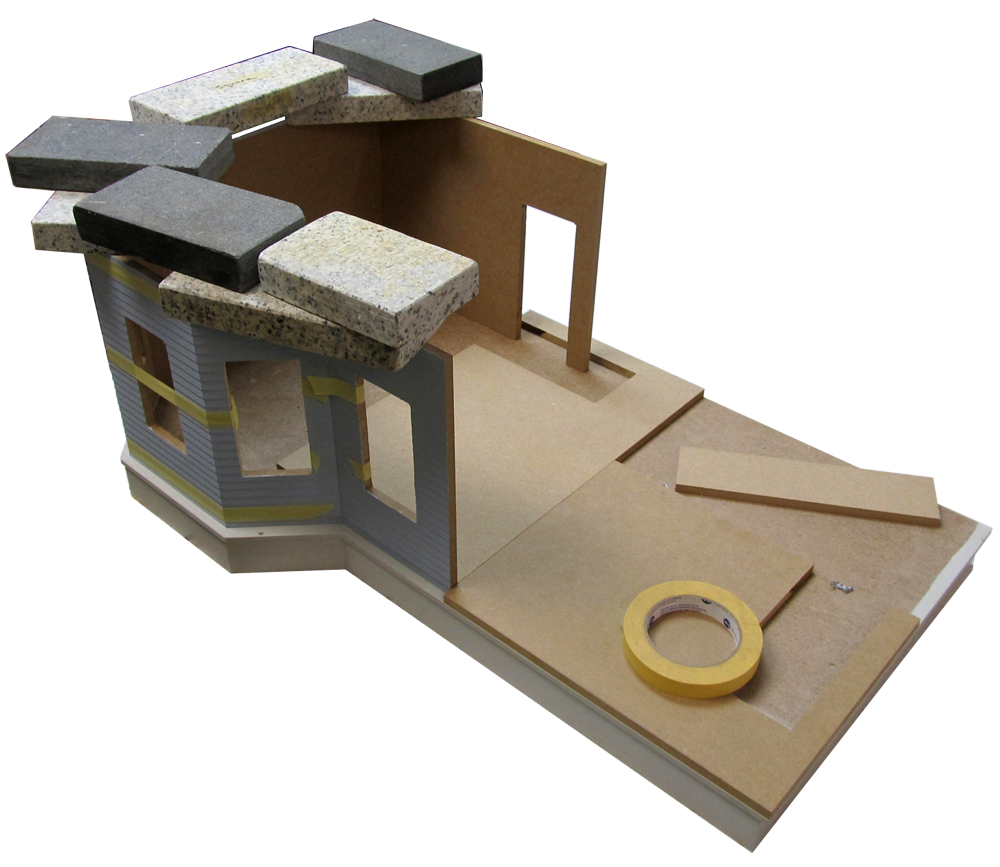
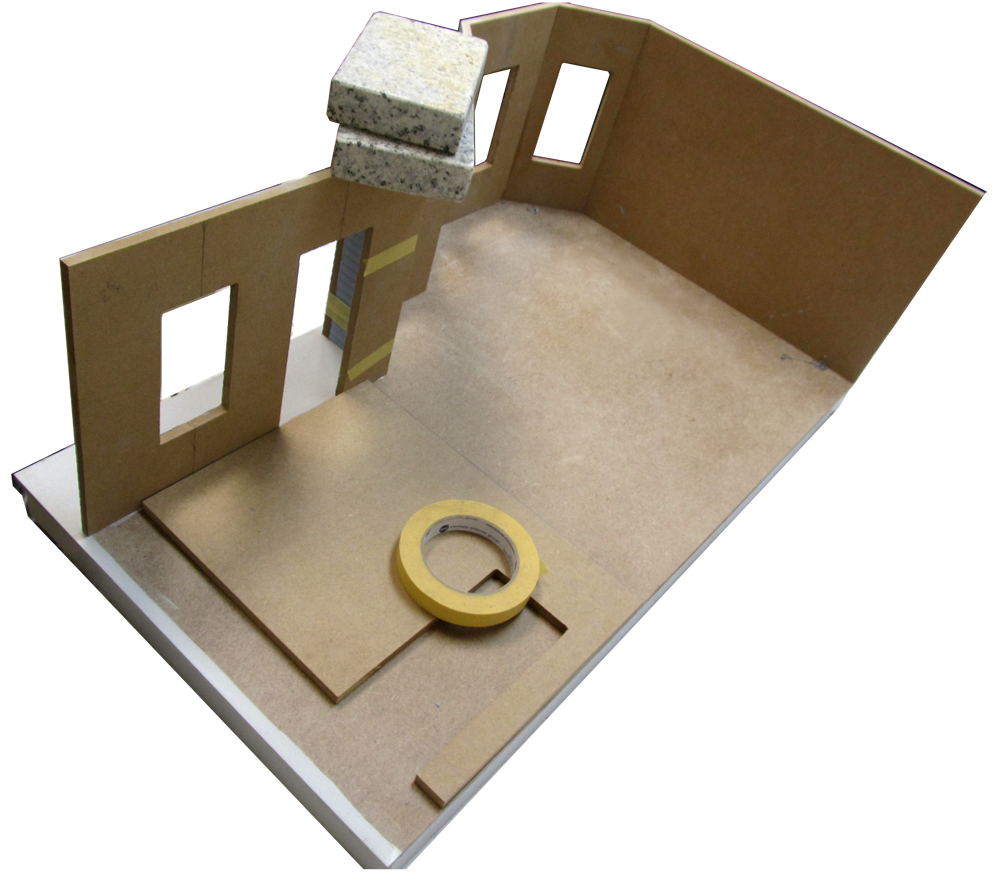
 A. In the Pre-Assembly step you laid out the walls like this
../01-PreAssembly/31D.png
A. In the Pre-Assembly step you laid out the walls like this
../01-PreAssembly/31D.png
A. In the Pre-Assembly step you laid out the walls like this
../01-PreAssembly/31D.png
DHTMLGoodies.com
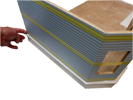
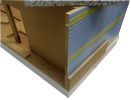
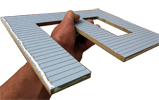
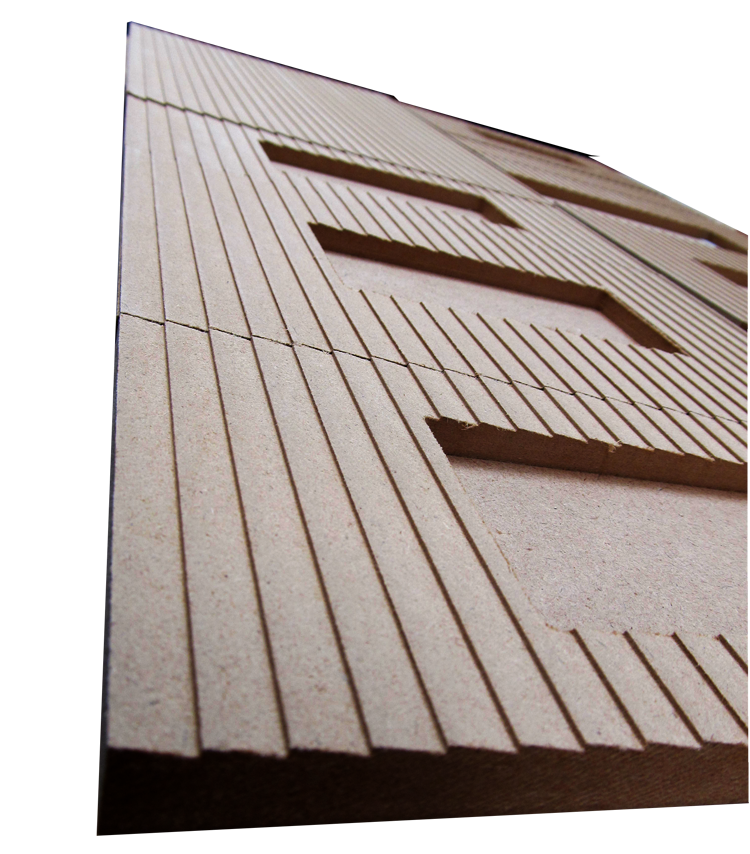
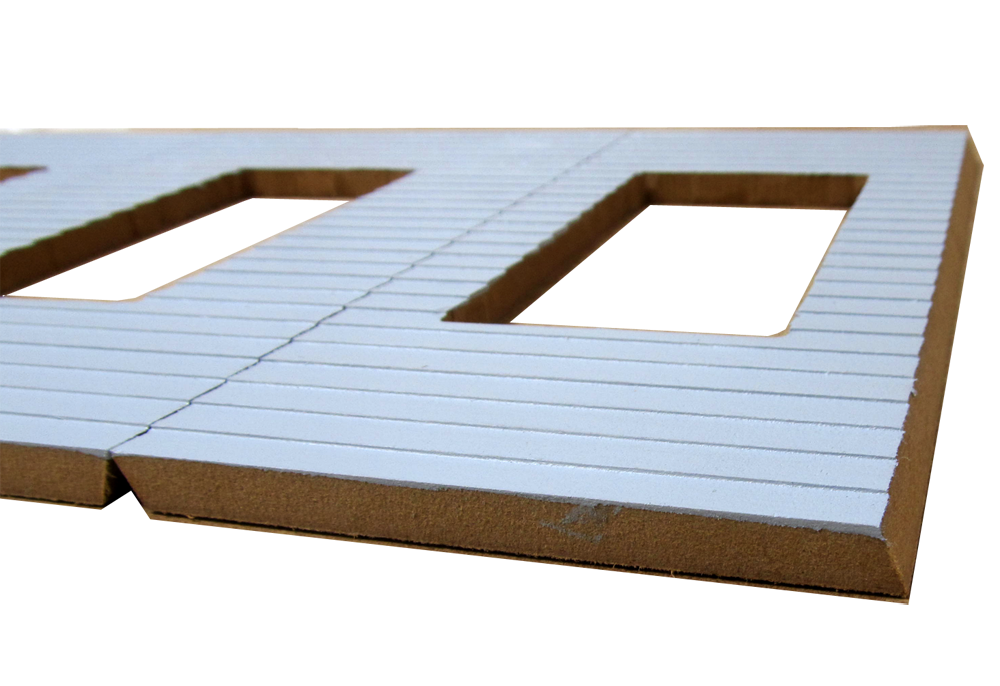
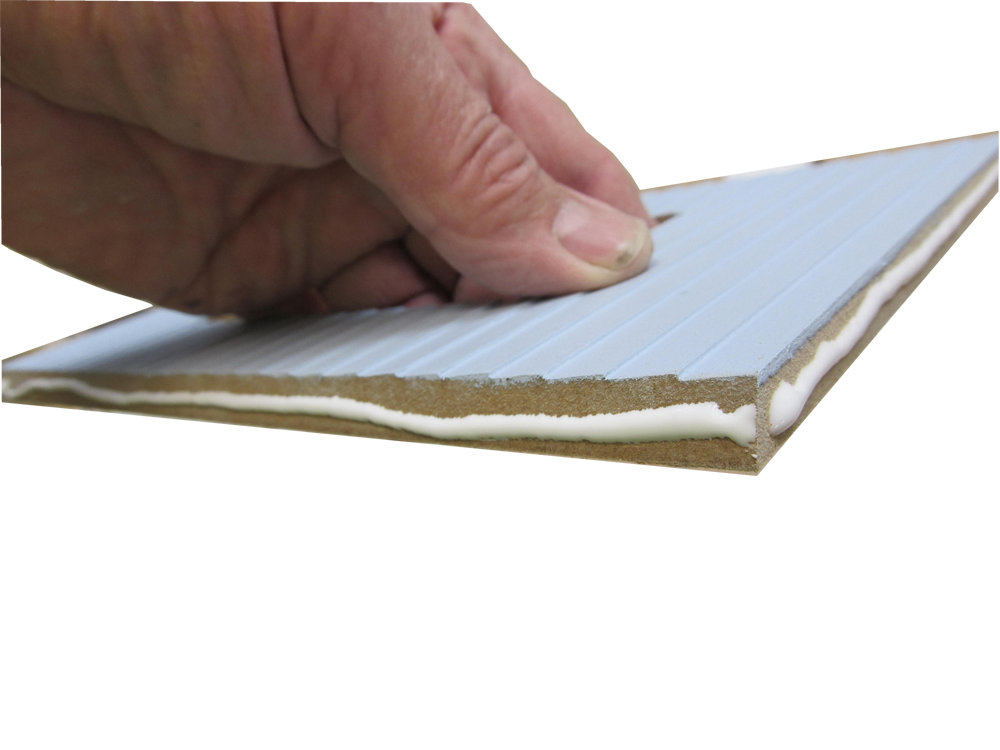
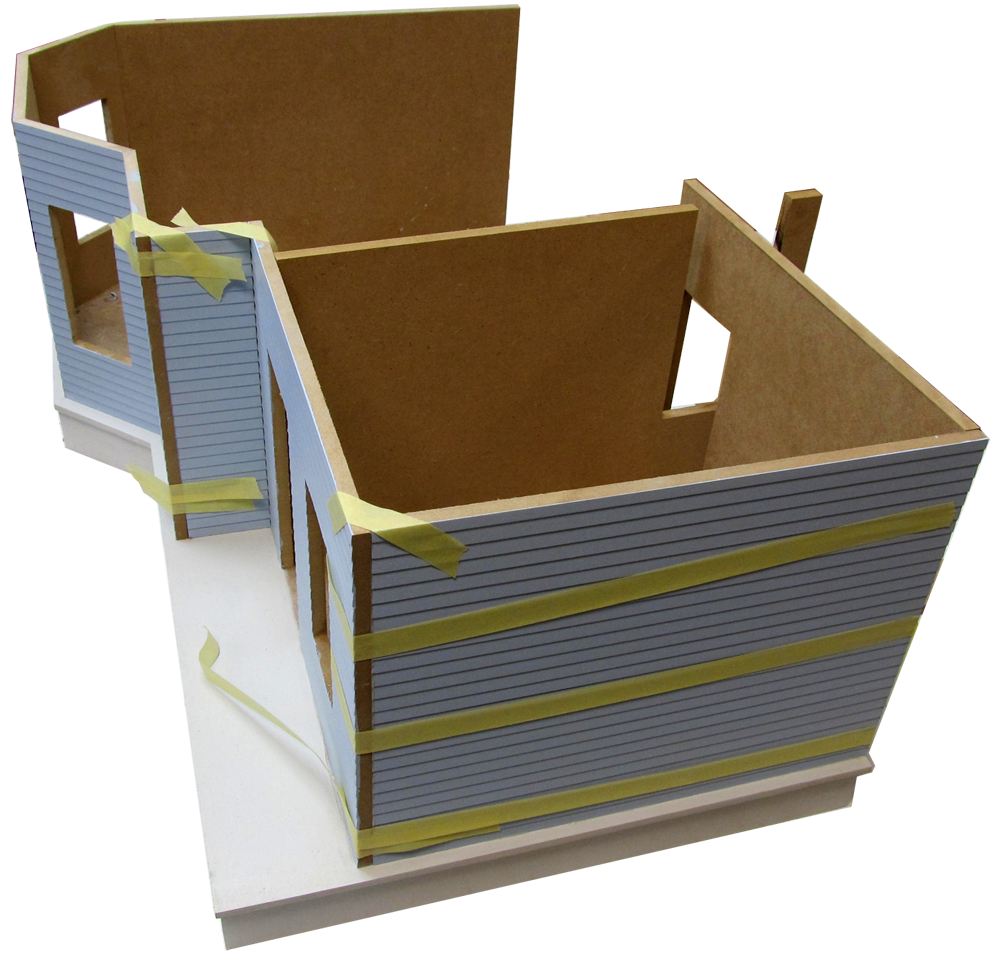
 B. Match the clapboard profile: the bottoms are on the left in this photo
../01-PreAssembly/32D.png
B. Match the clapboard profile: the bottoms are on the left in this photo
../01-PreAssembly/32D.png
B. Match the clapboard profile: the bottoms are on the left in this photo
../01-PreAssembly/32D.png


DHTMLGoodies.com
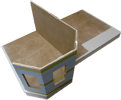
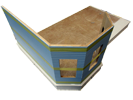
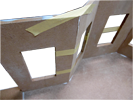
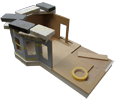
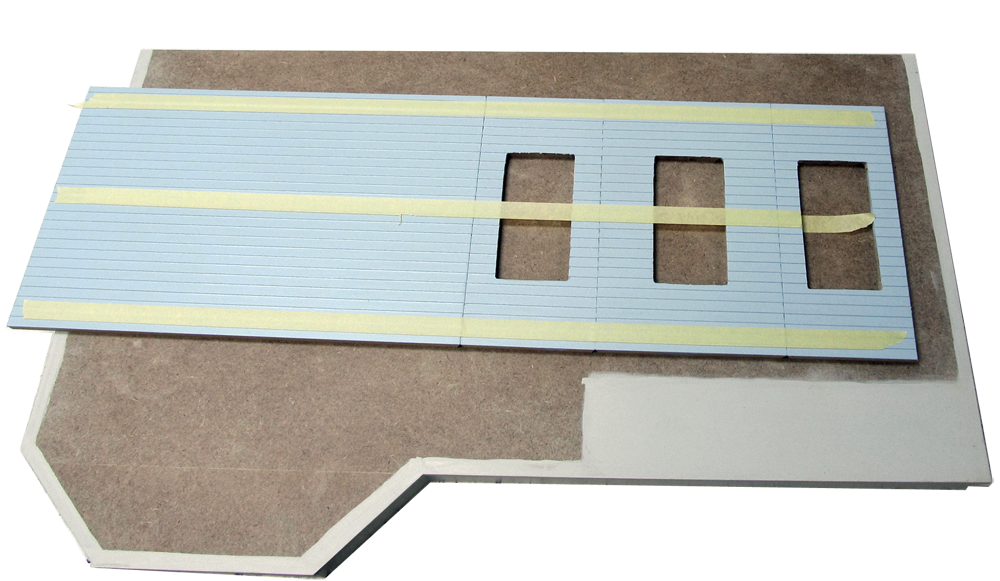
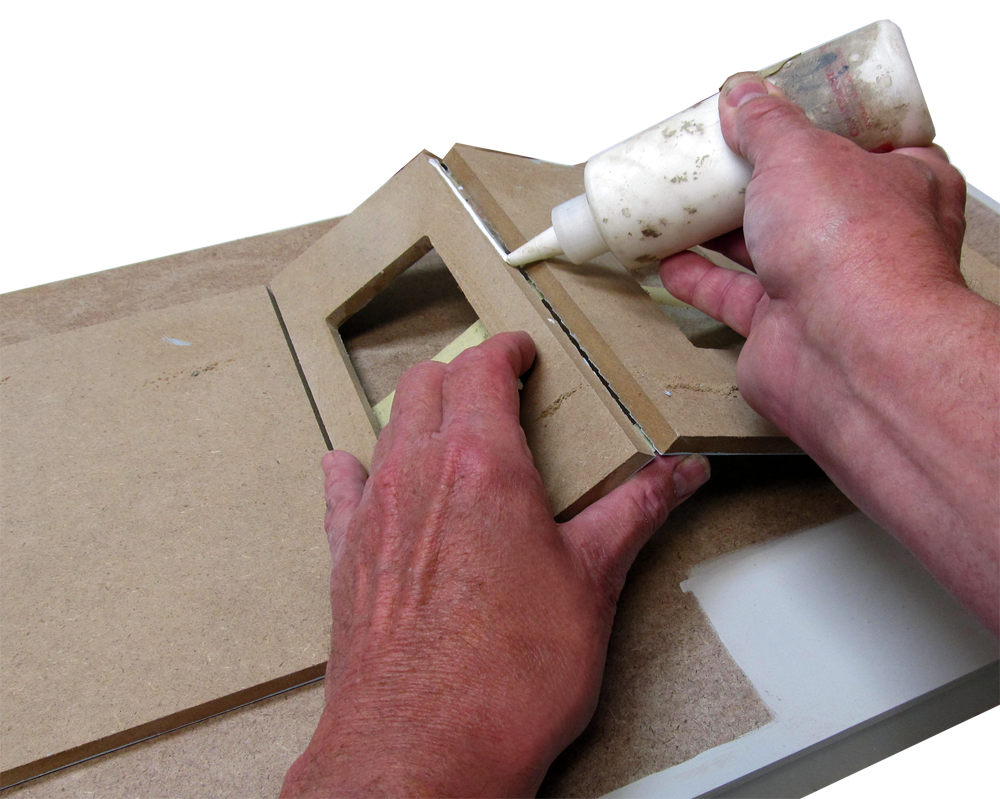
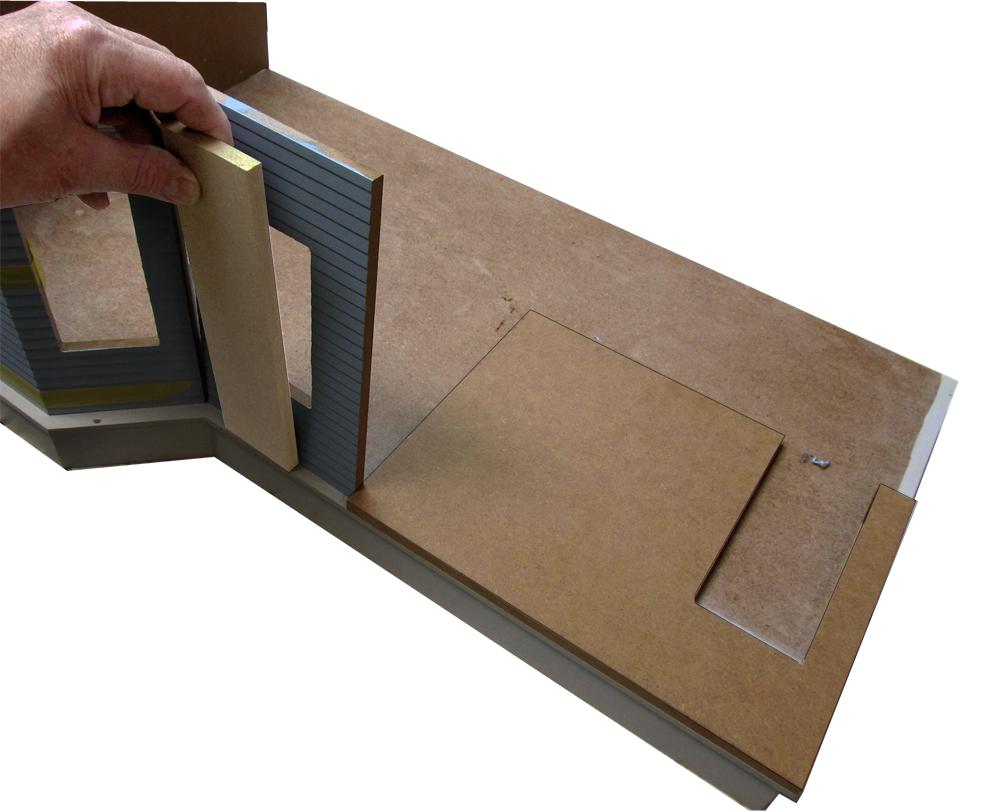
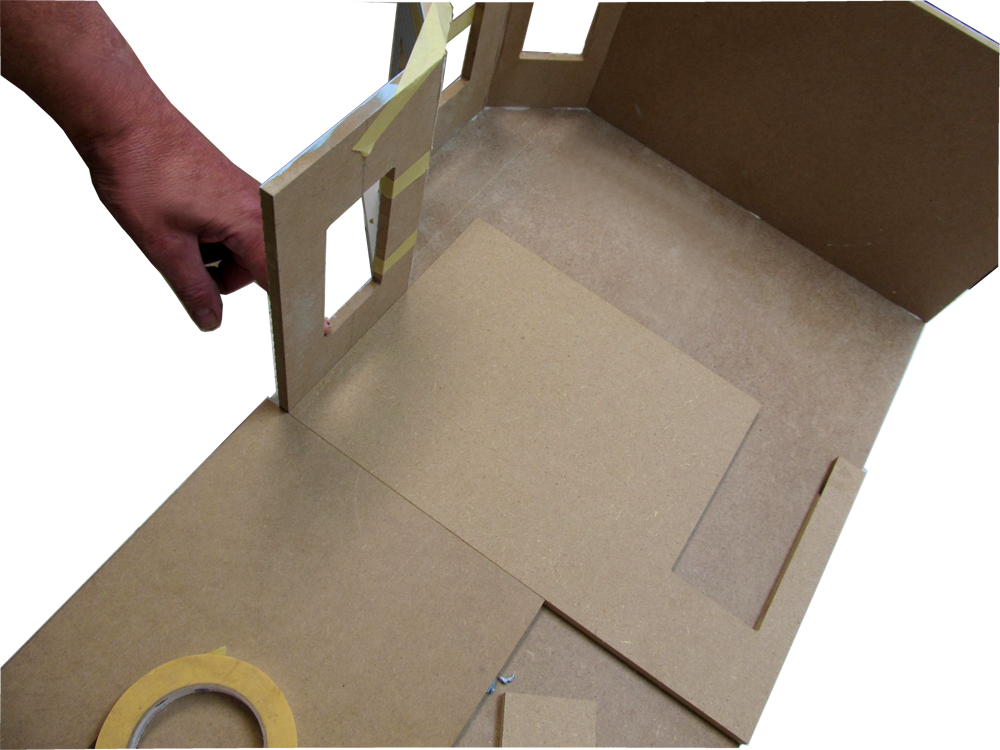
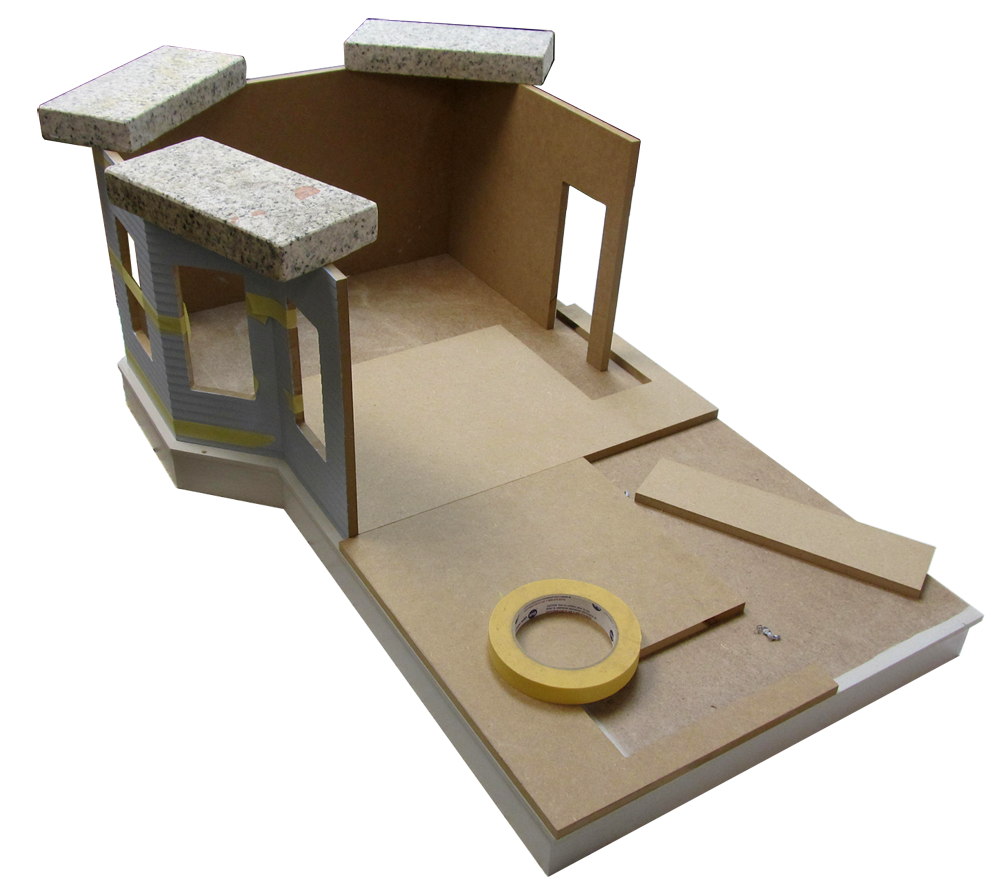
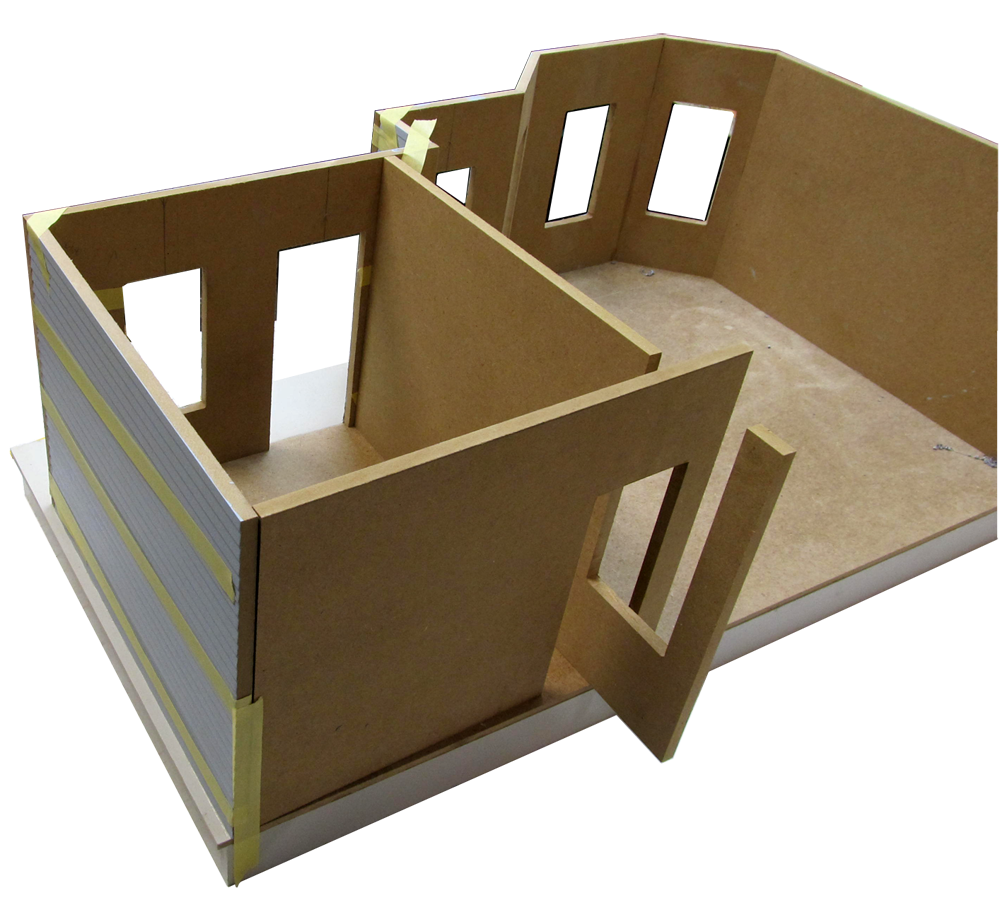
 24. The 13" Divider holds Wall F straight and spaced correctly from the right edge of the Floor.
24D.png
24. The 13" Divider holds Wall F straight and spaced correctly from the right edge of the Floor.
24D.png
24. The 13" Divider holds Wall F straight and spaced correctly from the right edge of the Floor.
24D.png
DHTMLGoodies.com
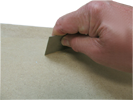
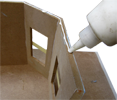
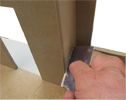
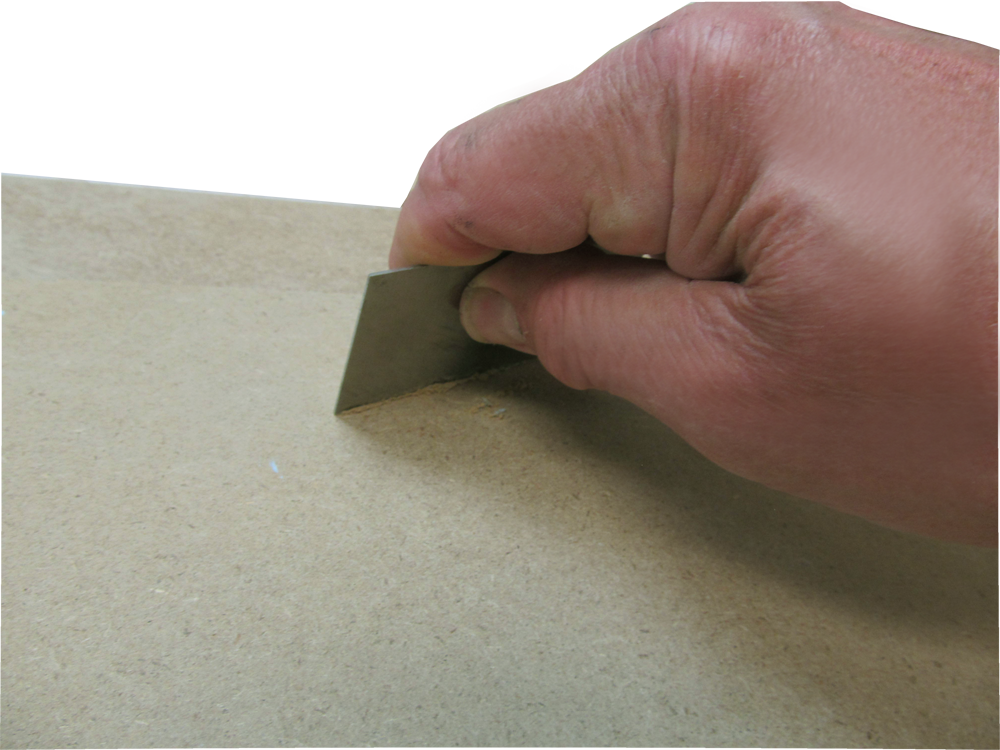
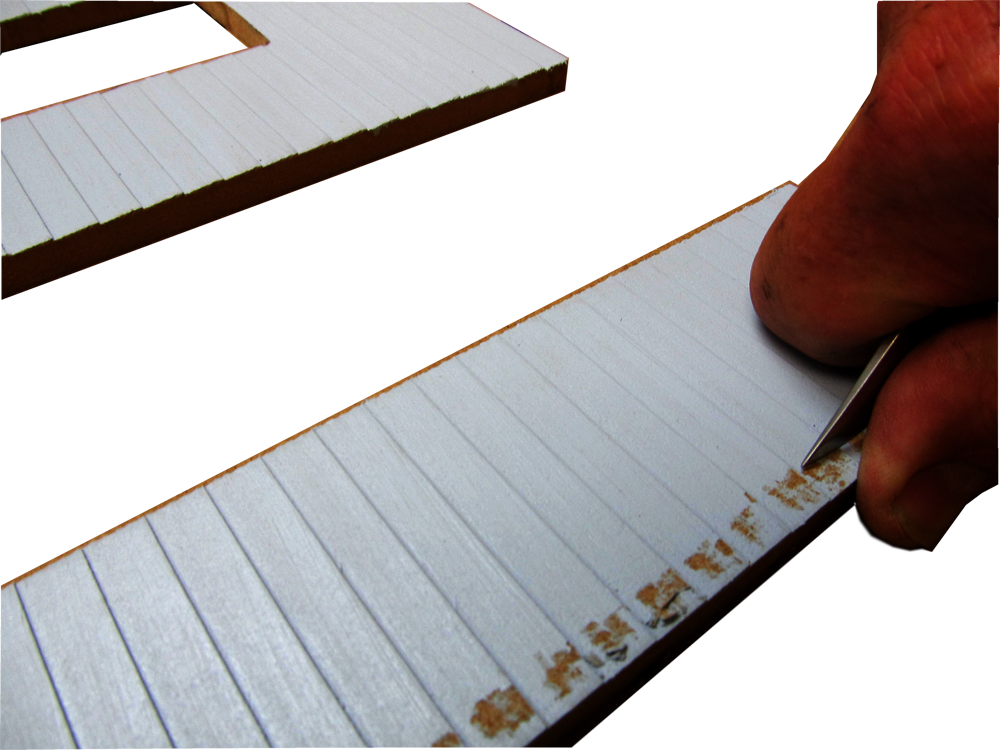
 25. Glue doesn't stick to paint - scrape it off where it is hidden inside the joint
25D.png
25. Glue doesn't stick to paint - scrape it off where it is hidden inside the joint
25D.png
25. Glue doesn't stick to paint - scrape it off where it is hidden inside the joint
25D.png


DHTMLGoodies.com
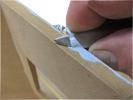
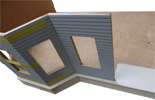
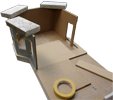
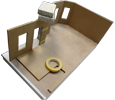
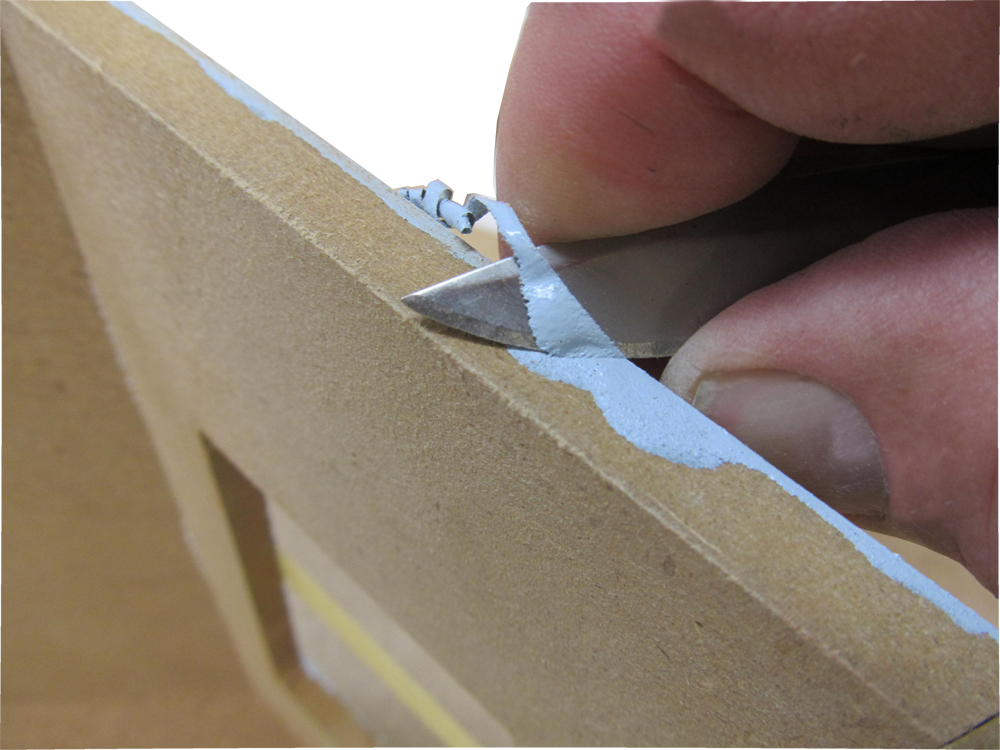
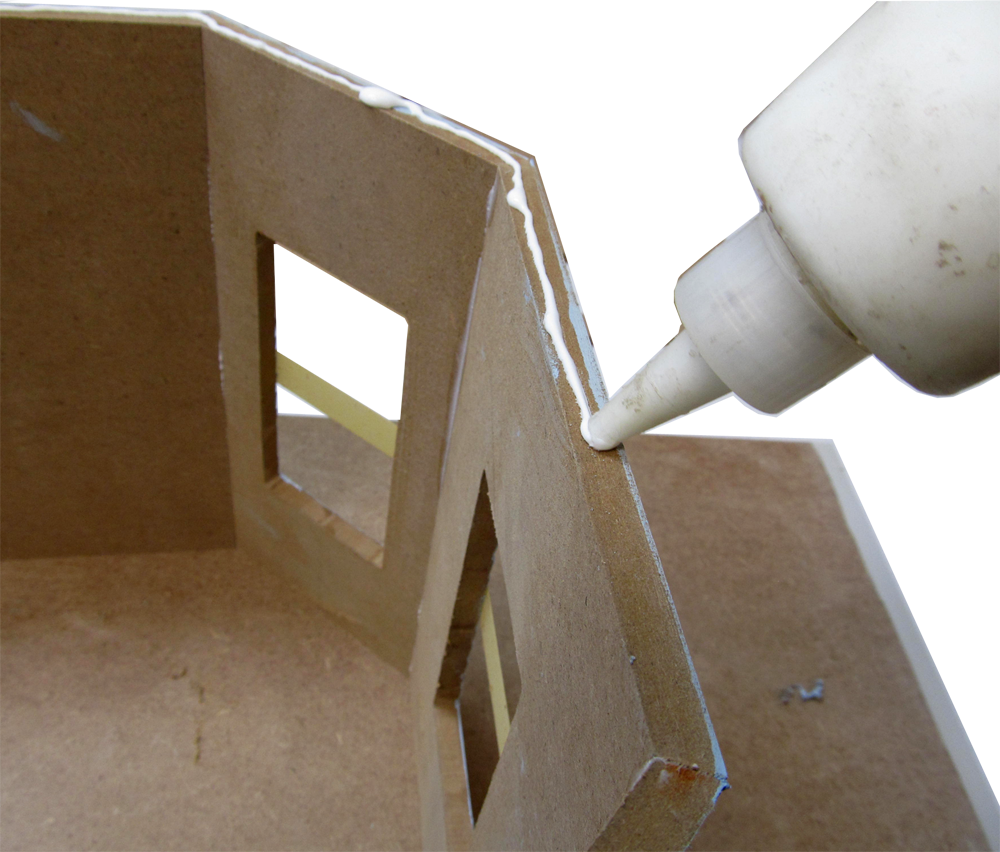
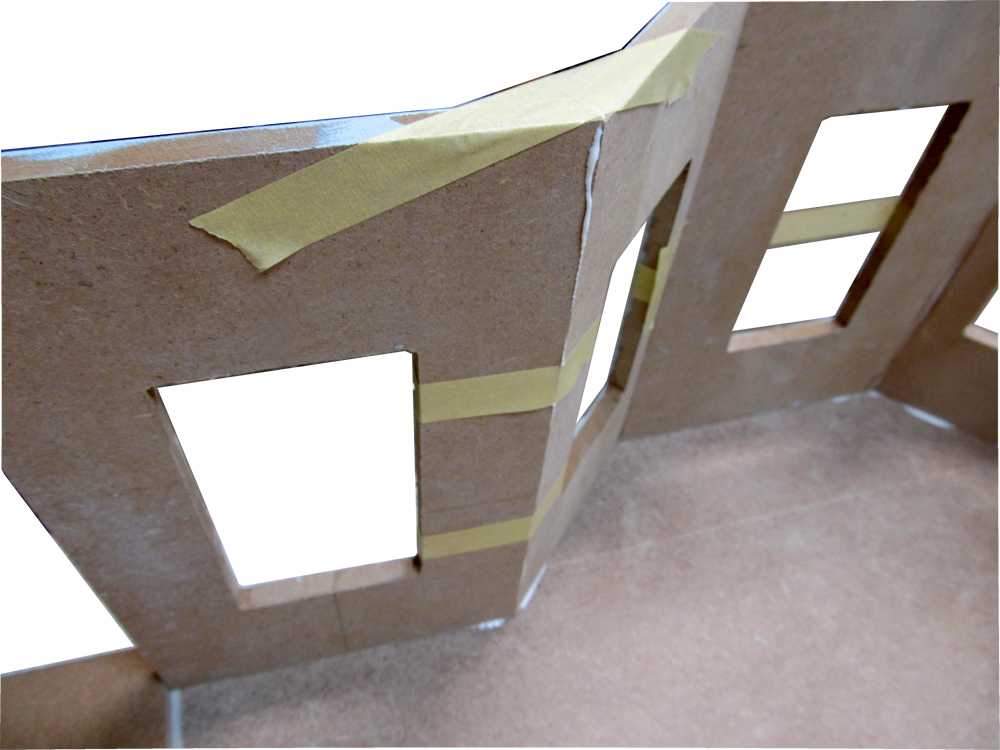
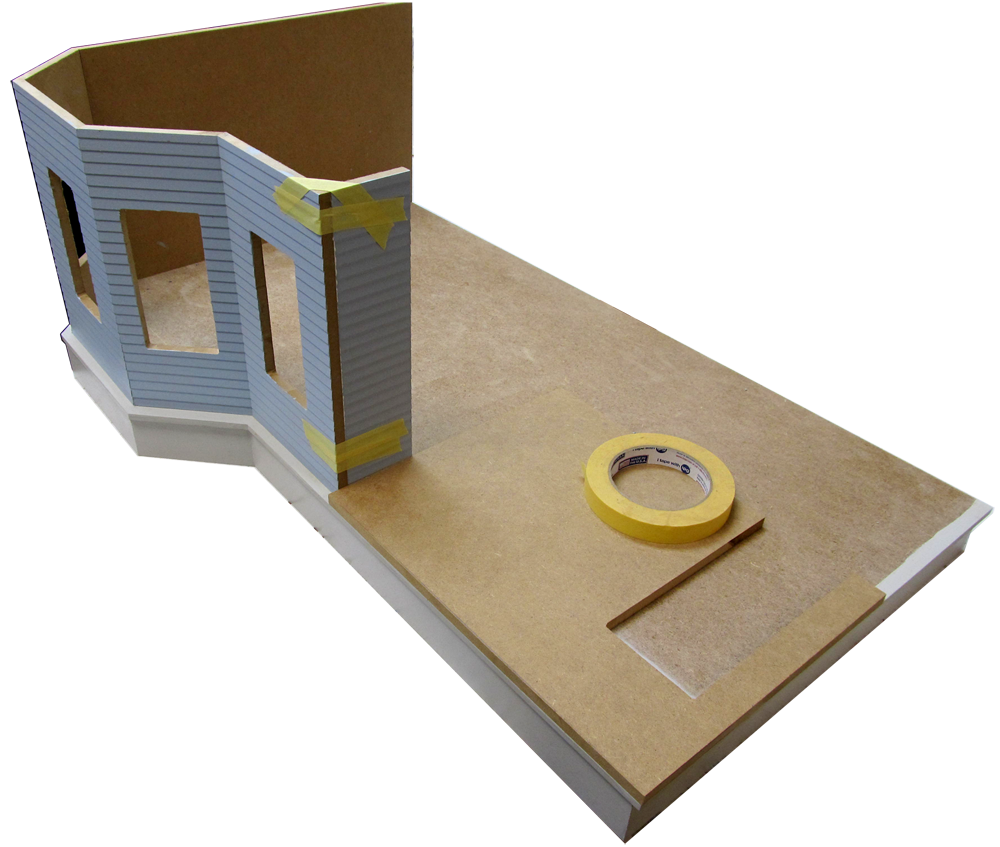
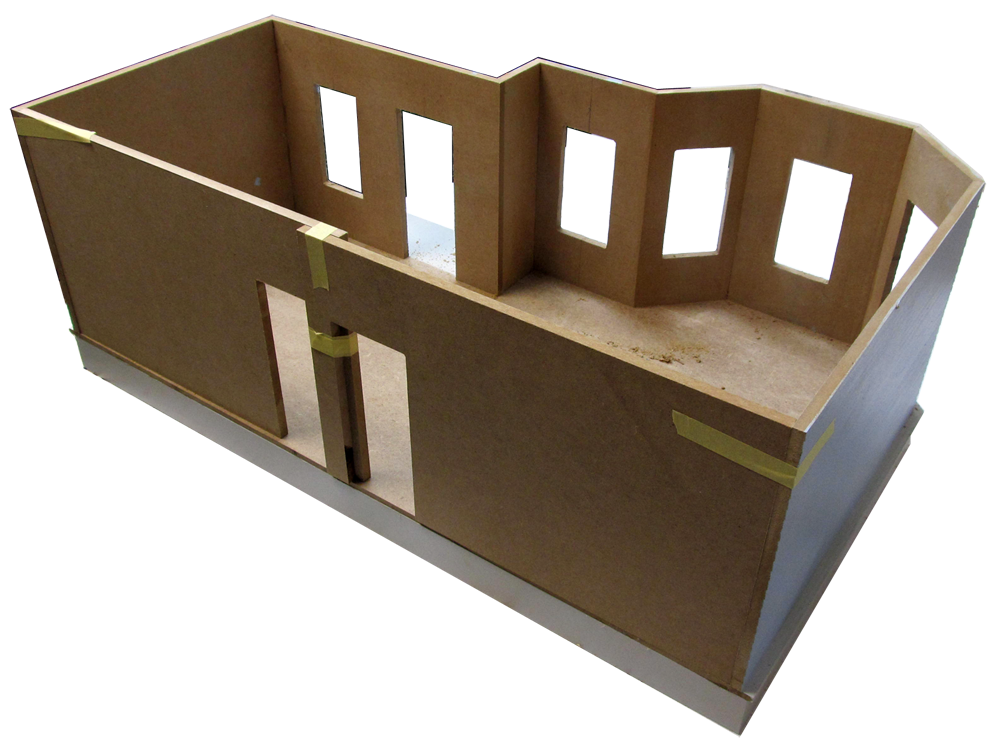
 33. Make sure joint F/G is clean and smooth now... it's hard to reach later
33D.png
33. Make sure joint F/G is clean and smooth now... it's hard to reach later
33D.png
33. Make sure joint F/G is clean and smooth now... it's hard to reach later
33D.png

