![]()
![]()
Slideshows support but do not replace the instructions
Parts
PreAssembly
Floors, Foundations, and Roofs
Mark the Floors for painting
Paint
Assembly:
Housebody 1: First floor
Housebody 2: Second floor (here)
Top Floor - mark and paint
Tower and Roof
Exterior Frinishing
Index
Corner Trim
Windows
Shingles and Dormers
Rails Assemble Install Addendum
Interior Frinishing
Interiors Home
Interior Window Trim
Dividers
Stairs, Banister & Landing


DHTMLGoodies.com
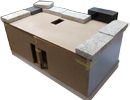
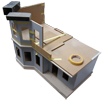
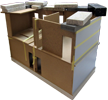
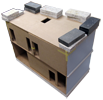
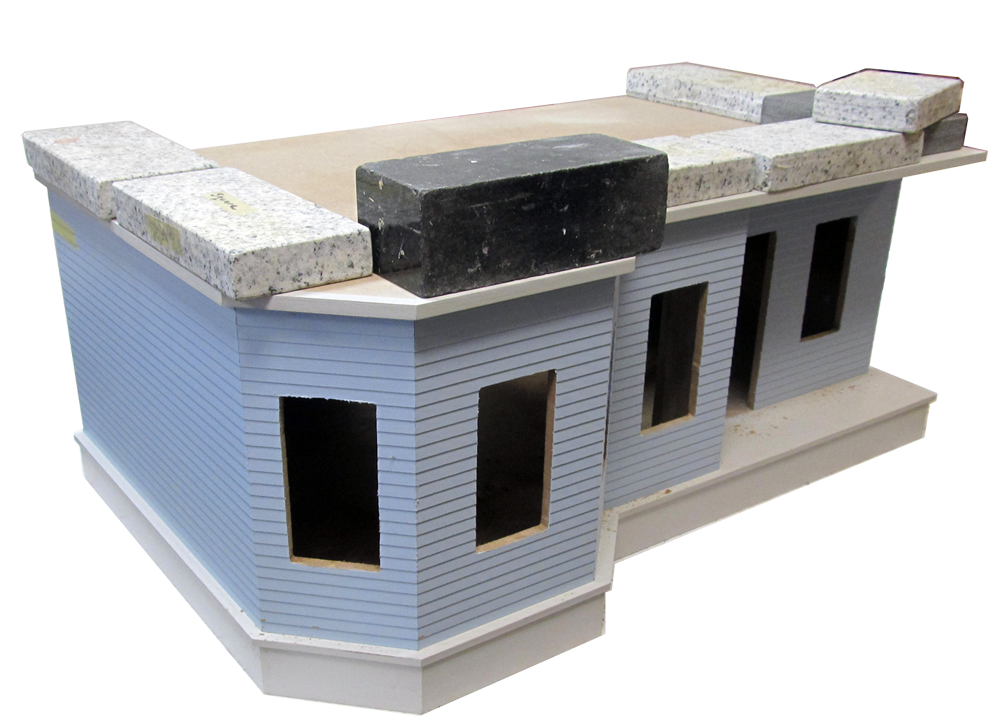
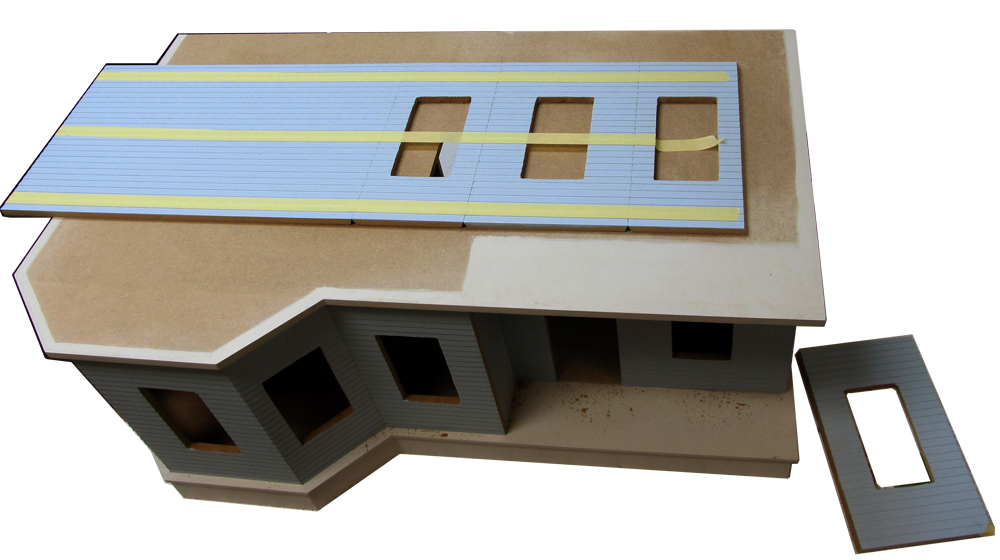
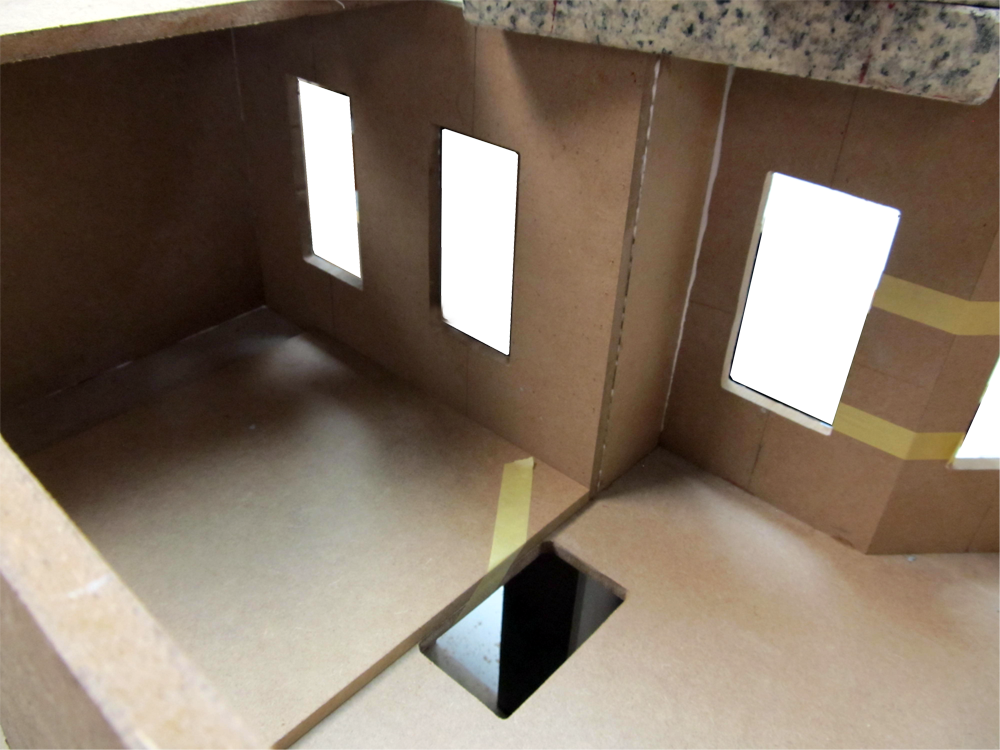
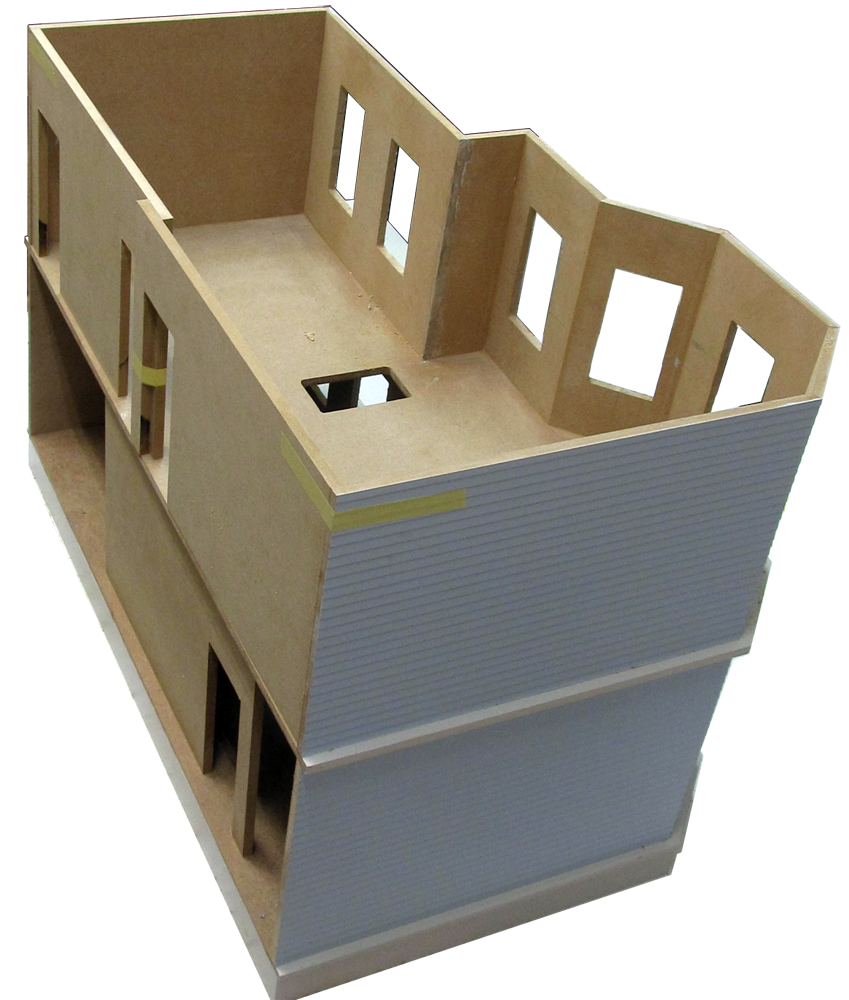
 37. Tip the Mid Floor in place, lined up in back and spaced 3/8" at the sides
37D.png
37. Tip the Mid Floor in place, lined up in back and spaced 3/8" at the sides
37D.png
37. Tip the Mid Floor in place, lined up in back and spaced 3/8" at the sides
37D.png


DHTMLGoodies.com
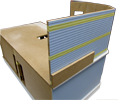
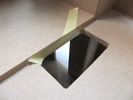
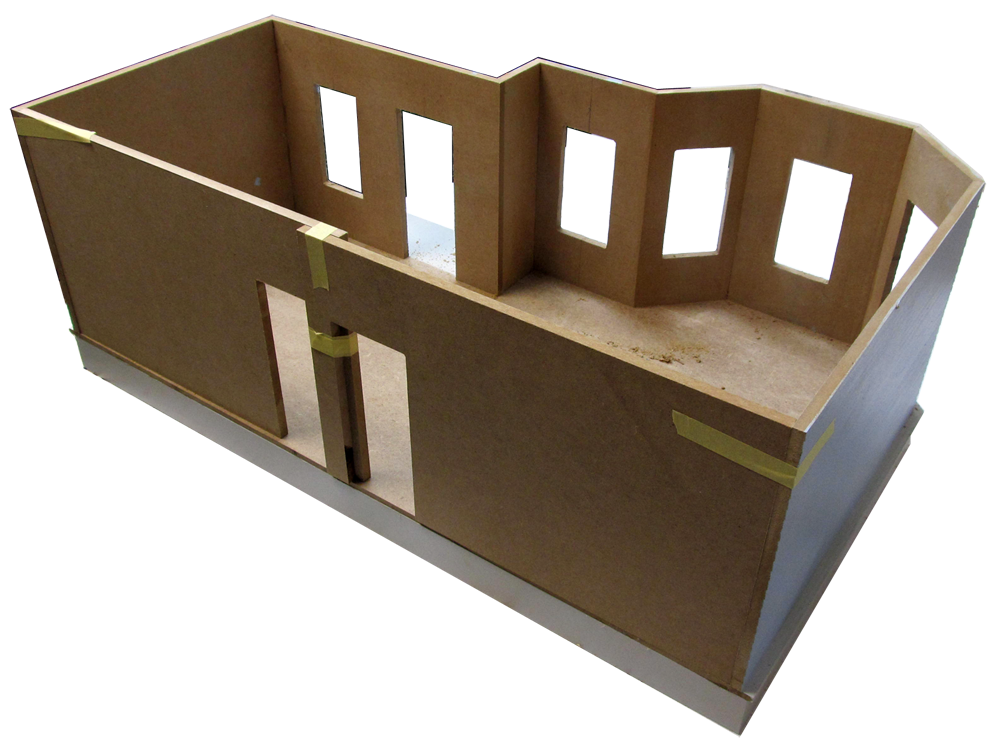
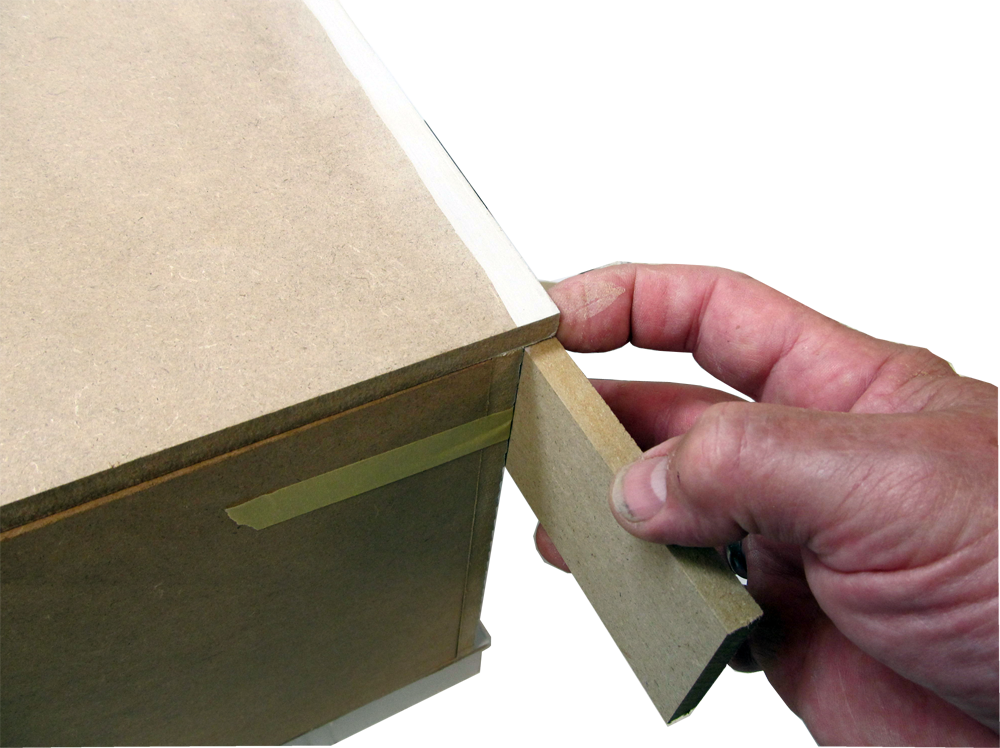
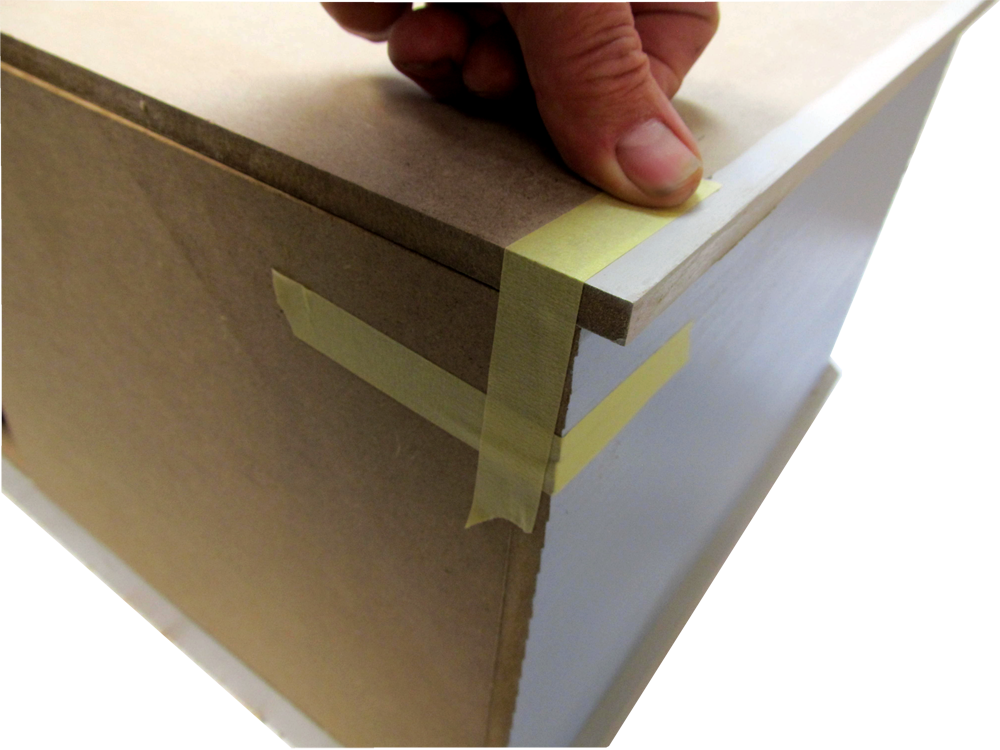
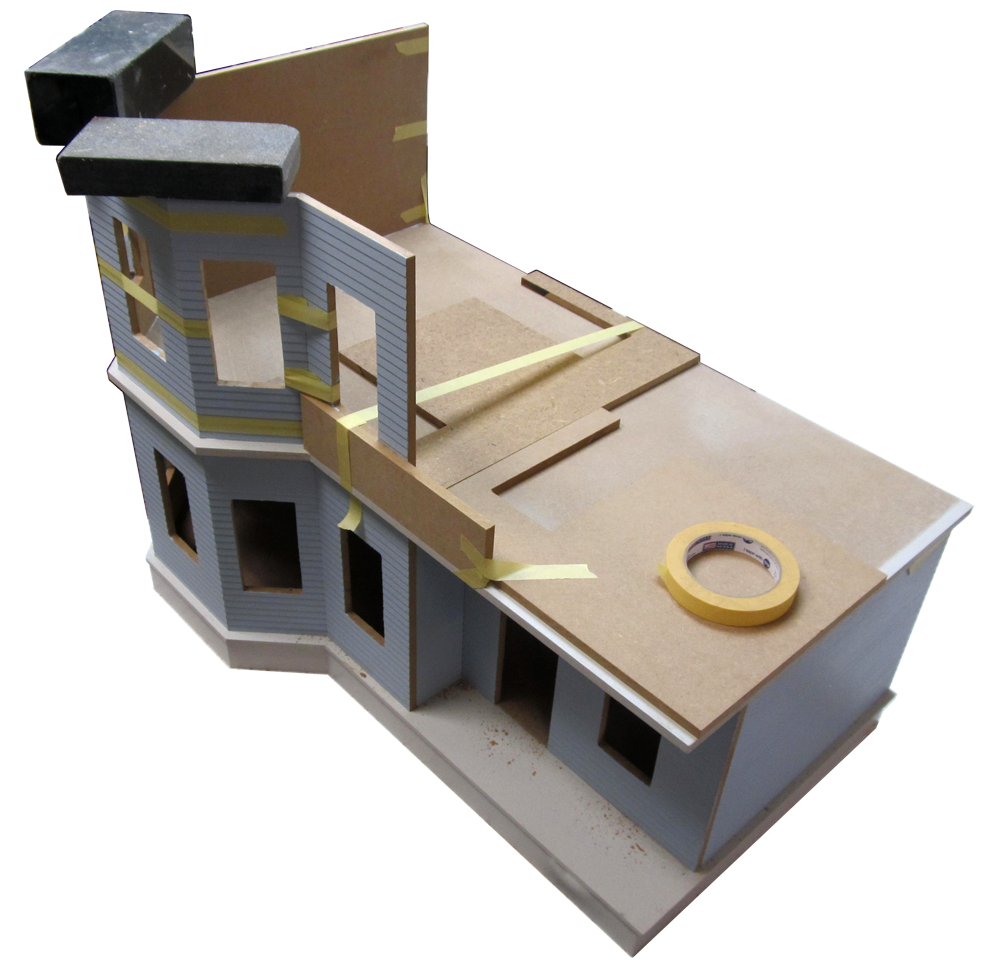
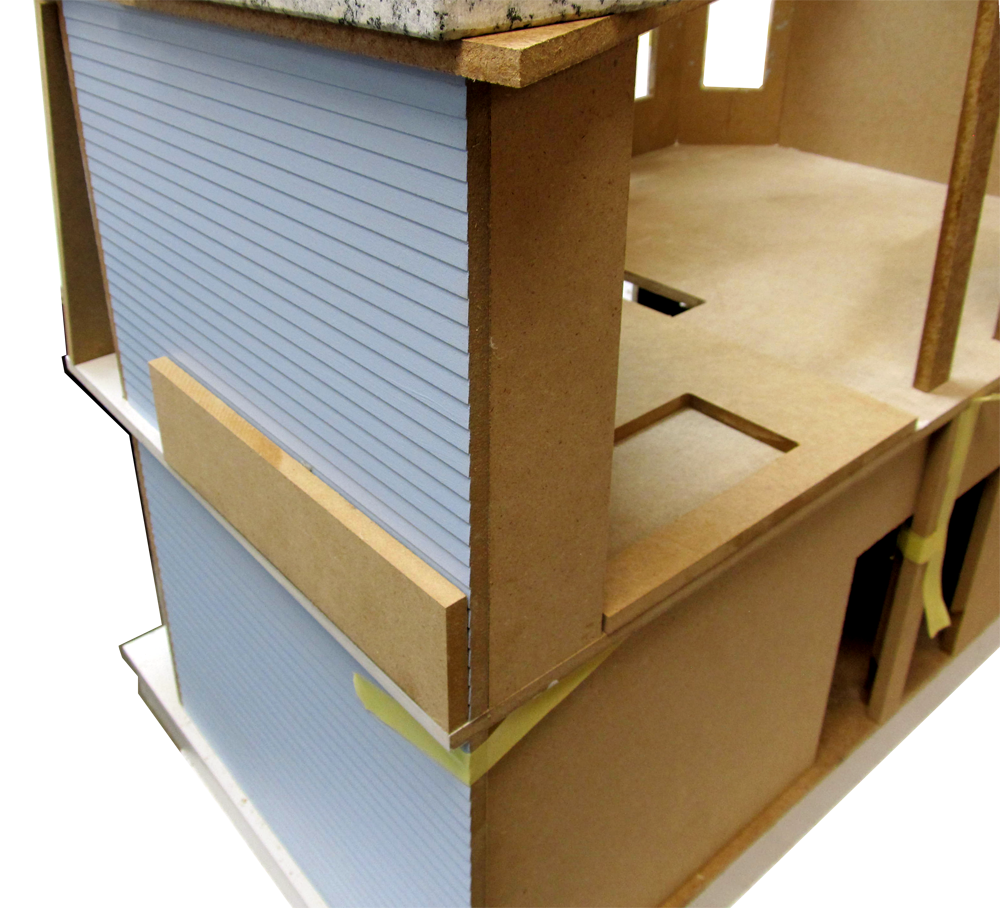
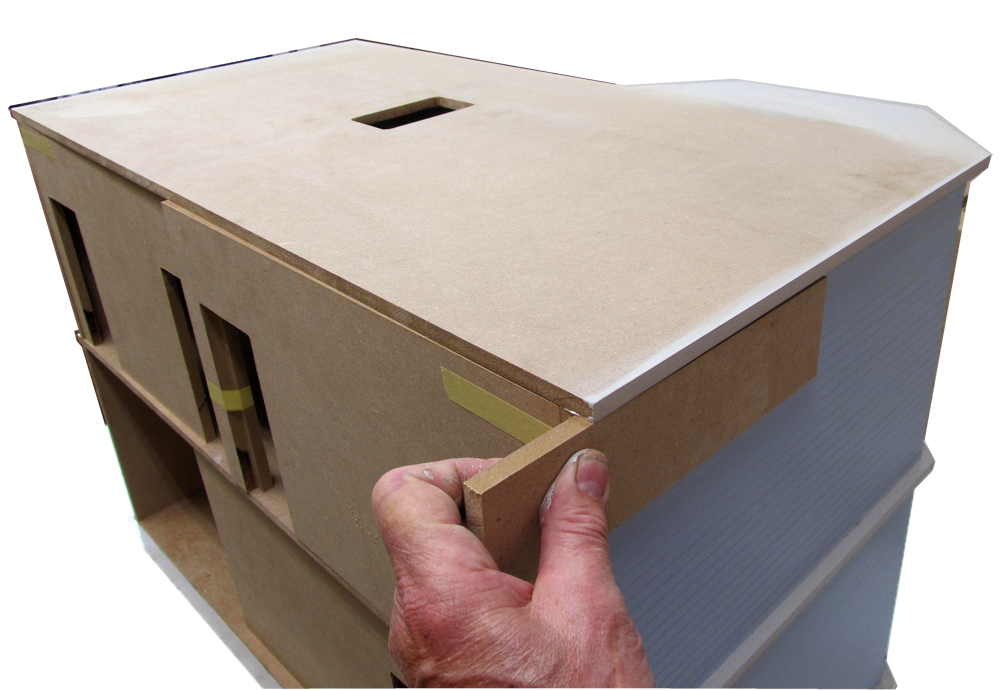
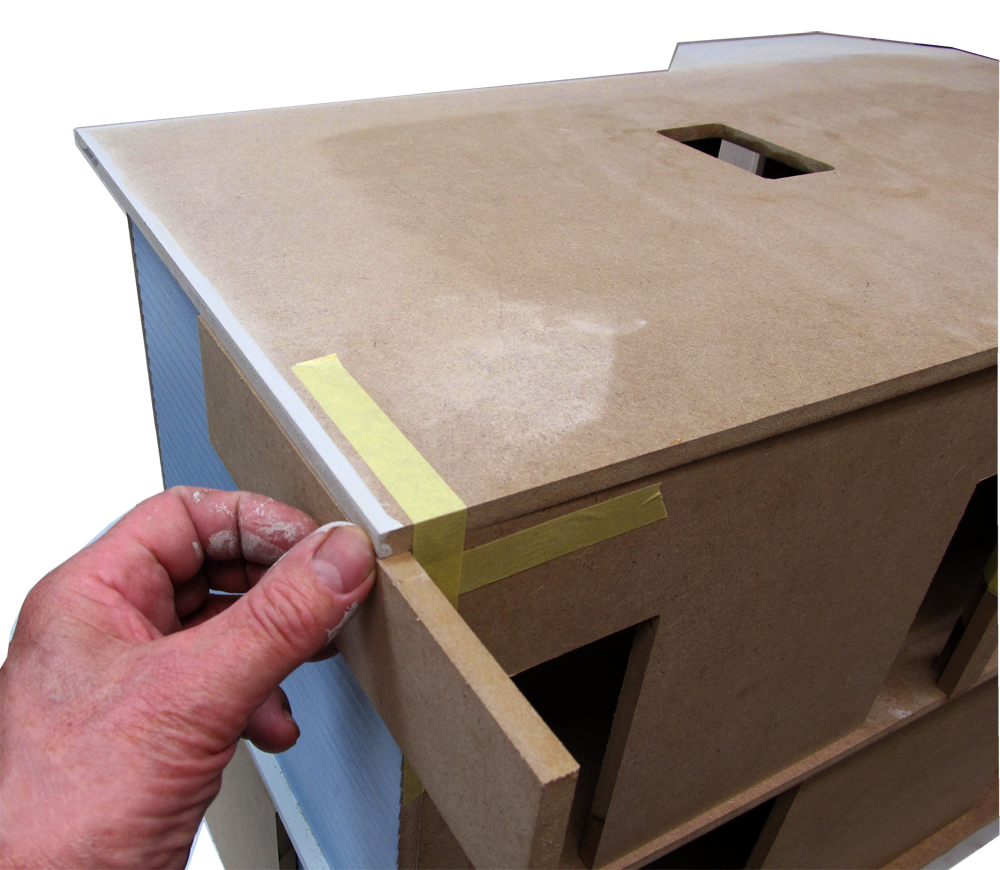
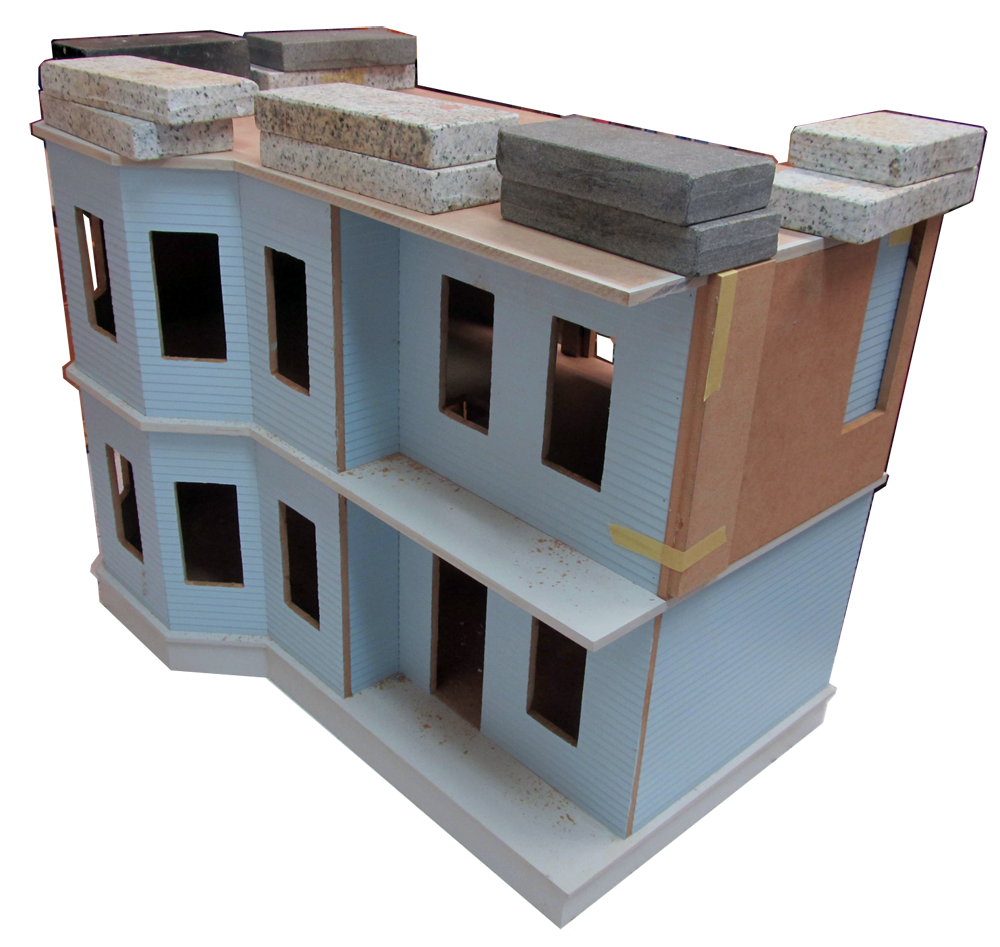
 42. Great photo BUT... There shouldn't be any tape in the way at this point!
42D.png
42. Great photo BUT... There shouldn't be any tape in the way at this point!
42D.png
42. Great photo BUT... There shouldn't be any tape in the way at this point!
42D.png


DHTMLGoodies.com
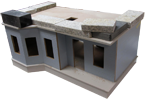
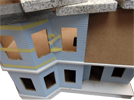
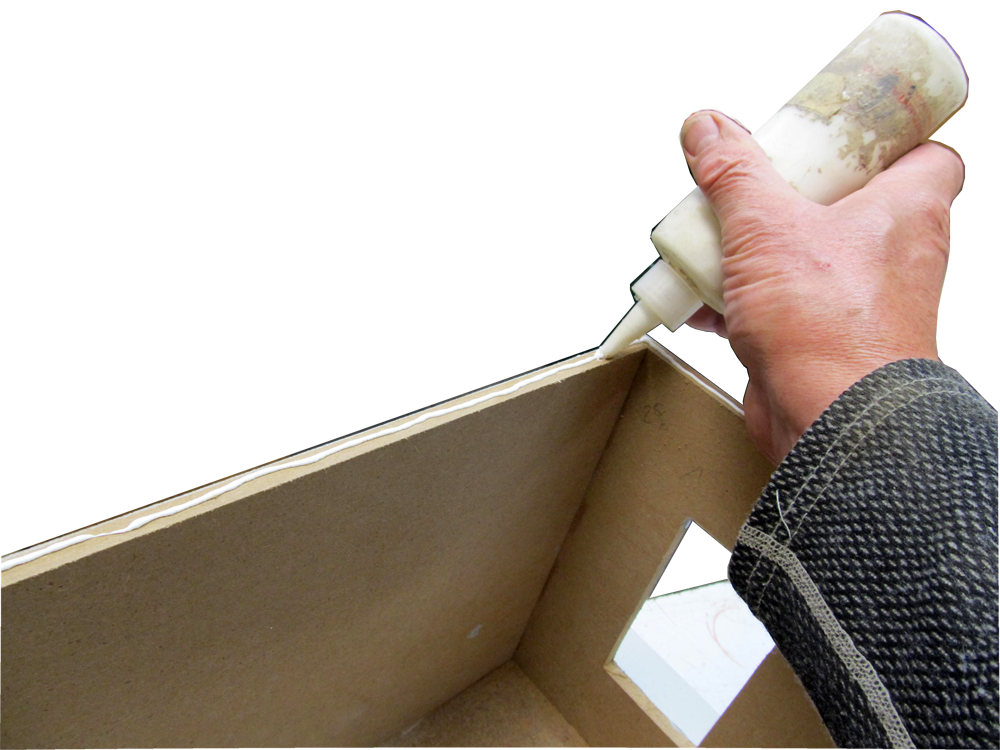
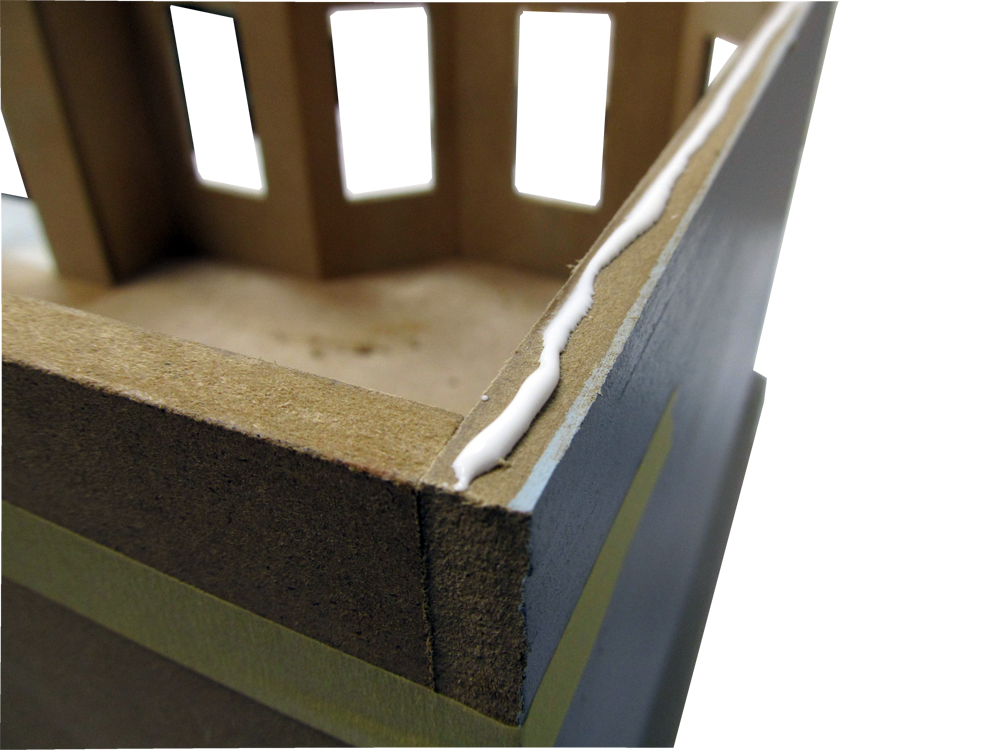
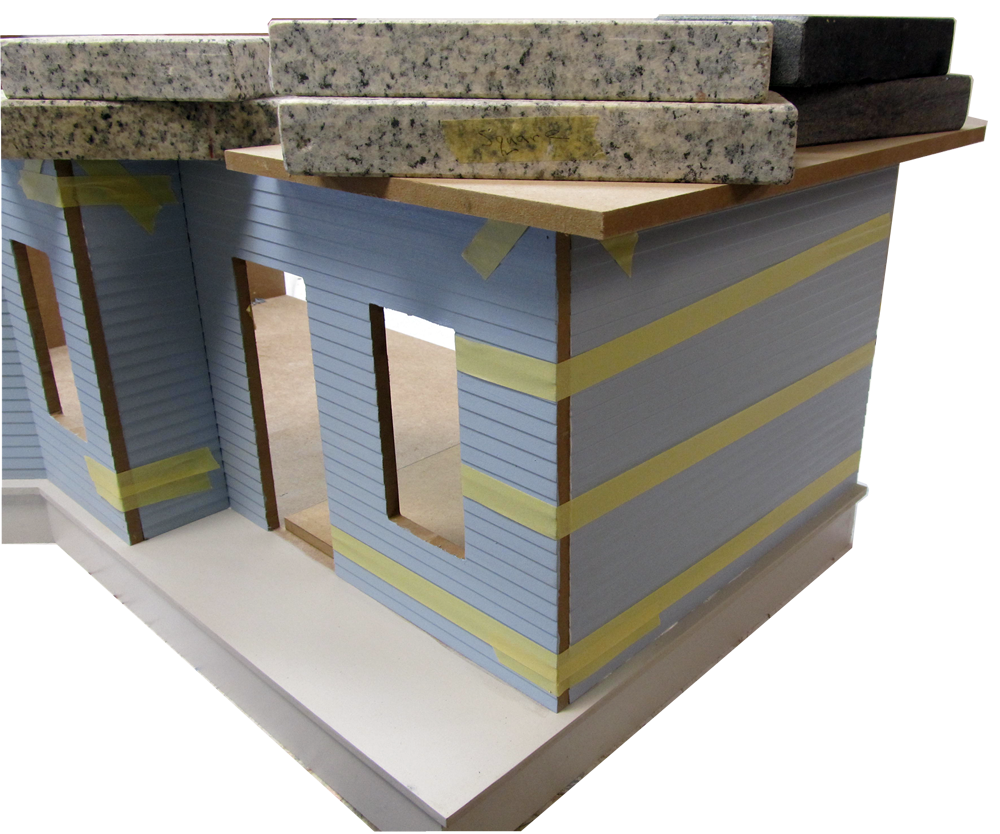
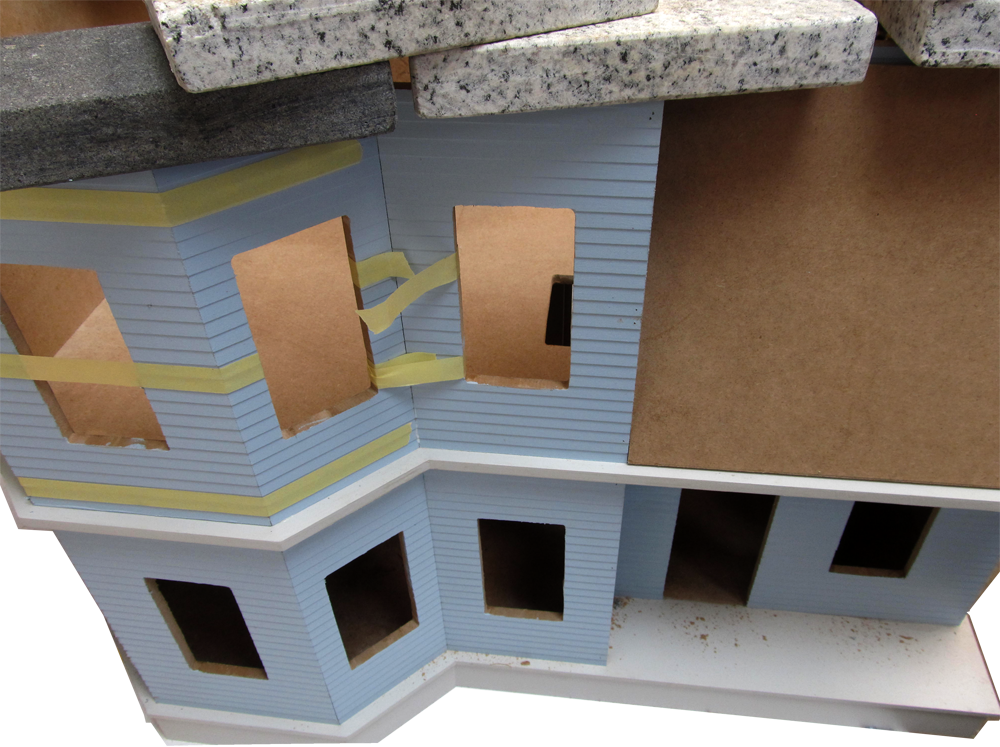
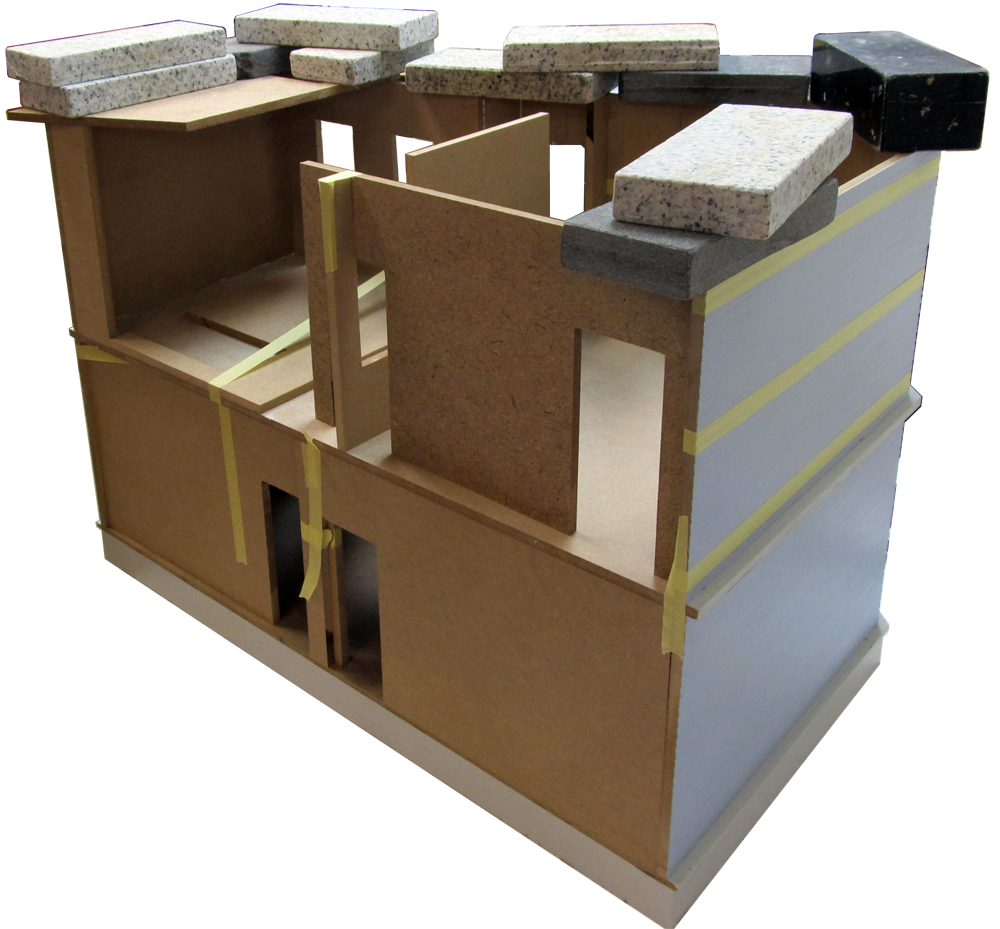
 54. Let the glue dry - move the spacers when the glue is stiff but not yet dry
54D.png
54. Let the glue dry - move the spacers when the glue is stiff but not yet dry
54D.png
54. Let the glue dry - move the spacers when the glue is stiff but not yet dry
54D.png


